In this tutorial we are going to create a cool 2D game that I call Monster Chase. The game is simple yet it contains a lot of features such as main menus, selecting between two playable characters, surviving a wave of monsters and more.
Here is a short preview of the game that we will create:
Download Assets And Complete Project For This Tutorial
To follow along with this tutorial, please download the assets by clicking the green Download assets button above.
In the downloaded folder you will find the assets for the tutorial and the complete project that you can use as a reference to inspect the code.
Important Information Before We Start
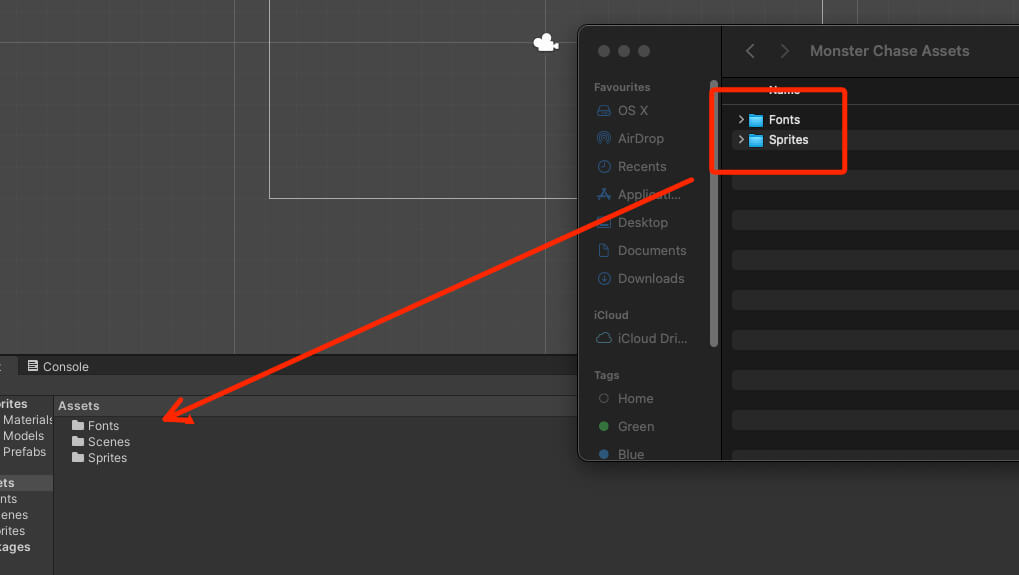
Importing Assets
Preparing The Animator Controller For Player Character
In this game we will be able to choose between two playable characters. You can locate their sprite sheet in the Assets -> Sprites folder.
The name of the sprite sheet is Players. Select it and make sure that you slice all individual pieces of that sprite sheet.
If you don’t know how to do it, you can follow this tutorial that will show you step by step how to slice a sprite sheet in Unity by clicking here.
Now that we have the sprite sheets, in the Project tab create a new folder and give it a name Animations. Inside of that folder create a new folder and give it a name Player Animations.
And inside of that folder create two more folders and name them Player 1 Animations and Player 2 Animations.
I know, I know it’s a lot of folders, but again, this is how you organize your project so that later you know exactly where every file is located.
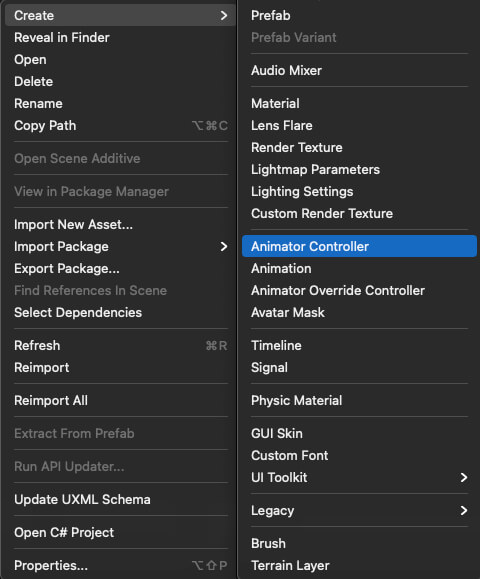
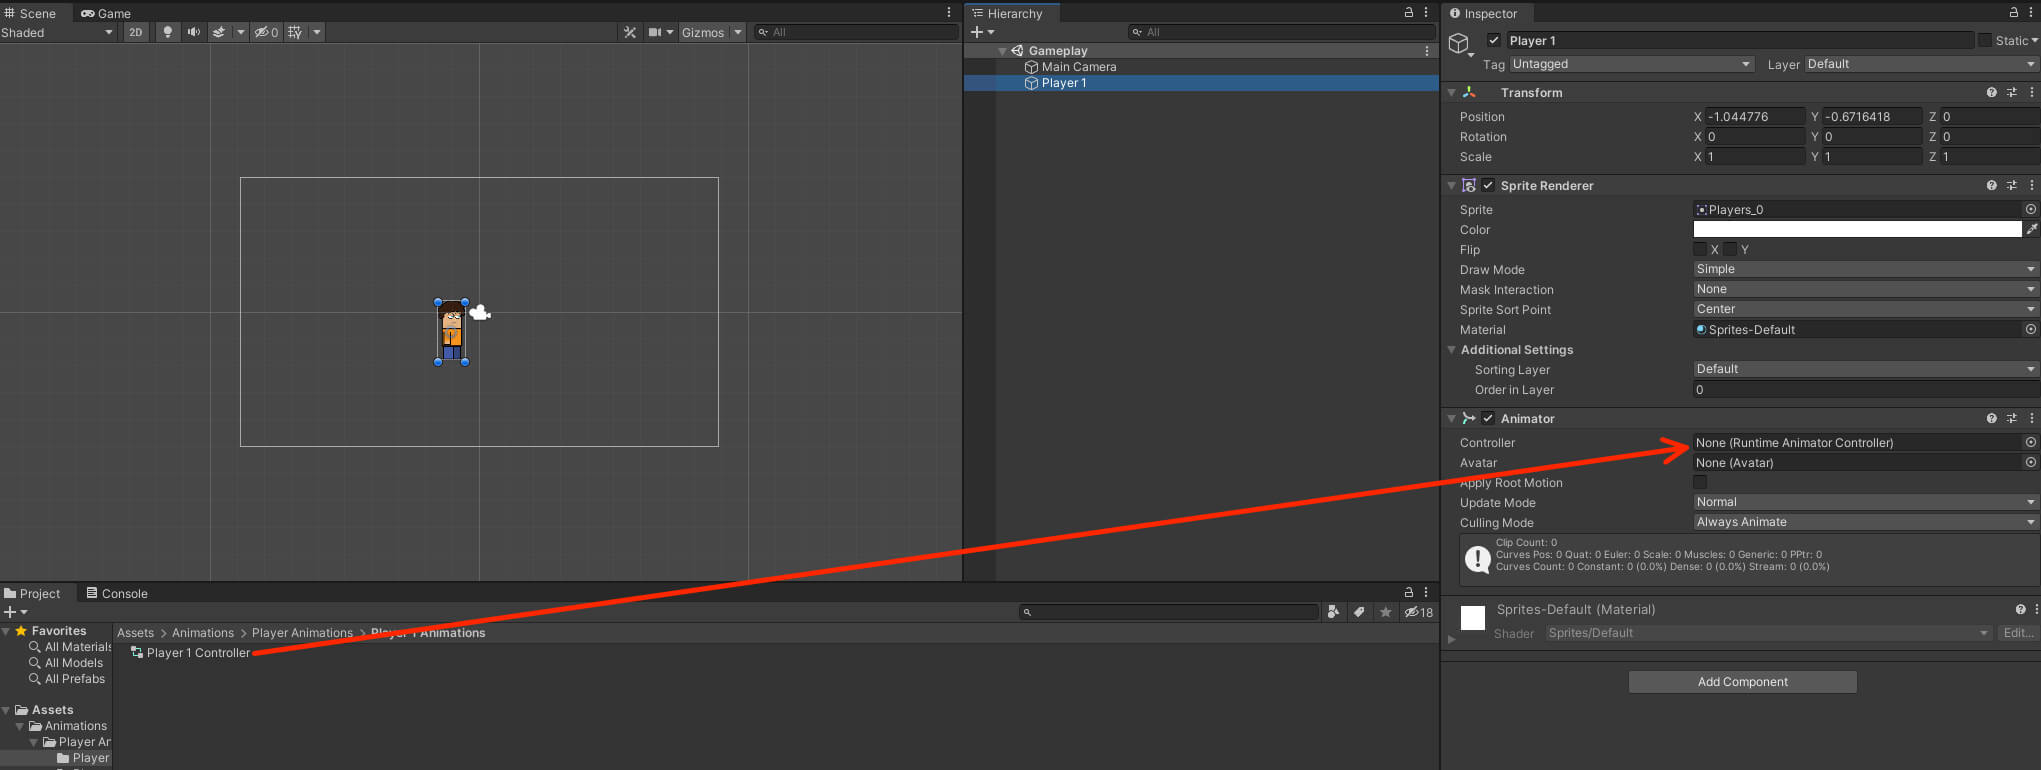
Inside the Player 1 Animations Right Click -> Create -> Animator Controller to create a new Animator Controller that will be used to control the animations of player 1 and give that Animator Controller name Player 1 Controller:
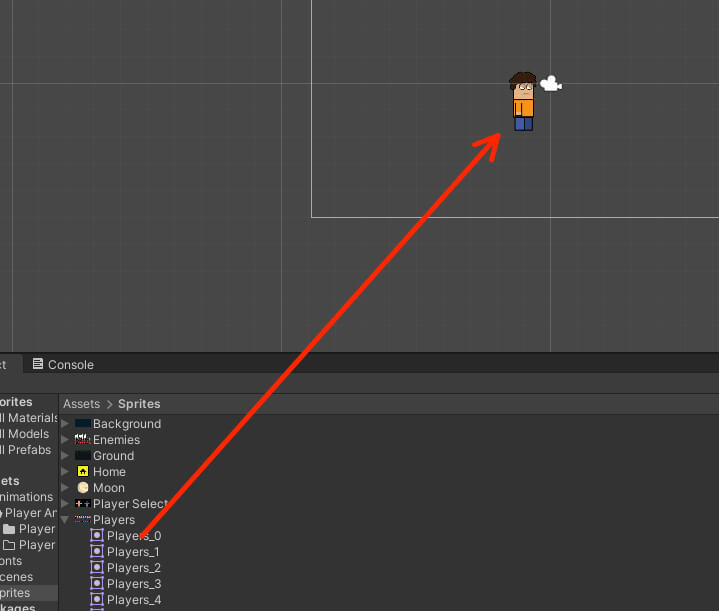
Next, from the Players sprite sheet, drag the first frame of the first player inside the Scene tab:
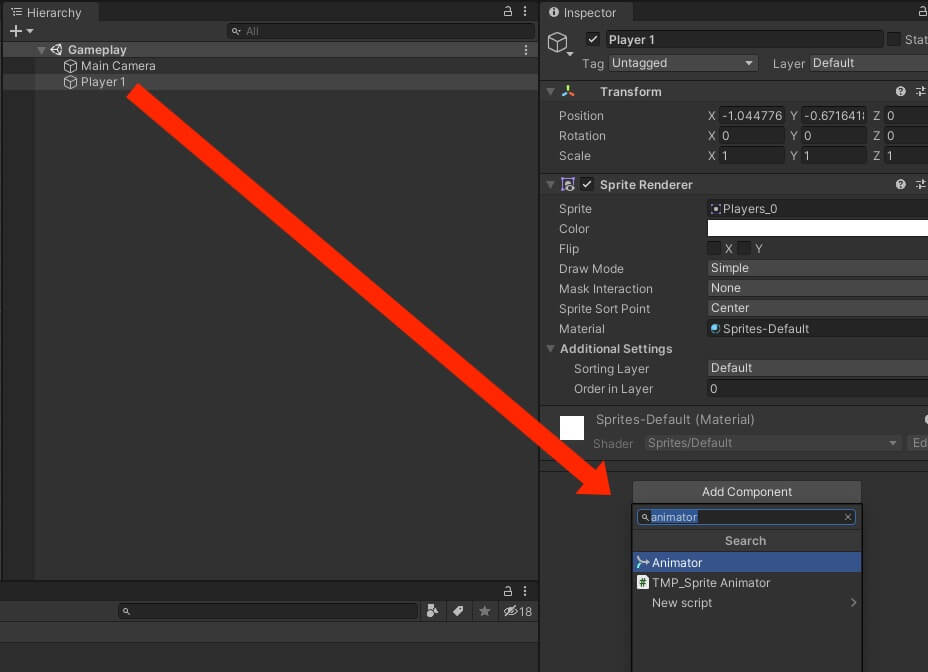
Select the new player game object in the Hierarchy tab and rename it to Player 1.
Next, attach an Animator component on him by clicking on the Add Component button in the Inspector tab and filter for animator:
Animating The Player Character
To create the animations for the player character we need the Animation and Animator tabs.
You can follow this guide if you need to refresh your knowledge about how to animate sprites in Unity by clicking here.
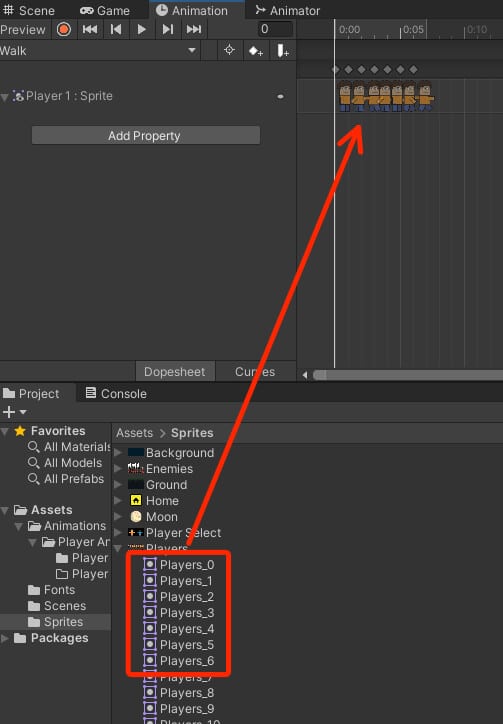
Our player character is going to have two animation clips, Idle and Walk, so make sure you create them:

Also make sure that you save those animation clips inside the Assets -> Animations -> Player Animations -> Player 1 Animations folder. You can do all that by following the guide link above.
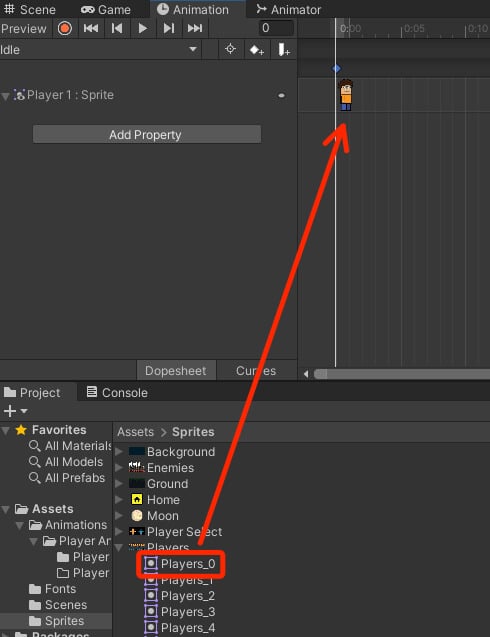
Now that we have the animation clips, let us add frames that will form the player animation. For the Idle clip drag the first frame from the Players sprite sheet:
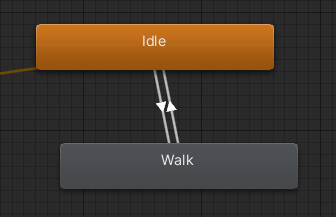
Creating Transitions For Player Character Animations


Creating Player Character Prefabs
Now that we have the initial set up for the player’s animations, we can create a prefab out of the player character.
If you don’t know what is a prefab and what is the purpose of a prefab then make sure that you learn that by clicking here.
In the Project tab inside the Assets top folder, Right Click -> Create -> Folder. Give that folder name Prefabs and inside create a new folder and name it Player Prefabs.
And now, drag the Player 1 game object from the Hierarchy tab inside the Player Prefabs folder:


Comments are closed.