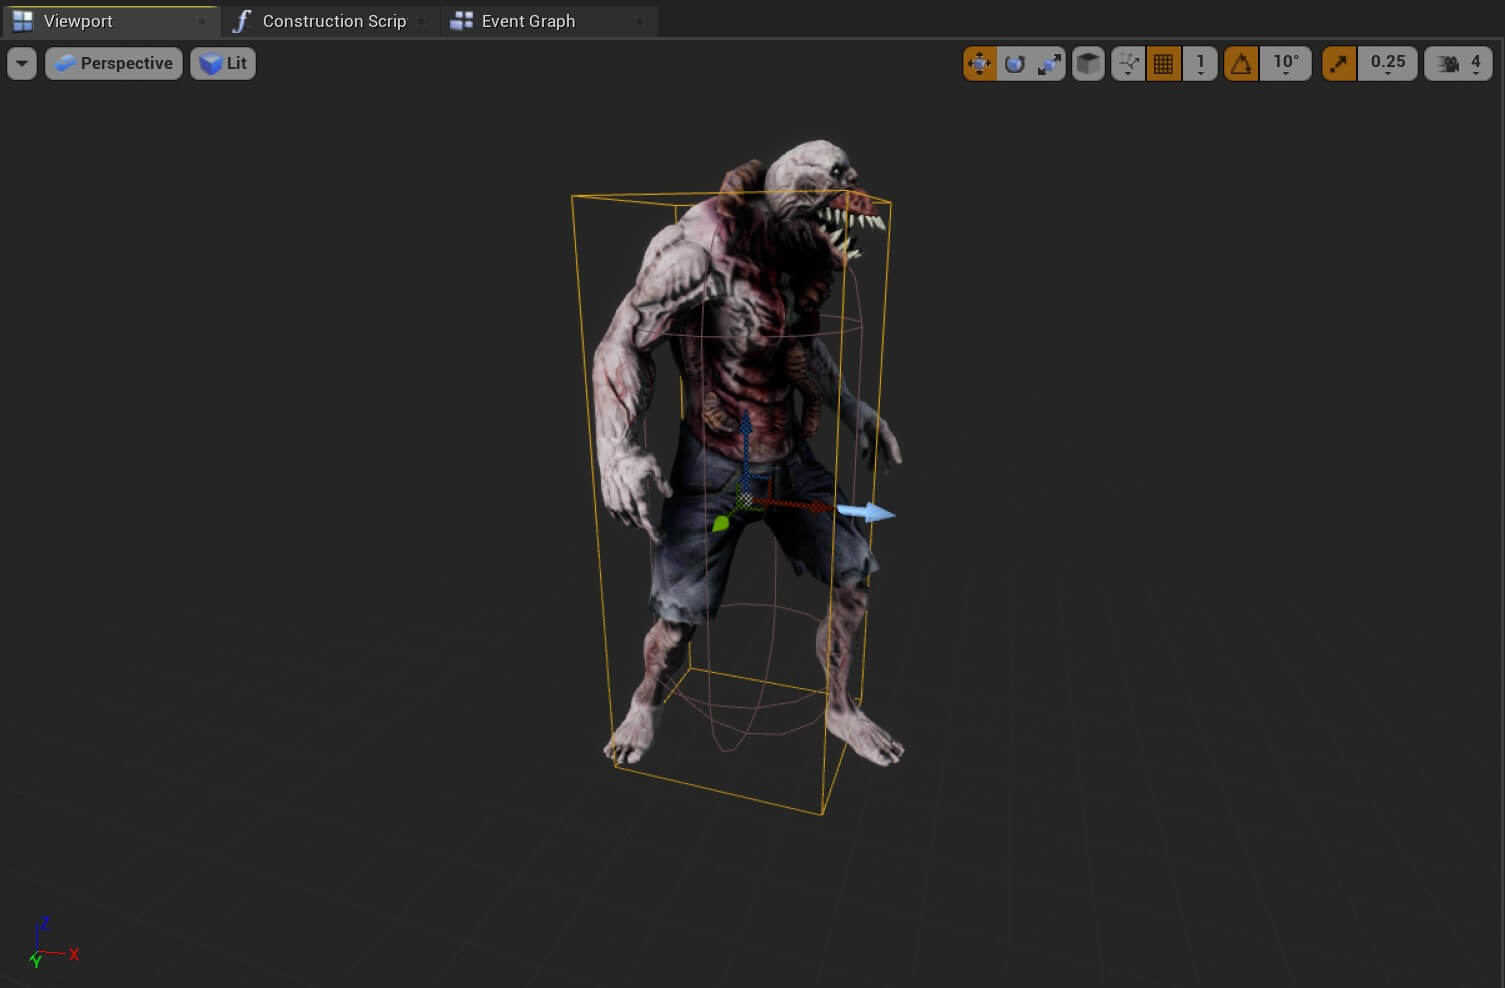
Create A Parasite Platformer Game In Unreal Engine Part 10: Enemy AI Behaviour And Wrapping Up Our Game

Table of Contents

Create A Parasite Platformer Game In Unreal Engine Part 10: Enemy AI Behaviour And Wrapping Up Our Game

Reading Time: 7 minutes
Level: Begginer
Version: Unreal Engine 4.26

Help Others Learn Game Development

In part 9 of this tutorial series we learned how to work with animations in Unreal Engine and we animated our Parasite enemy.

In this part of the tutorial we are going to code enemy AI behaviour and we are going to wrap up our game.

Creating The Enemy AI

First we are going to move the Parasite enemy.
 

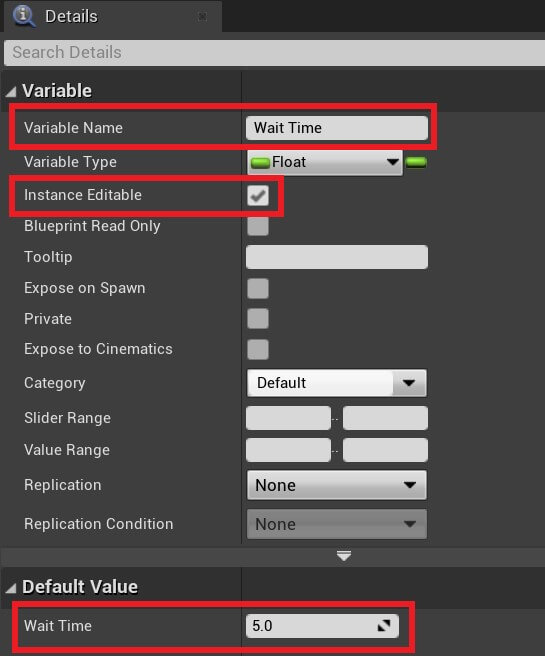
Inside the BP_Parasite_Enemy Blueprint, create a new float variable, give it a name Wait Time, set the default value at 5 and check the Instance Editable checkbox:
Img 1 FIXED
If you can’t remember how to add a default value for a variable you can refresh your knowledge here.
 
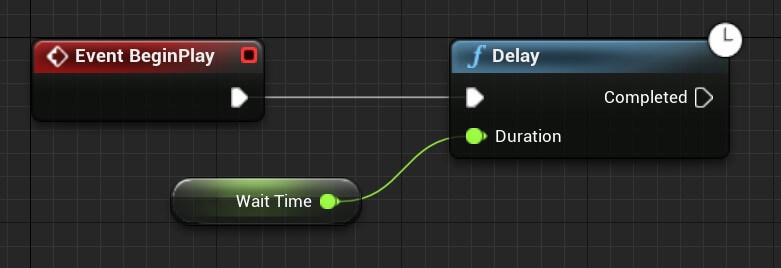
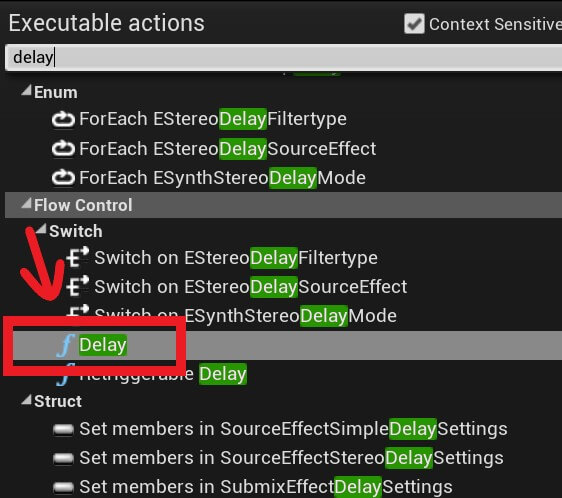
 From the BeginPlay event, drag a new line to create a node and filter for the delay function which is located under flow control:
 
Img 2
You will notice that the Delay function has a parameter called Duration. We can manually set the value by simply typing it in the parameter itself, or we can use our Wait Time variable which is why we created it.
 
So drag the Wait Time inside the graph and pass it as a parameter to the function:
 
Img 3
You can copy the nodes from here:
 
The Delay function will exactly what the name tells us, it will delay or wait for the specified amount of time we passed in the Duration parameter, in our case we passed Wait Time which has a value of 5.
 

Don’t forget that we made that variable Instance Editable which means we can change the value of it on the instance of the Blueprint.

After we wait for the specified amount of time, we are going to call a new function that will move the enemy towards the player.

Inside the graph, Right Click and search for AI MoveTo function which is located under AI category:
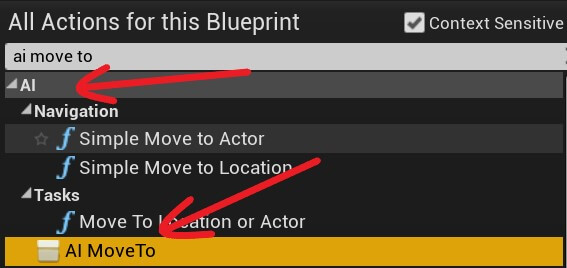
Img 4

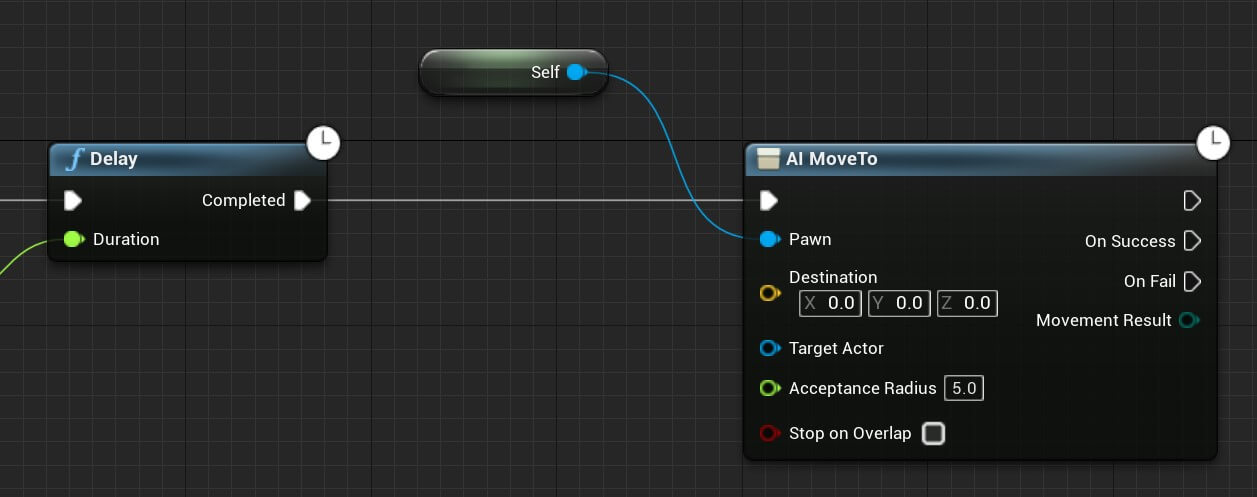
The AI MoveTo function takes a few paramaters. One of them is the Pawn parameter which is the Actor that will be moved with the AI MoveTo function which in our case is the Parasite enemy.

For that parameter we are going to get a reference to self by Right Click and search for self:
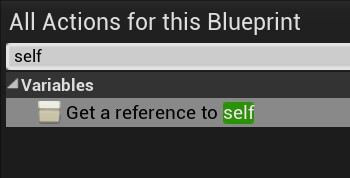
Img 5
The self reference is a reference to the Blueprint itself, in our case it is a reference to the BP_Parasite_Enemy.
 
Or to explain it more simple, calling self in any Blueprint, will reference the Blueprint where it is called.
 
Plug in the self reference in the Pawn parameter for the AI MoveTo function, also connect the Completed Exec from the Delay function to AI MoveTo:
 
Img 6

The next parameter that we need to provide is the Target Actor which will tell the AI MoveTo function where to go.

Since we are going to make the enemy follow our PlayerCharacter, we can get a reference to it by using Cast To, but since we already set up the BP_PlayerCharacter to be the default pawn, we can pass the returning value of the Get Player Character function to the Target Actor parameter:

Img 7

You can copy the nodes from here:


AI Nav Mesh Bounds Volume

The code for the AI behaviour is done, but before we can test it out we need to do one more thing.

In order for the AI to know where to move, we need to add something called Nav Mesh Bounds Volume.

Inside the level, in the Place Actors tab, click on All Classes and filter for nav mesh bounds volume:

You can rename the NavMeshBoundsVolume to AI Navigation Area, and you can place it in the Enemies folder(if you created it) inside the World Outliner.
 
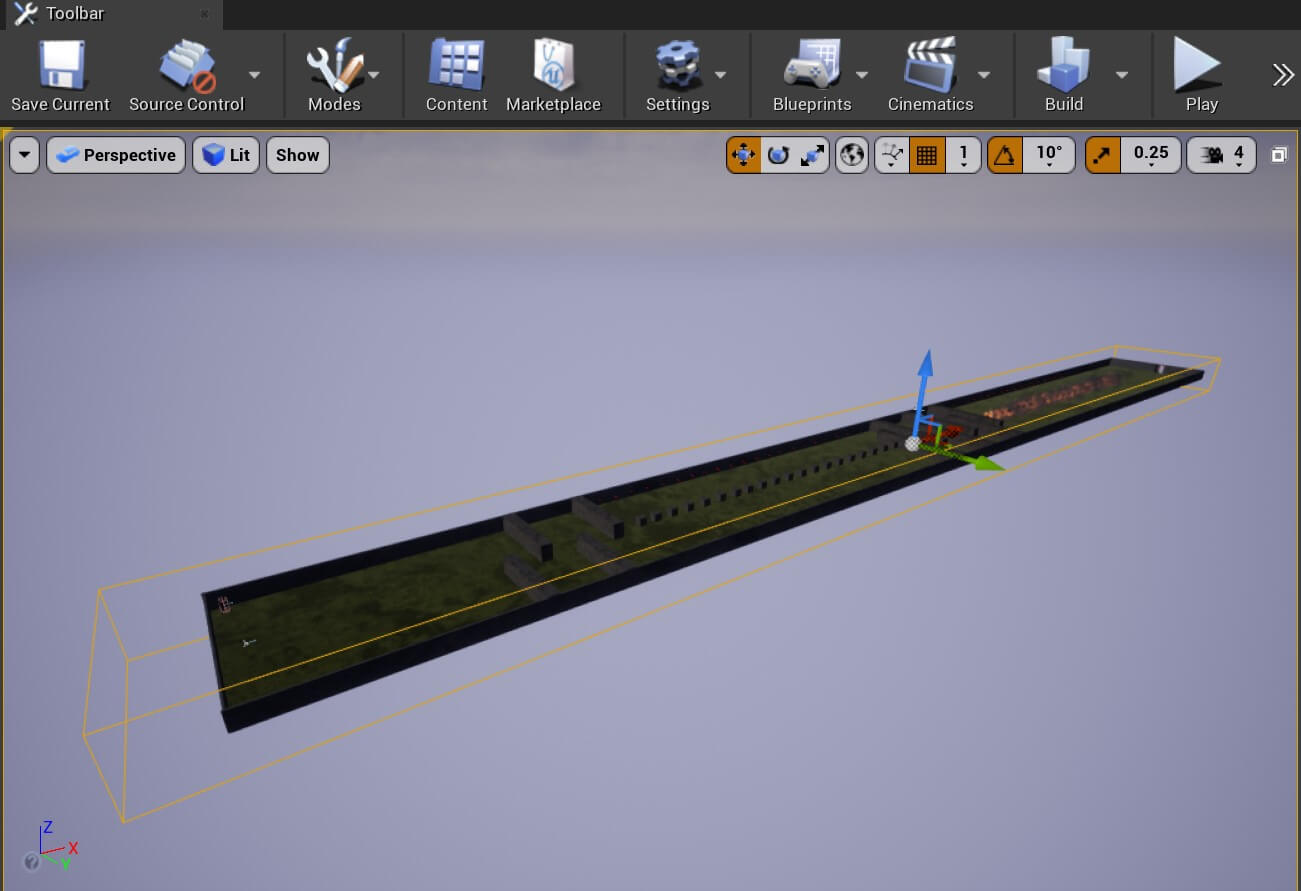
The way this works is the NavMeshBoundsVolume, or now AI Navigation Area how we renamed it, needs to cover the whole level e.g. it needs to be resized to cover every area where we plan the AI to move.
 
When we do that, the AI Navigation Area will have the information about every obstacle in the level and it will have information about areas where the AI can move, so it will then easily navigate through the obstacles.
 
Select the AI Navigation Area in the World Outliner and set the following values for the Location:
 
  • X = -117
  • Y = 0
  • Z = 57
And the following values for the Scale
 
  • X = 106
  • Y = 11
  • Z = 4
You can also resize the AI Navigation Area in the Brush Settings in the Details tab, same as how we resized Geometry Actors.
 
When you finish, the AI Navigation Area will cover the whole level:
 
Img 8
Now that we have the AI Navigation Area set up, we can test the game.
 
I am going spawn the PlayerCharacter near the end of the level, just so that we can follow the movement of the AI and see how it navigates the Obstacle Walls that he will encounter.
 
You will also see the Delay function in action, because the enemy will start moving after the specified delay passes, in our case 5 seconds:
 
As you can see the AI was able to navigate all Obstacle Walls in his way. Of course the Moving Obstacles he didn’t navigate because they are moving, but static Actors e.g. Actors that are not moving like the Obstacle Wall, he is able to navigate.
 
When the AI reached its target e.g. PlayerCharacter, it stopped which is the normal behaviour of the AI.
 
Which means if we want the AI to move to another target when he reaches the previous one, we would have to create new logic in our code to do that, and we will see examples of that in more complex games that we will create.
 

Connecting The Animation Blueprint With The Enemy Blueprint
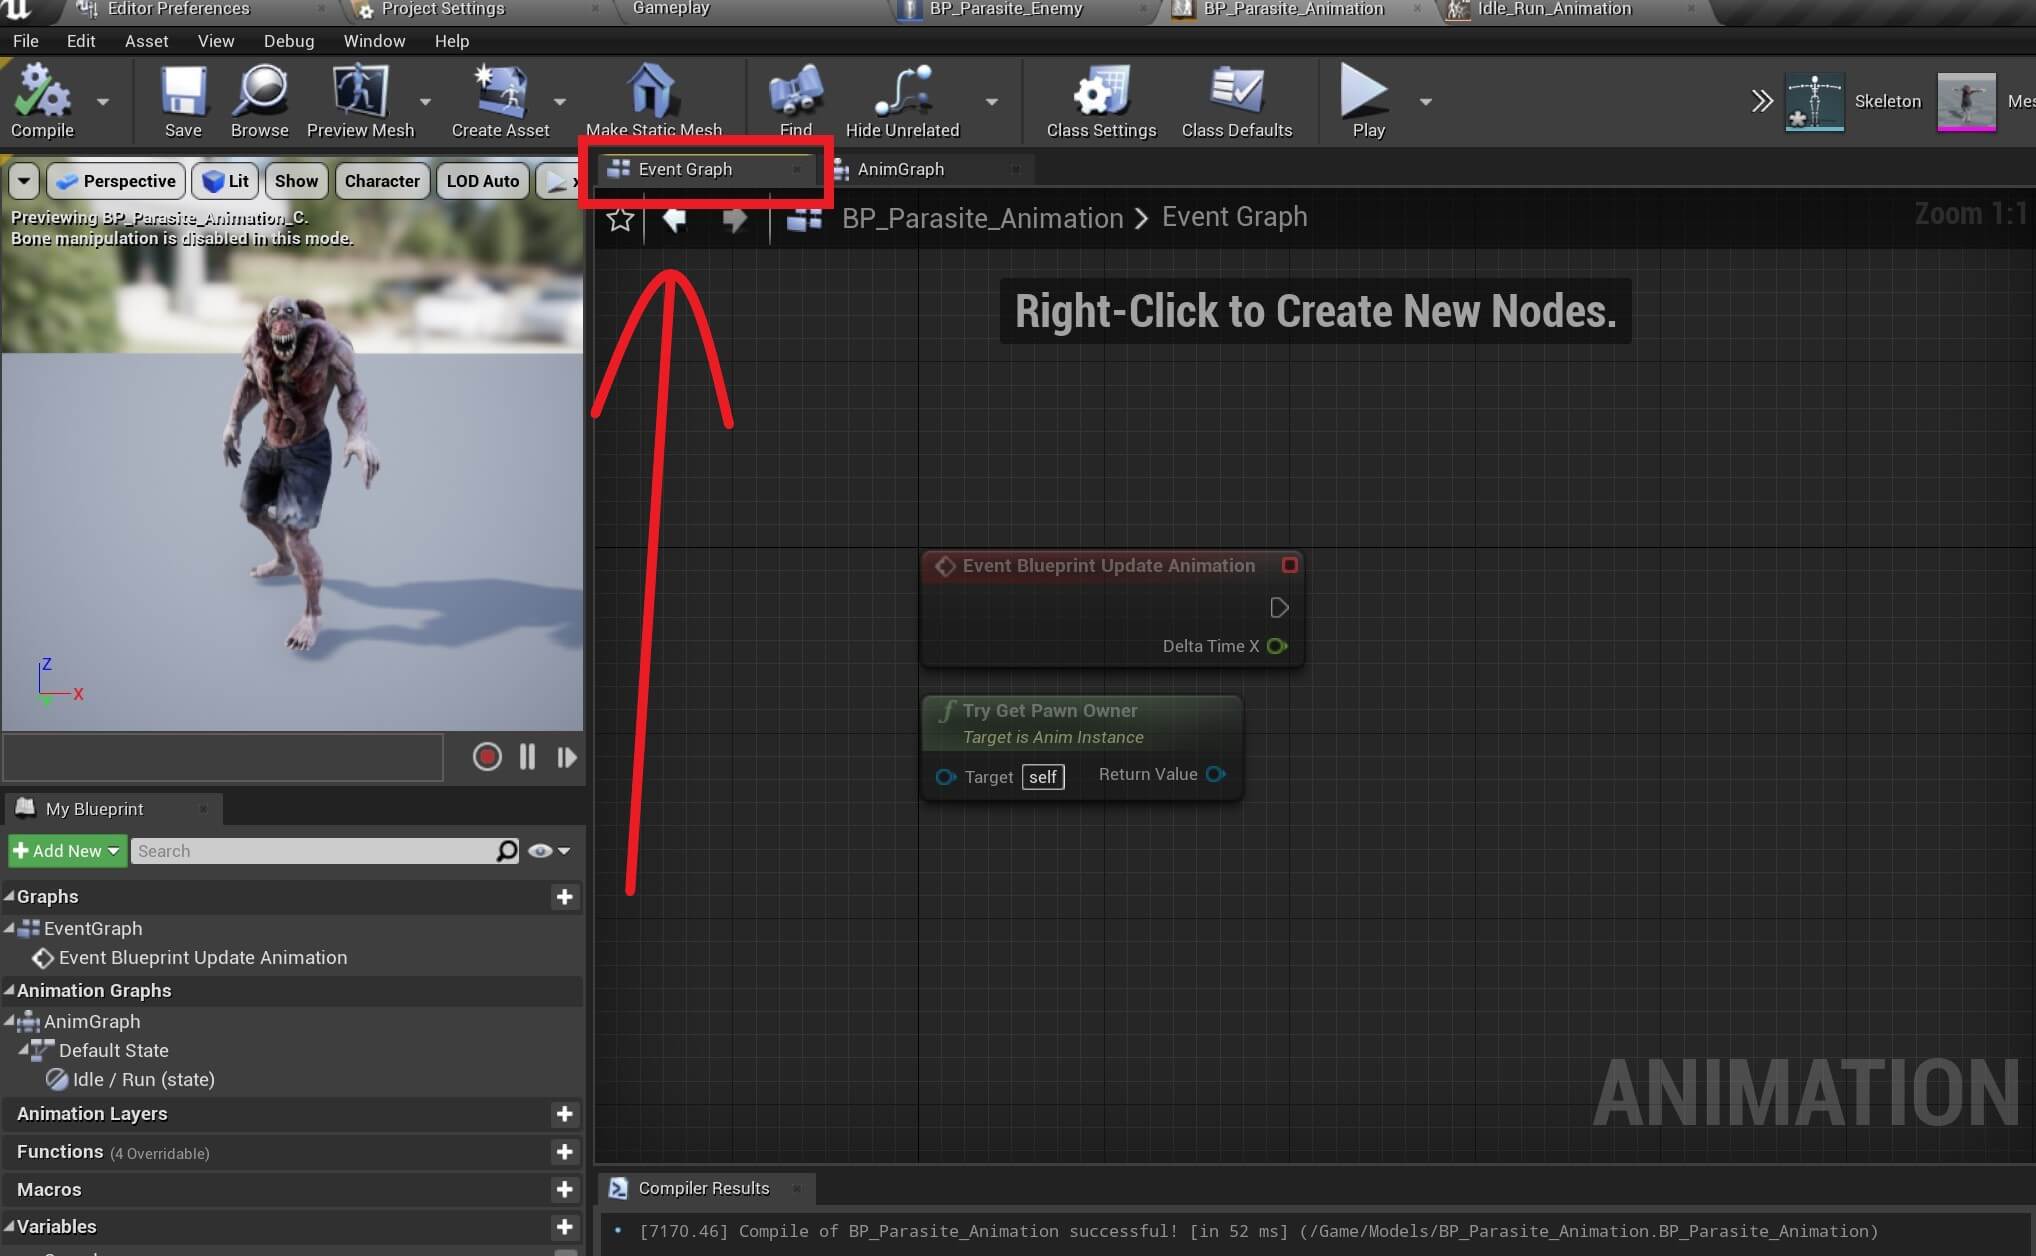
You also noticed that the enemy was not animating, well it was playing the idle animation but when the enemy moved it didn’t play the running animation.
 
The reason for that is we are not changing the value of the Speed variable that we set up in the animation Blueprint.
 
The Speed variable is controlling the Blend Space animation and if the Speed value is at 0, which by default it is, then the idle animation will be played.
 
Only when the Speed value gets to 375 then it will play the running animation which we set up inside the Idle_Run_Animation in the Axis Settings for the Horizontal Axis.
 
Now to edit the Speed value when the enemy moves, we need to go inside the Event Graph in the BP_Parasite_Animation:
 
Img 9 FIXED
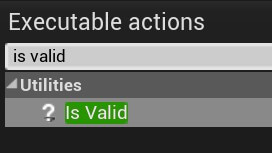
From the Event Blueprint Update Animation, we are going to call a function called ? Is Valid:
 
Img 10
This function is going to test if the object we pass as the parameter in the Input Object parameter is valid, meaning if that object is inside the game, it’s not destroyed, and we can use it.
 
For the parameter we are going pass the Return Value of the Try Get Pawn Owner function which is going to get the owner of the animation Blueprint.
 
If the ? Is Valid function returns Is Valid, then we can proceed to set the Speed value:
 
Img 11
You can copy the nodes from here:
 

To set the value of the Speed variable we are using the velocity of the enemy. We get a reference to the enemy by calling the Try Get Pawn Owner function which again, will return the owner of the animation Blueprint which in our case is the Parasite enemy.

The velocity of an Actor increases when the Actor is moving, and the VectorLength will return the length of the velocity which is a float number.

The faster the enemy moves, the higher the value is for the length of the velocity.

When we test the game now, we will see that the running animation is being played when the enemy is moving:

As long as the enemy is moving the running animation is being played, and when the enemy reached its destination e.g. PlayerCharacter, the enemy stopped and the idle animation started playing.

Detecting Collision Between The Enemy And The Player

The last step in our game is to kill the PlayerCharacter when the enemy reaches him.

To do this, we need to add a new Box Collision component to the enemy.

Inside the BP_Parasite_Enemy, in the Components tab click on the Add Component button and filter for Box Collision:
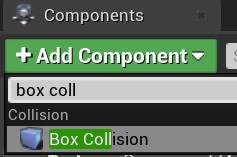
Img 12
Rename the Box Collision to Collision Detection and in the Details tab for the Shape settings set the following values:
 
  • X = 35
  • Y = 32
  • Z = 87
This will resize the Box Collision component so that when the enemy gets close to the PlayerCharacter it will collide with the PlayerCharacter:
 
Img 13

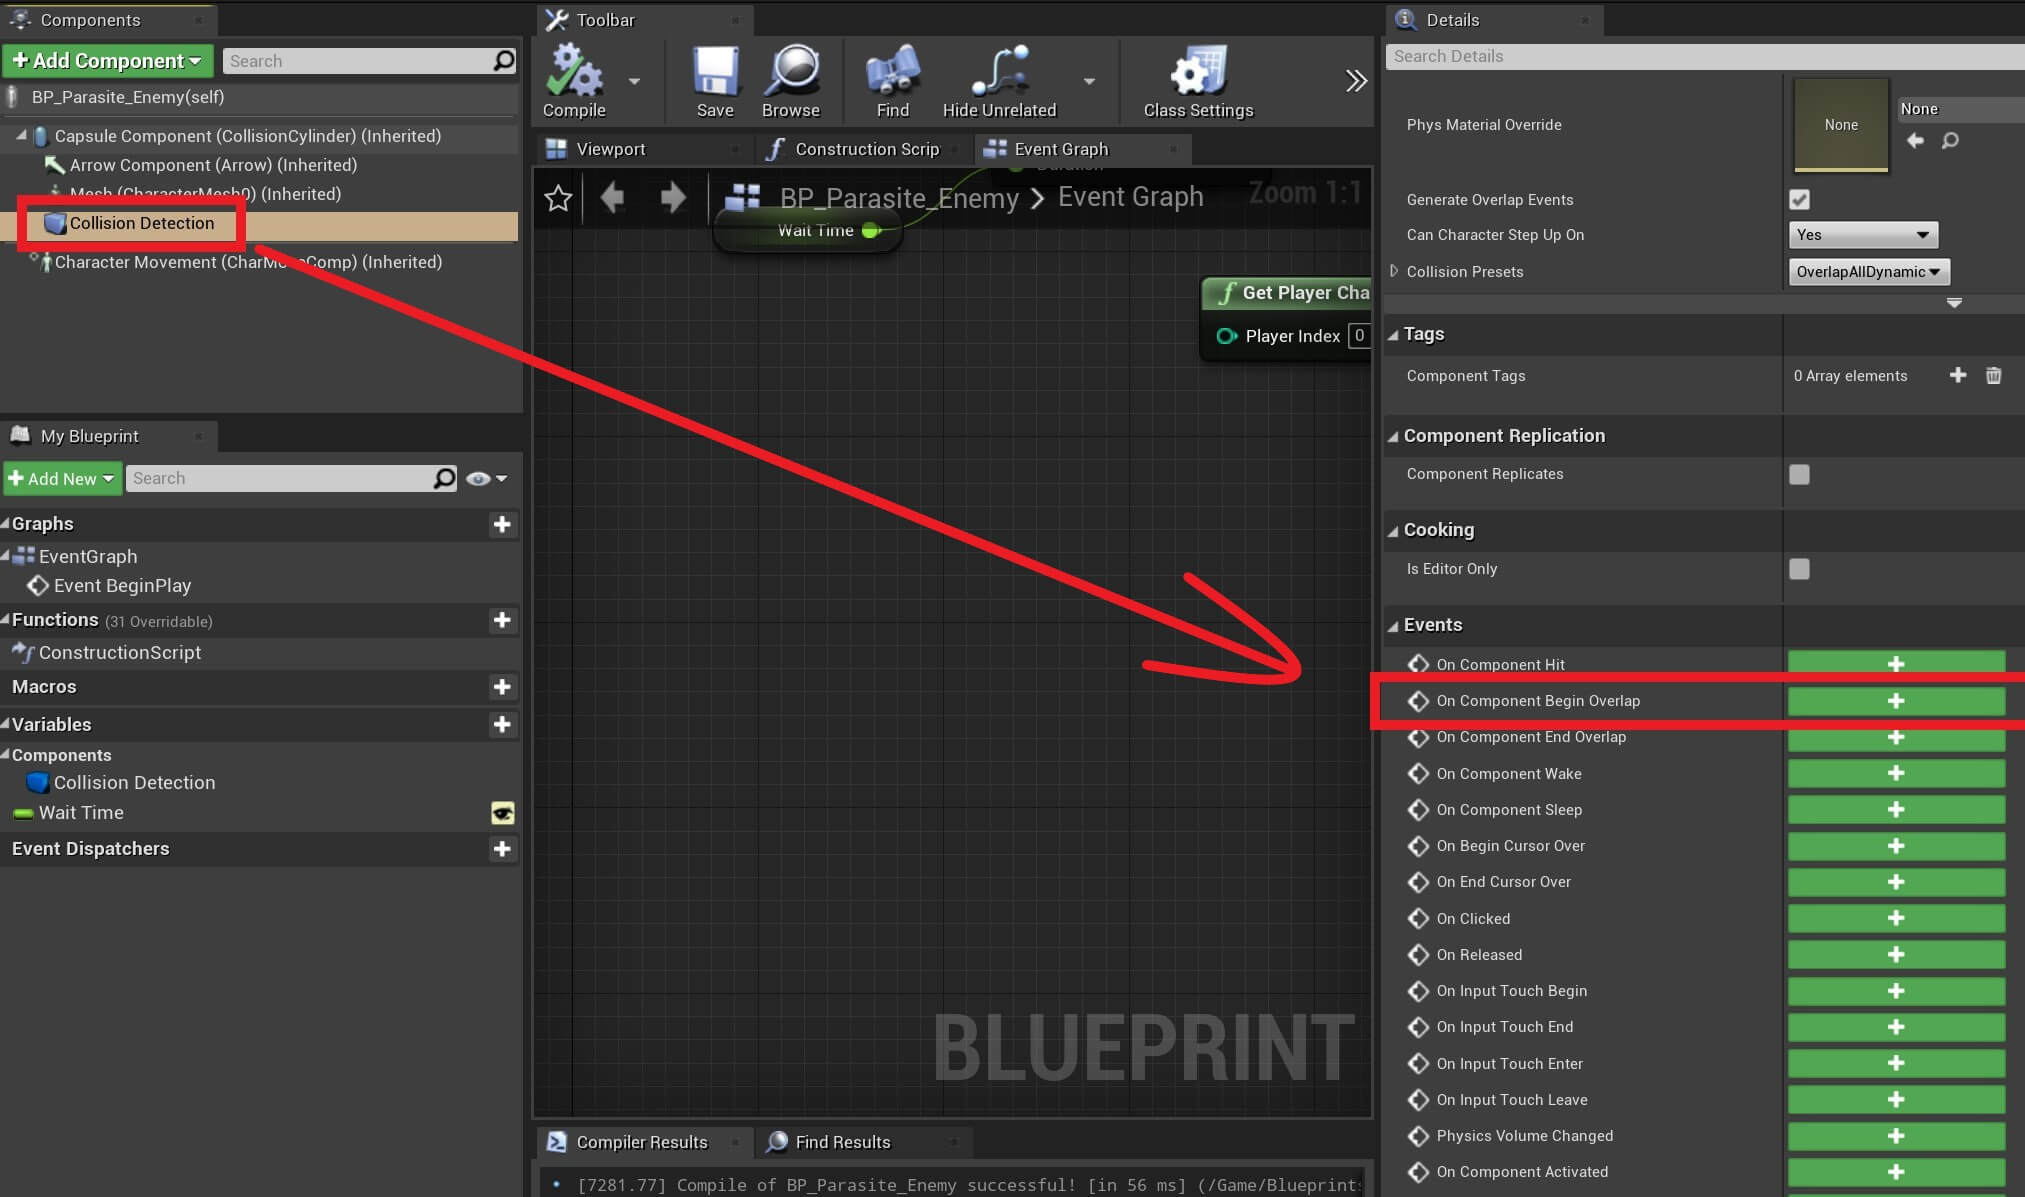
To detect collision in the code, we need to go inside the Event Graph, select the Collision Detection component and inside the Details tab scroll down to the Events settings and click on the green + button for the On Component Begin Overlap event:
Img 14 FIXED
From the On Component Begin Overlap we are going to call the same code that we called inside the BP_Door when we used the same approach to detect if we collided with the PlayerCharacter:
 
Img 15
You can copy the nodes from here:
 

The same explanation we gave when we first introduced the collision detection between actors also applies in this situation, so if you need to refresh your knowledge you can click here.

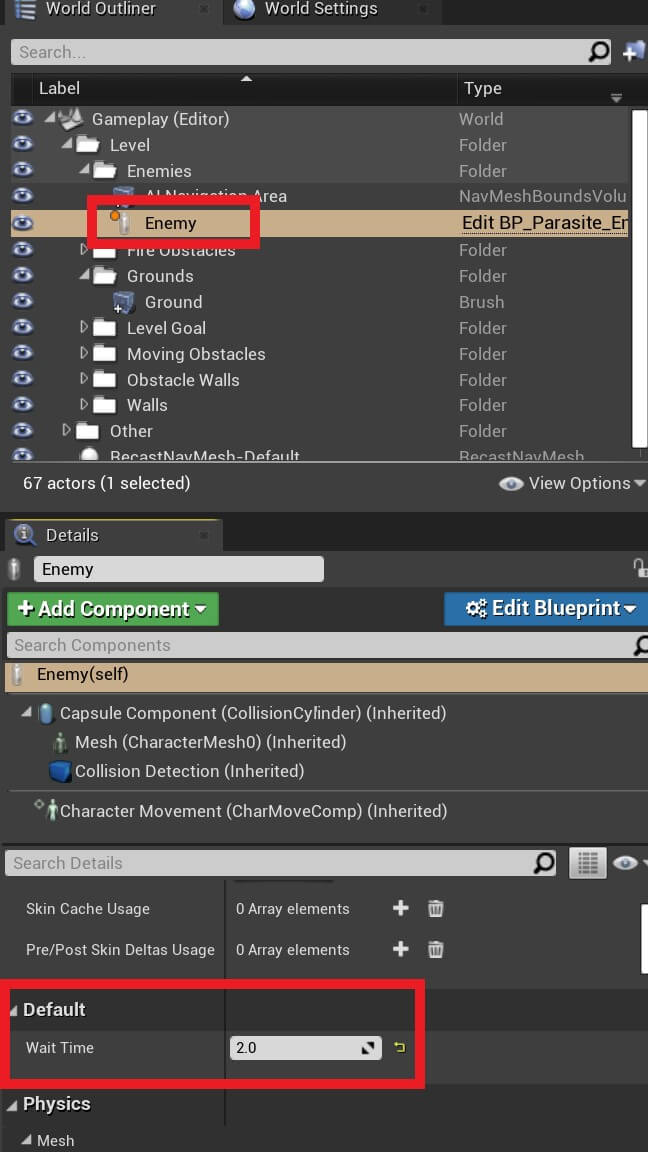
Before we test the game, I am going to select the enemy in the World Outliner and in the Details tab change the Wait Time value to 2 so that we don’t have to wait for 5 seconds before the enemy starts moving:
Img 16

Now we can test the game:

As soon as the enemy catches the PlayerCharacter the game over UI will be called and we lose the game.
 
We already know what is going to happen when we reach the level goal or when we collide with the Fire Obstacle, so I am not going to go through the whole level and test that again.
 
Congratulations for reaching the end of this tutorial where you learned the basics and a little bit above basics when it comes to creating games in Unreal Engine.
 

2 thoughts on “Create A Parasite Platformer Game In Unreal Engine Part 10: Enemy AI Behaviour And Wrapping Up Our Game”

Leave a Comment