In this tutorial series you are going to create your very first Unreal Engine game.
This is a complete beginner tutorial so no prior knowledge about Unreal Engine is required.
However, it is required that you download Unreal Engine and get yourself familiar with the Editor, tabs and tools that we will use the most.
You can do that in our Downloading Unreal Engine And Taking A Look At Its Interface lecture.
I always aim to make these first games as simple as possible while implementing all the basic stuff we learned about Unreal Engine.
The goal of the game is to get to the end of the level avoiding obstacles along the way while you run away from an enemy monster that is chasing you.
If the enemy catches you then you lose and you can play the game again. When you reach the end of the level you win and you have the option to play the game again.
Here is a preview of the game that we will create:
Download Assets And Complete Project For This Tutorial
In the first part of this tutorial series we will create the level for our game.
You can download the complete project for this tutorial by clicking the Download assets button above. The assets are also included but I will show you how to download the assets online as we will use 3D models from mixamo.com
Let’s get started.
Creating A New Unreal Engine Project
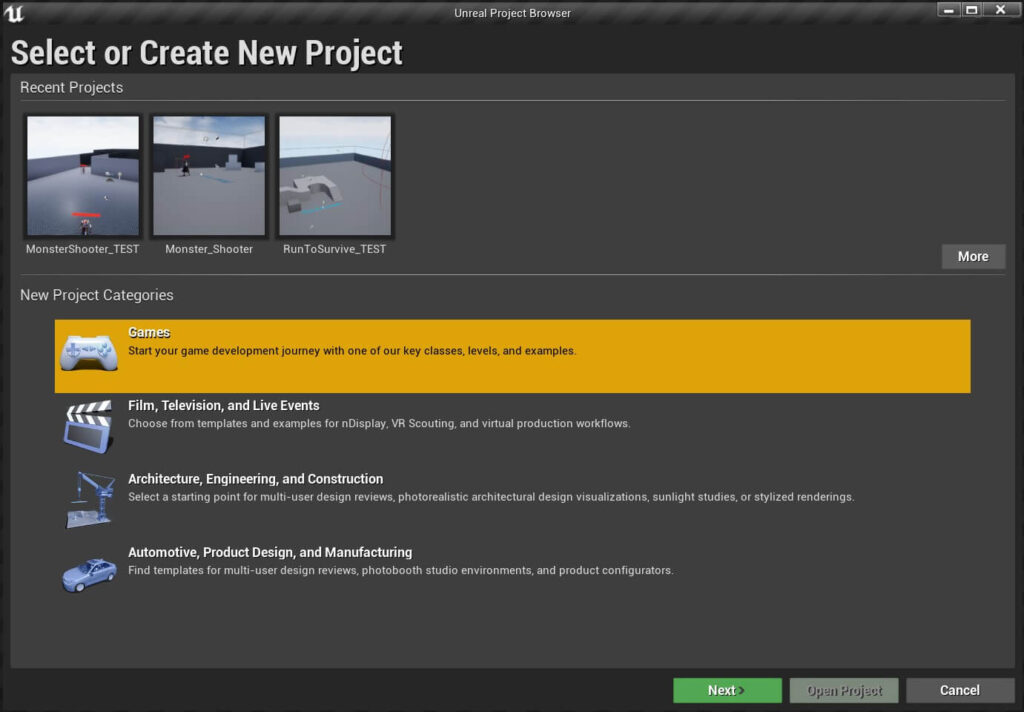
Create a new game project from the Project Browser:
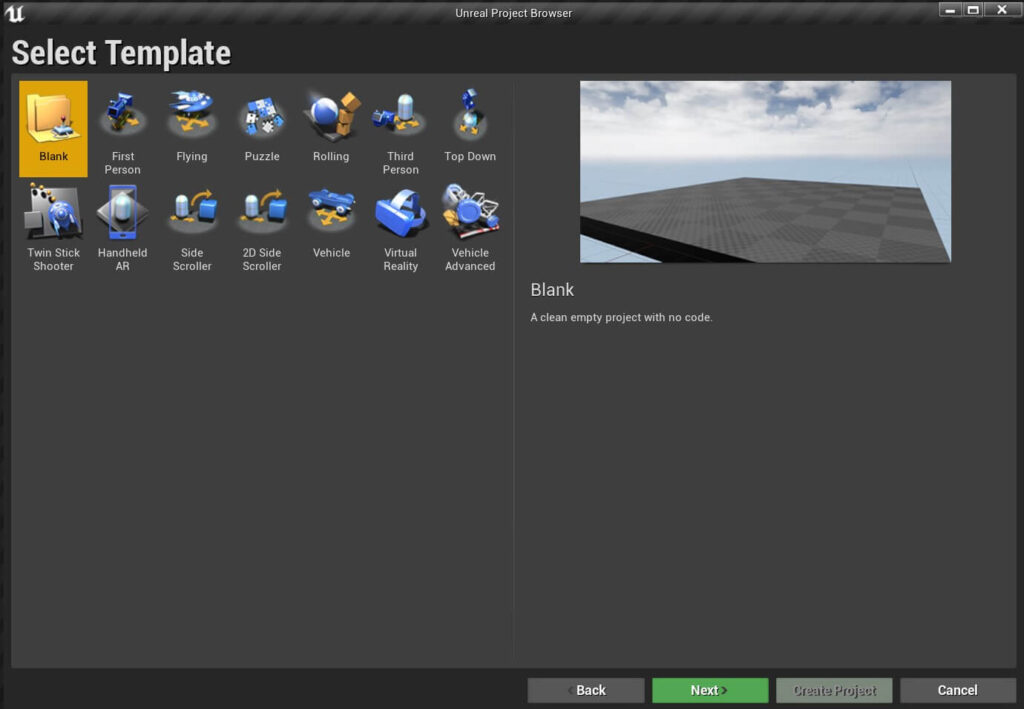
Select a Blank project:
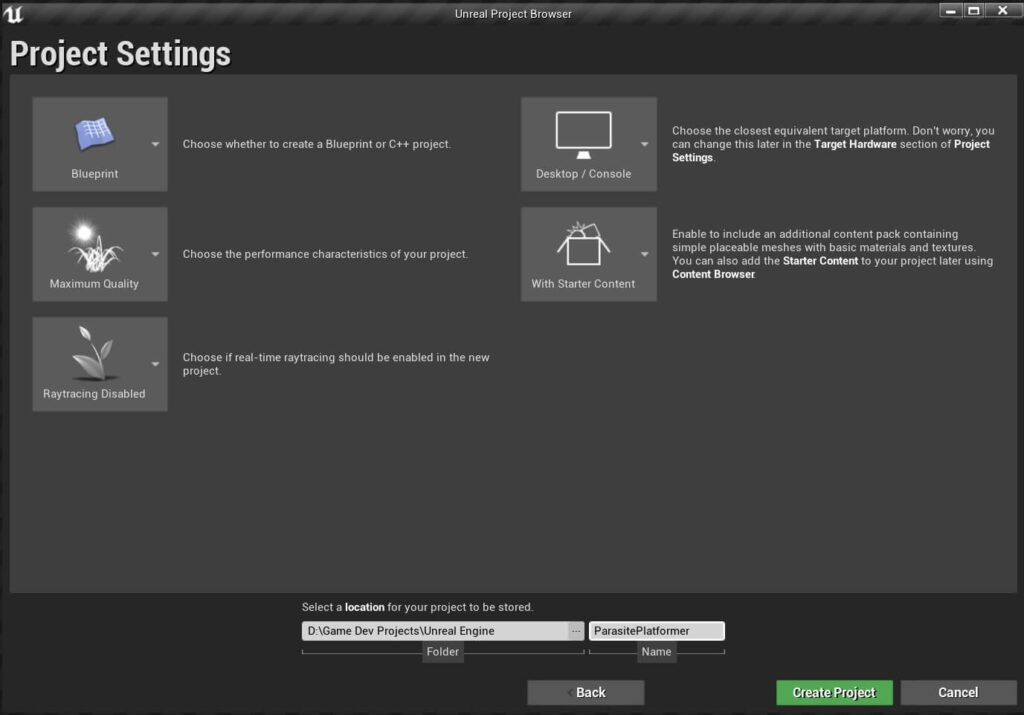
Make sure that you select Blueprint project and With Starter Content. Give your project a name ParasitePlatformer, chose where to store the project and click on the Create button:
Organizing The Project
Inside the Content Browser Right Click -> New Folder, this will create a new folder in your project hierarchy:


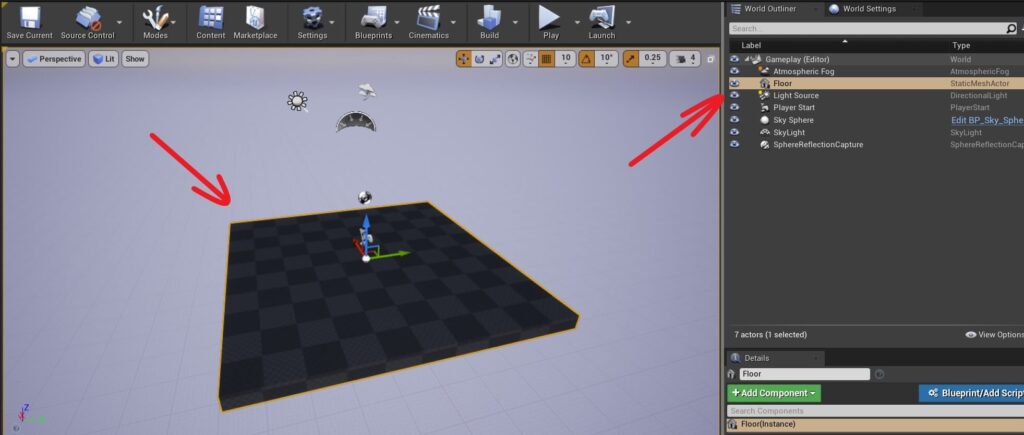
From the New Level window click on Default to create the Default level which only has a simple floor inside:

Before we proceed to add the elements in our level, save the new level in the Levels folder by CTRL + S (Windows), CMD + S(Mac OS) or File -> Save Current.
From the new window select the folder where you want to save your level, give it a name Gameplay and click the save button:


Grouping Actors Into Folders In The World Outliner Tab
Select the floor Actor that came with the level inside the Level Editor or World Outliner tab and press the Delete button on your keyboard to remove it from the game:

Inside the Other folder I am going to drag all the current Actors that where created along with our new level:
Same as how we can organize our project, we can also organize the Actors we place in the level as well.
This way the level will not get messy and we will know where every Actor is located if there is a need to edit it.
Resizing Actors
When you want to resize an Actor using the Scale propertu, you can click on the Lock icon on the right side of the Scale property, and when Locked, if you change the scale for any axis all other axis will follow that change e.g. if you set the X scale to 0.5 then Y and Z axis will automatically change to 0.5:

If you want to have different Scale values for every axis, then click the Lock icon again to unlock it.
Another way is to change the size of every axis inside the Brush Settings in the Details tab for the selected Actor:
Change the name of the Box Brush Actor to Ground, move it inside the Ground folder.
Next, set the value of every axis for the Location property of the Transform component to 0:

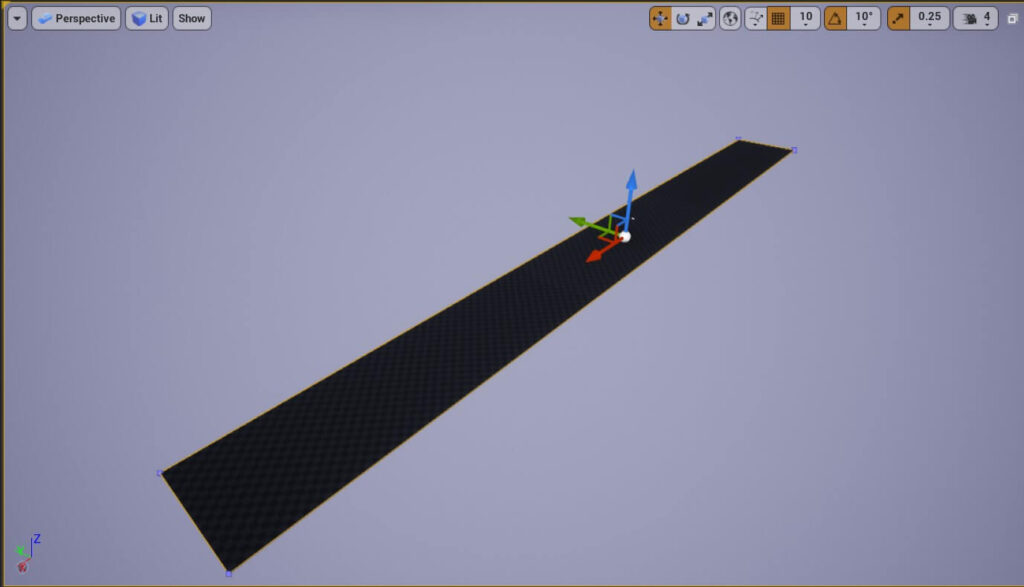
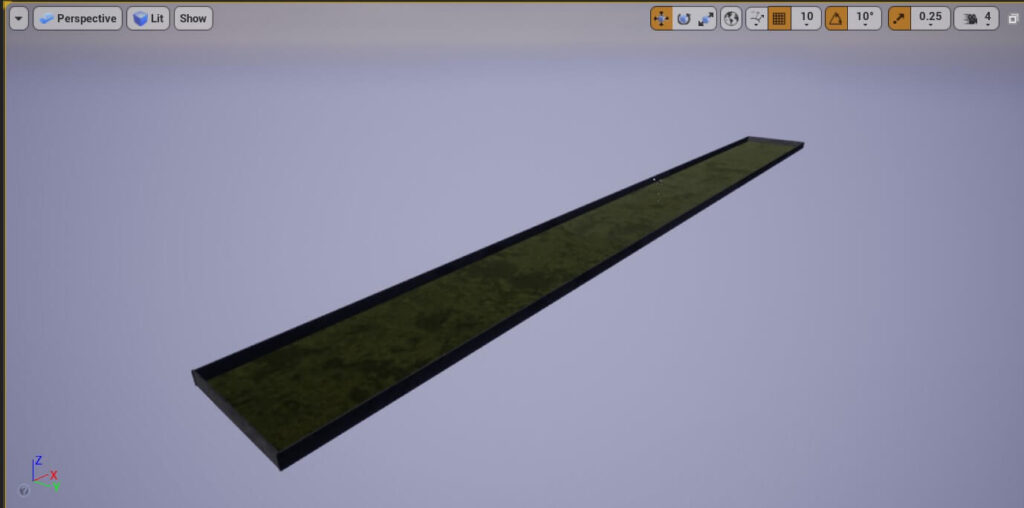
And lastly, change the size of the Ground Actor inside the Brush Settings:

This is how the Ground Actor now looks like inside the Level Editor:
Applying Materials To Actors
With the current state of how the Ground Actor looks, it seems like we are creating a game of chess, which of course, is not the case.
Let’s apply materials to the Ground Actor to change its appearance.
Inside the Starter Content -> Materials folder you will find a lot of premade materials that come along with the Starter Content.
Search for the material called M_Ground_Moss inside the Materials folder, Left Click and hold, then drag it on the Ground Actor and release the Left Click to apply the material to the Ground:
You can play around and apply other materials to the Ground and see the outcome.
Applying Materials To Geometry Actors
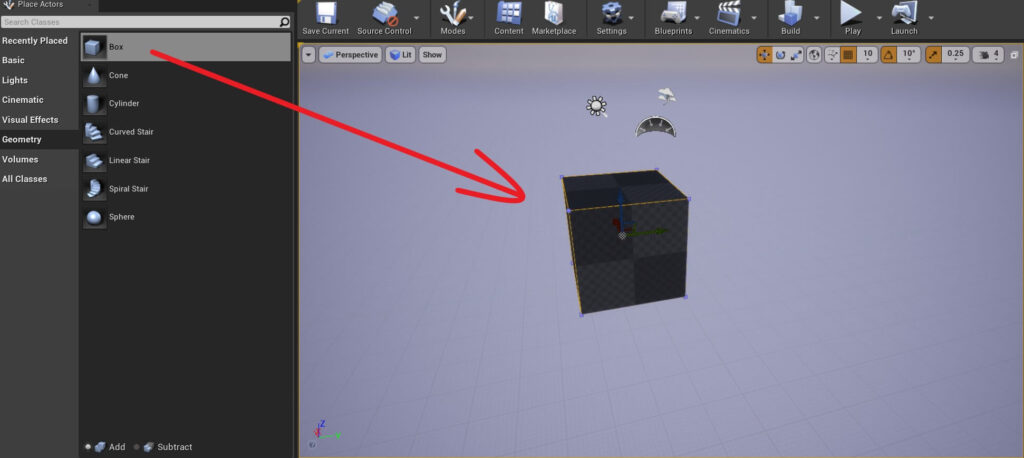
When it comes to the Geometry Actors that we can drag from the Place Actors tab there are a few ways how we can apply materials on them.
If you just drag a Box Brush in the Level Editor and try to apply a material to it, this will happen:
This is important to know because we will use Geometry Actors a lot in our development to create or prototype levels or to create obstacles and so on.
Creating The Walls For The Level
Moving forward, inside the World Outliner Right Click on the Level folder and create a new sub folder and name it Walls.
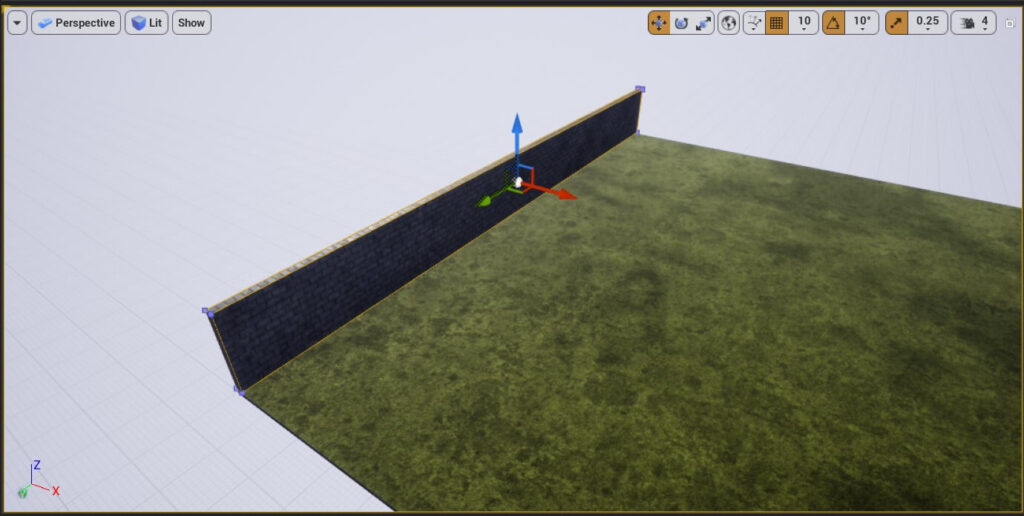
Inside the Starter Content -> Materials folder click on the material named M_Brick_Clay_Beveled and then drag a new Box Actor from Geometry inside the Place Actors tab.
This will apply the selected material to all sides of the Box Brush.
Rename the Box Brush to Start Wall and move it inside the Walls folder.
Now change the axis values for the Location property of the Transform component for the Start Wall Actor:
- X = -9990
- Y = 0
- Z = 105
- X = 20
- Y = 2000
- Z = 200
- X = 9990
- Y = 0
- Z = 105
The size is going to stay the same as the Start Wall so we will not change the values for the axis inside the Brush Settings.
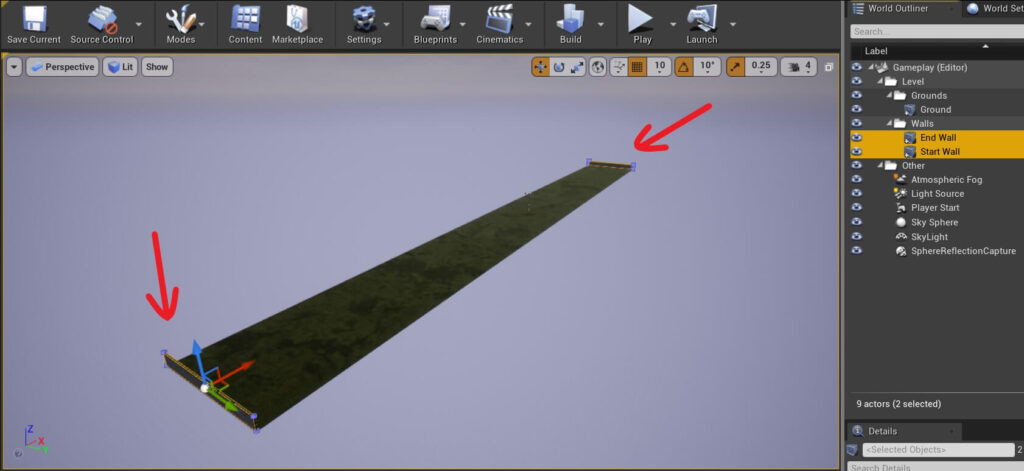
Next, duplicate the Start Wall again by selecting it, holding ALT and moving one of the axis.
Rename the new duplicate Actor to Right Wall and change the values for the Location:
- X = -10
- Y = 990
- Z = 100
- X = 20000
- Y = 20
- Z = 200
- X = -10
- Y = -993
- Z = 100
Creating The Wall Obstacles
- X = -7224
- Y = 485
- Z = 105
- X = 140
- Y = 1000
- Z = 200
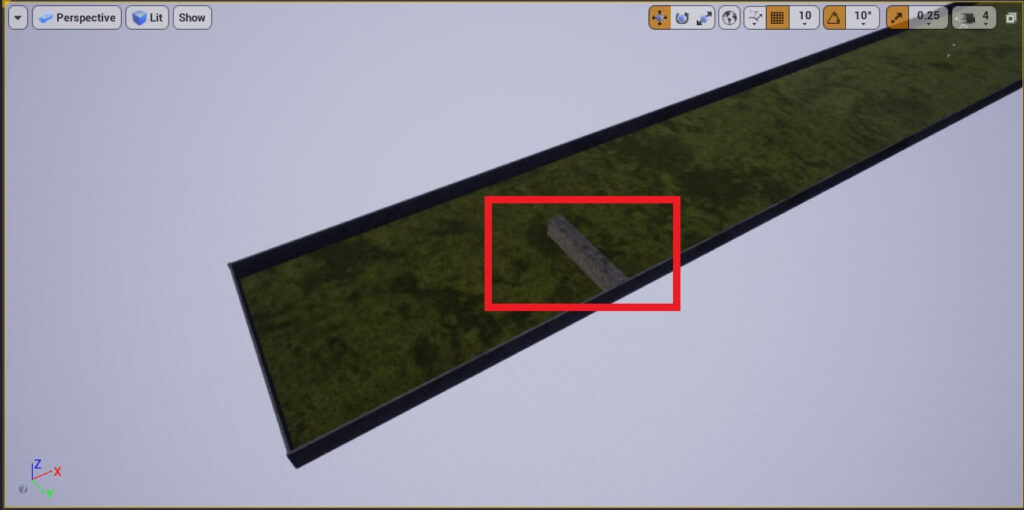
To create more Obstacle Walls we can simply select the current one and duplicate it by holding ALT and then adjust the position of the newly created Obstacle Wall:
You can reposition the Obstacle Walls right next to each other but leave a little gap between them where the Player Actor can pass by, like you saw me doing in the video.
And since we named the first Obstacle Wall Actor with Obstacle Wall 1 every duplicate that we create from it will be named with the next number e.g. Obstacle Wall 2, Obstacle Wall 3 and so on.
You can also change the Position Grid Snap value to a higher or lower value to make it easier to position the Obstacle Walls.
To create a new row of Obstacle Walls you can select all the previous ones that you crated and duplicate them, and move them at the next part of the level:
Where To Go From Here
In this tutorial you learned how to work with Actors by adding them in the level, reposition them, resize them, and apply materials on them.
We also learned how to work with the Geometry Actors that you can find in the Place Actors tab and how to use them to create levels for our games.
In the next part of this tutorial series titled Game Modes, Player Character, And Setting Up The Input you will learn how to create Blueprints, what are Game Modes, and how the Input system works.
Comments are closed.