The first step towards creating games in Unreal Engine is to well, download the Engine, you can’t create games if you don’t download the engine.
He he he he he he I am funny I know 🙂
We are also going to explore the interface in Unreal Engine and get to know all the tools and tabs that we will use the most through out our development.
So let’s get started.
Downloading Epic Games Launcher
To download Unreal Engine we first must download Epic Games Launcher. You can click the link here or simply type “download epic game” on google and click the first link:

On the download page click on the Download Epic Games Launcher button:

Downloading Unreal Engine
After you finish setting up the Launcher open it. Click on the Unreal Engine tab on the left side:

From there click on the Library tab:

Inside the Library tab you will see all the versions of Unreal Engine that you have installed.
To install a new version, click on the + button:

When a new tab appears among the Engine versions, click on the drop down list:

Select the version you want to install and press the yellow Install button:

You can download as many Unreal Engine versions as you want. As you saw from my window, I have 18 different Unreal Engine versions installed on my computer.
The reason for that is because I explore a lot of online projects for learning purposes and I open those projects with the Engine version in which they are created.
For this tutorial I am going to use Unreal Engine version 4.26.2, you can also download the latest version for Unreal Engine at the time when you are reading this.
Everything that I am going to show you in this tutorial will never change e.g. the tools, tabs and other stuff we will soon see in Unreal Engine, so they will be the same for the version I am using and the version you install.
But of course, you can also download 4.26.2 version to follow along.
Depending on your internet speed it can take some time for Unreal Engine to download, but there is no other way around it except to wait until it finishes.
Creating Your First Project In Unreal Engine
To create a new project in Unreal Engine first we must launch the Engine.
There are two ways how we can do that.
We can click on the Launch button at the top right corner:
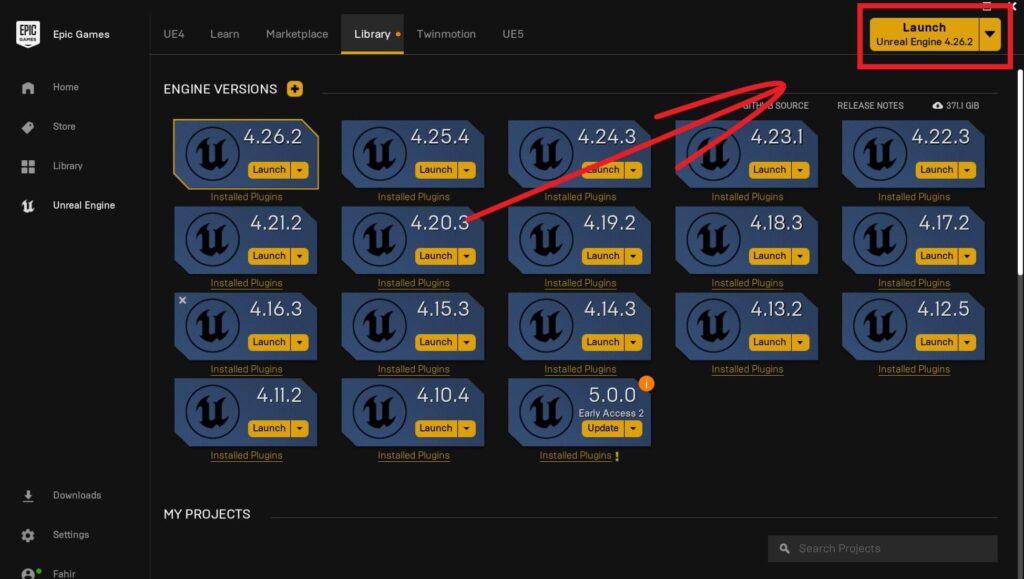
Or you can click on the Launch button below the Engine version:

In regards to the Launch button at the top right corner you will also notice an arrow button on its right side.
You can click on that arrow button which will open a drop down list of Unreal Engine versions that you have installed.
You can select which version of Unreal Engine will launch when you press the Launch button:
As I already said, for this tutorial I am going to use Unreal Engine version 4.26.2 so I am going to create a new project with that version.
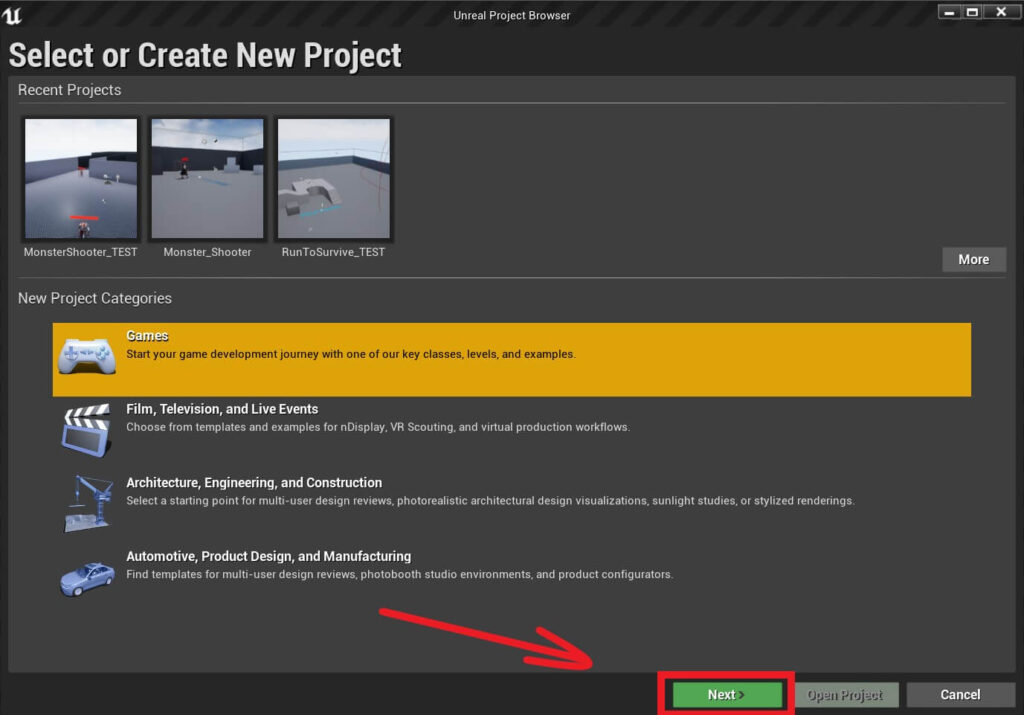
When you press the Launch button to open Unreal Engine you will wait a few moments depending on the speed of your computer, but when the when the Project Browser opens, this is what you will see:

The Recent Projects tab shows the recent projects you have worked on. If this is your first time using Unreal Engine then you will not have any project listed there.
But for me, you can see that I have three projects in the list.
In the New Project Categories you can select which type of project you want to create:
- Games
- Film, Television, And Live Events
- Architecture, Engineering, And Construction
- Automotive, Product Design, And Manufacturing
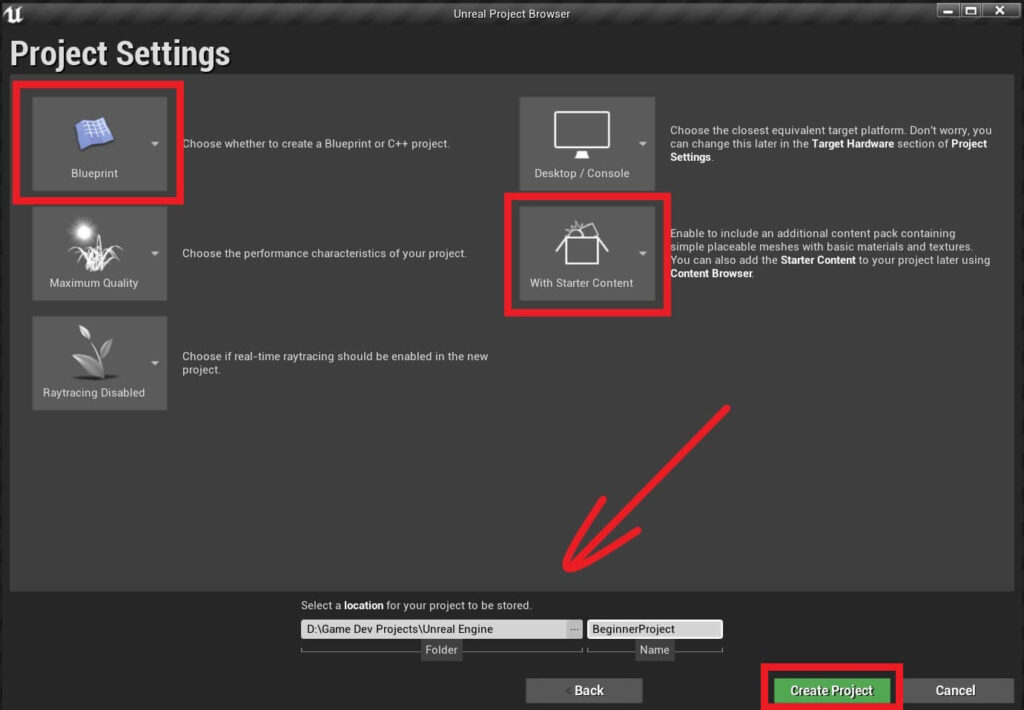
In the next window we can select a template with which we will create the project.
The templates contain prewritten code that we can use in our project such as the First Person template which features a Player character which is viewed from first person perspective and it can be controller via input.
We are going to click on Blank because we don’t want to use any template and click again on the Next button:

Let’s explore the most important tabs that we will use all the time during our development.
Before We Start With Every Tab

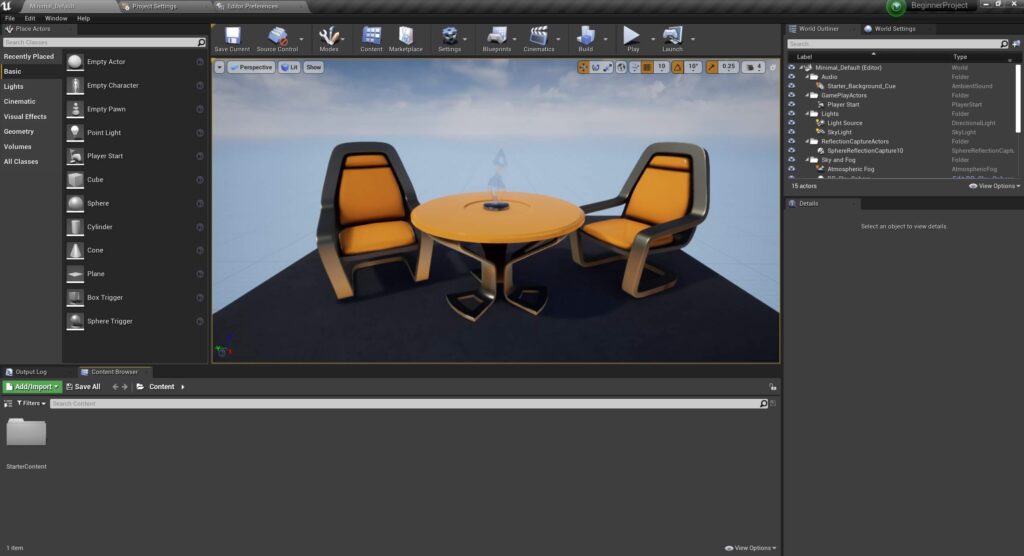
The Content Browser Tab
In the content browser tab you will import and see all the assets that you will use for your game such as 3D models, sound files, fonts and so on.
Currently, we can see the StartedContent folder, this is because we specified that we want to use the Starter Content package when we created the project.
You can click at the button in the top left corner of the Content Browser to open the hierarchy structure of your project files:

The top folder is Content folder and it will hold all new folders that you create in your project:

You can create new folders by Right Click -> New Folder inside the Content Browser tab:

You can also click on the View Options at the bottom right corner of the Content Browser tab and resize the scale of the folders inside the Content Browser by playing with the Scale slider:
Output Log Tab

The Output Log is a very useful tool that we will use a lot throughout our development journey.
Level Editor Tab
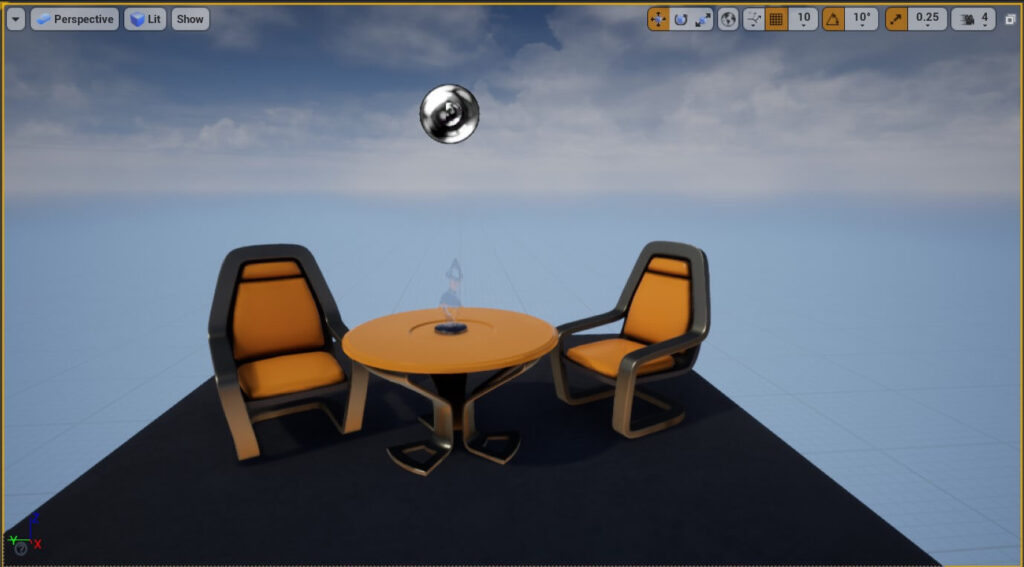
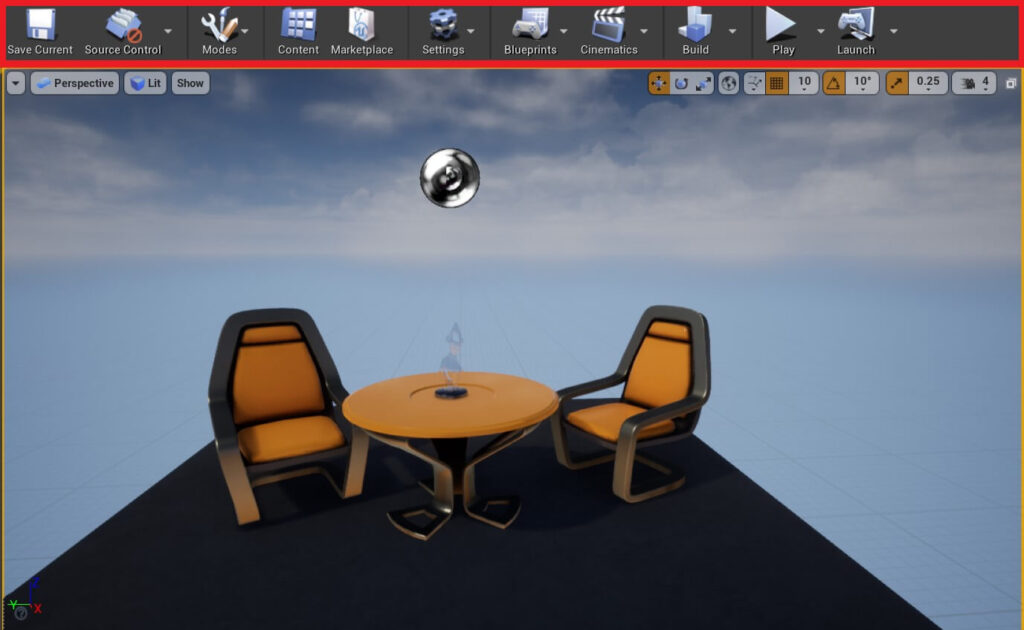
You can navigate inside the Level Editor with your mouse and keyboard controls:
And you can move the Actors or objects inside the level editor by selecting them:
Place Actors Tab
In the Place Actors tab you will find primitive type Actors that we can drag in the Level Editor as well as Light Actors, Triggers, and other components that we will use in our game development:
World Outliner Tab
The Details Tab

World Settings Tab

Reordering Editor Tabs
You can always reorder the tabs inside the editor and create your own development layout.
Just Left Click and hold on the tab you want to reorder and place it wherever you want:
Setting Up The Default Code Editor
The code editor is the IDE – Integrated Development Environment that we will use to write code for our Unreal Engine games. In our case it is Visual Studio that we already downloaded.
To instruct Unreal Engine to use Visual Studio as the default code editor we need to go to Edit -> Editor Preferences:


I have selected Visual Studio 2019 which is the one we downloaded in the C++ tutorial series.
Moving, Rotating, Snapping
Before we proceed to create our first game with Unreal Engine let us learn some basic operations that we will use all the time.
One of them is moving the Actor inside the Level Editor, which we already saw:
To change back to the Select Tool press the W on your keyboard.
You can also scale an Actor by pressing the R key on your keyboard to bring up the scaling tool and scale the desired Actor:
To change back to the select tool again press the W key on your keyboard.
You can also switch between the Select, Rotate, and Scale tool by pressing one of the three buttons in the Level Editor:
As you can see, you can either click on one of the buttons or use W, E and R key on your keyboard to switch between Select, Rotate and Scale tools.
You can also snap Actors to their closest ground by selecting the Actor and pressing the END key on your keyboard:
You will also notice that when we select an Actor and move it in the Level Editor, he is moving by a certain number of units and he is snapping when we move the Actor slowly.
We can control those options using the Position Snap Grid tool:
As you can see you can enable and disable the grid snapping by pressing the grid button, and you can change the size of the snapping units to a higher or lower value.
Depending on the snapping size the Actor will snap at a higher unit value or at a lower unit value.
This is very useful when you are building levels and you need Actors to be close to each other, using the snap values will make that process much easier.
Splitting The Level Editor Viewport For Easier Actor Positioning
We can also split the Level Editor viewport into four parts each having its own perspective of the view which makes it much easier to position Actors in the level:
And with that we are going to conclude the lecture about basic tabs, navigation and working your way around Unreal Engine.
Of course, when we start creating our games we will revise everything we saw in the examples in this lecture and you will also introduce new tabs and windows when there is a need for that.
Where To Go From Here
Now that you know how to navigate your way around Unreal Engine editor, let us create our first Unreal Engine game called Parasite Platformer.
Comments are closed.