In part 7 of this tutorial series we learned how to interact with UI buttons, how to load scenes, and we learned about the singleton pattern, one of the most important concepts in Unity game development.
In this part we are going to restart the game when the player dies and finish the project.
Creating The Gameplay UI
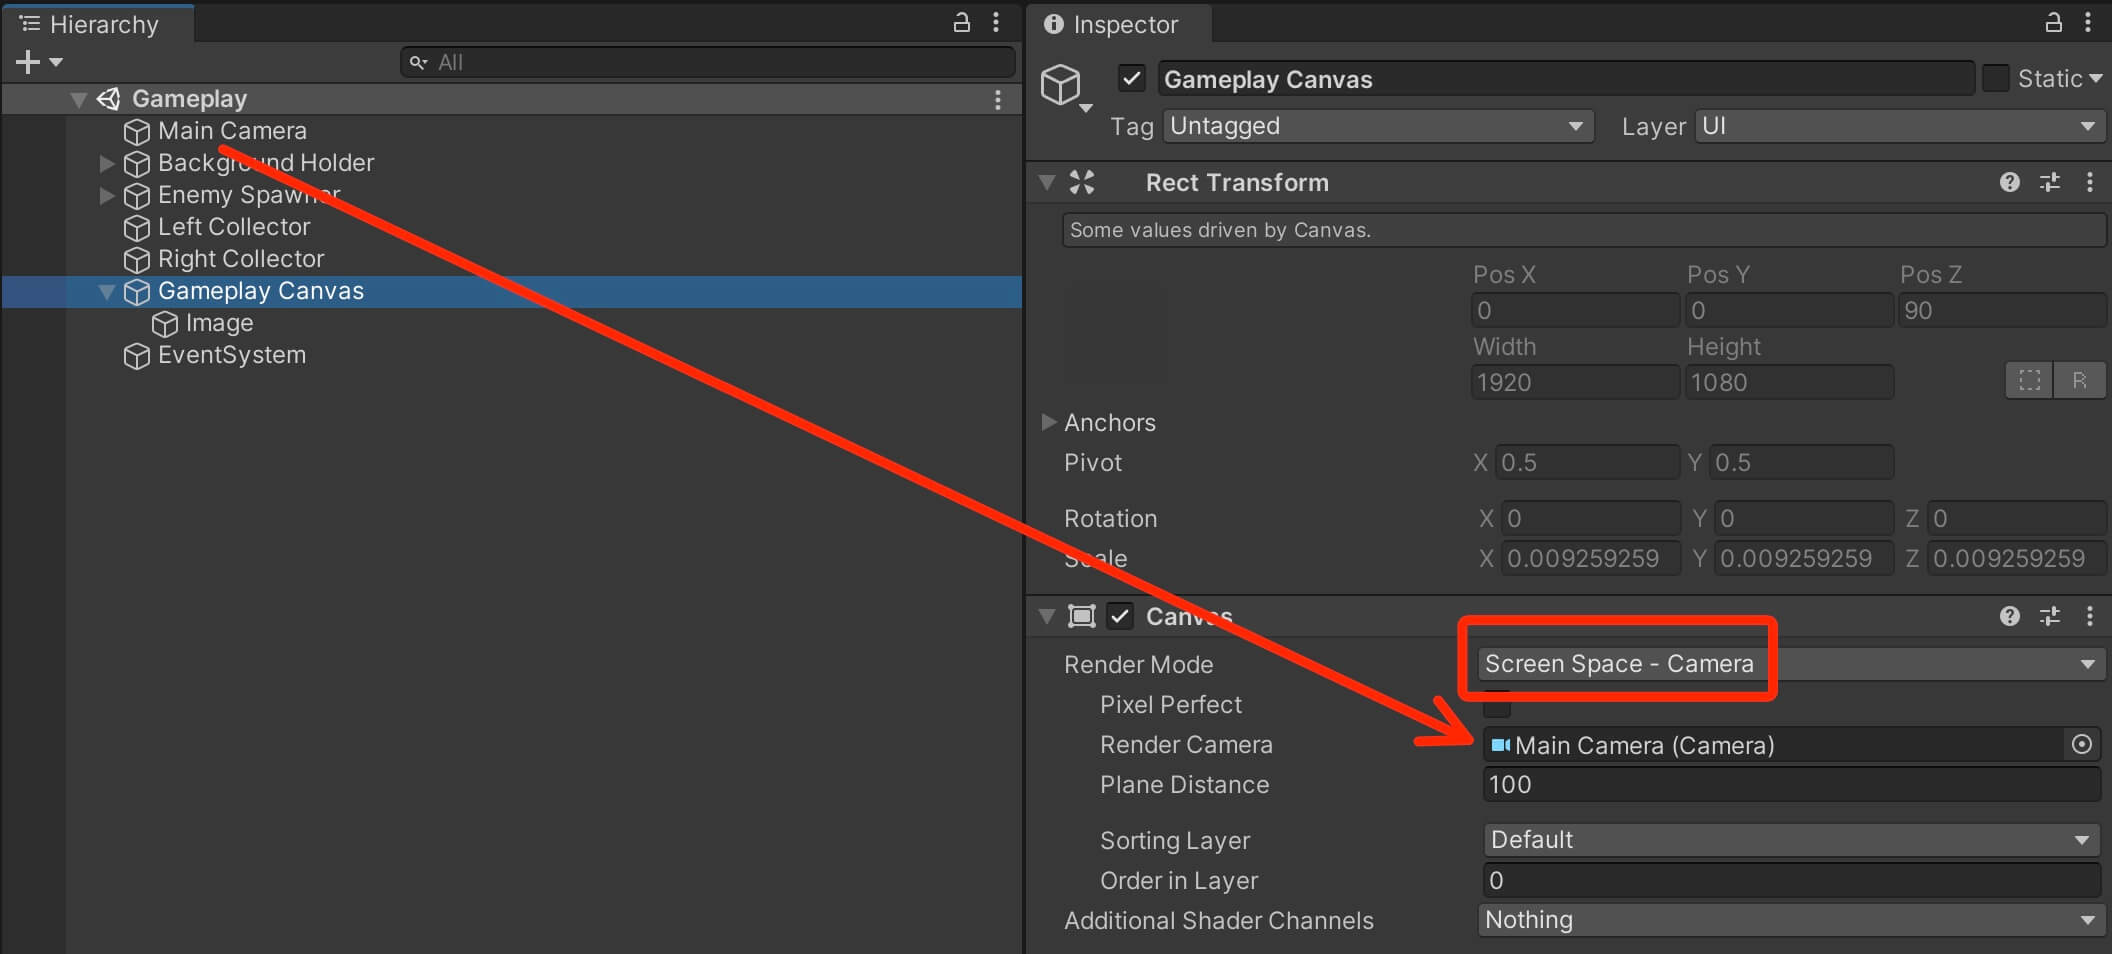
For the UI Scale Mode select Scale With Screen Size and use 1920×1080 as the Reference resolution and for the Match set 0.5:

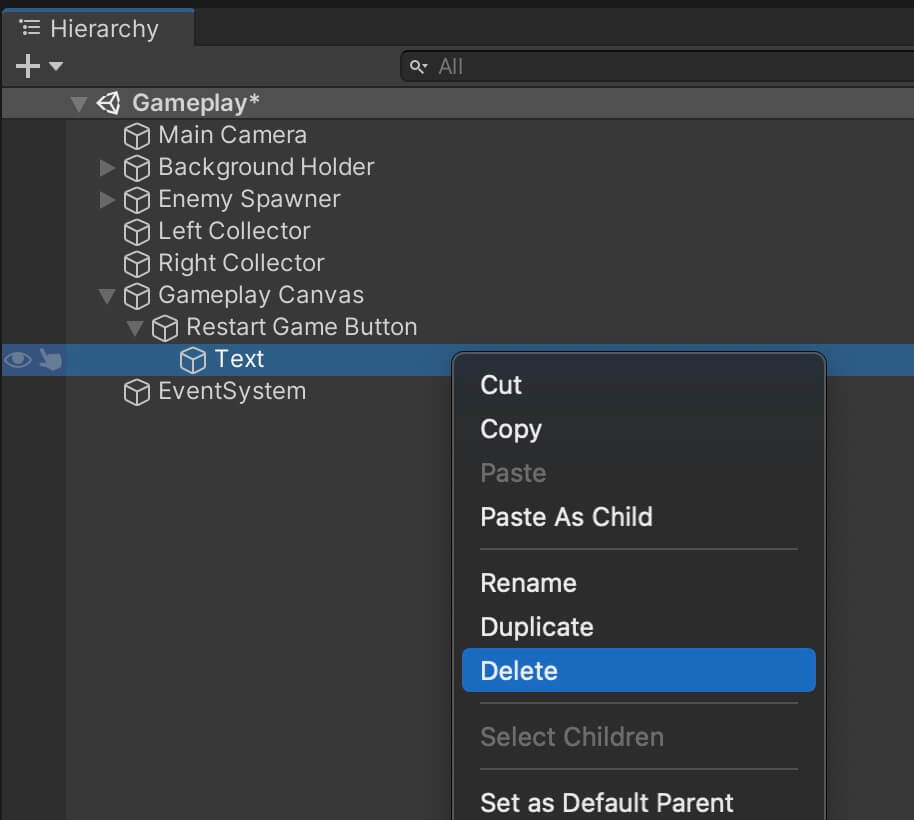
Next, select the UI button and rename it to Restart Game Button and delete the UI text child object:
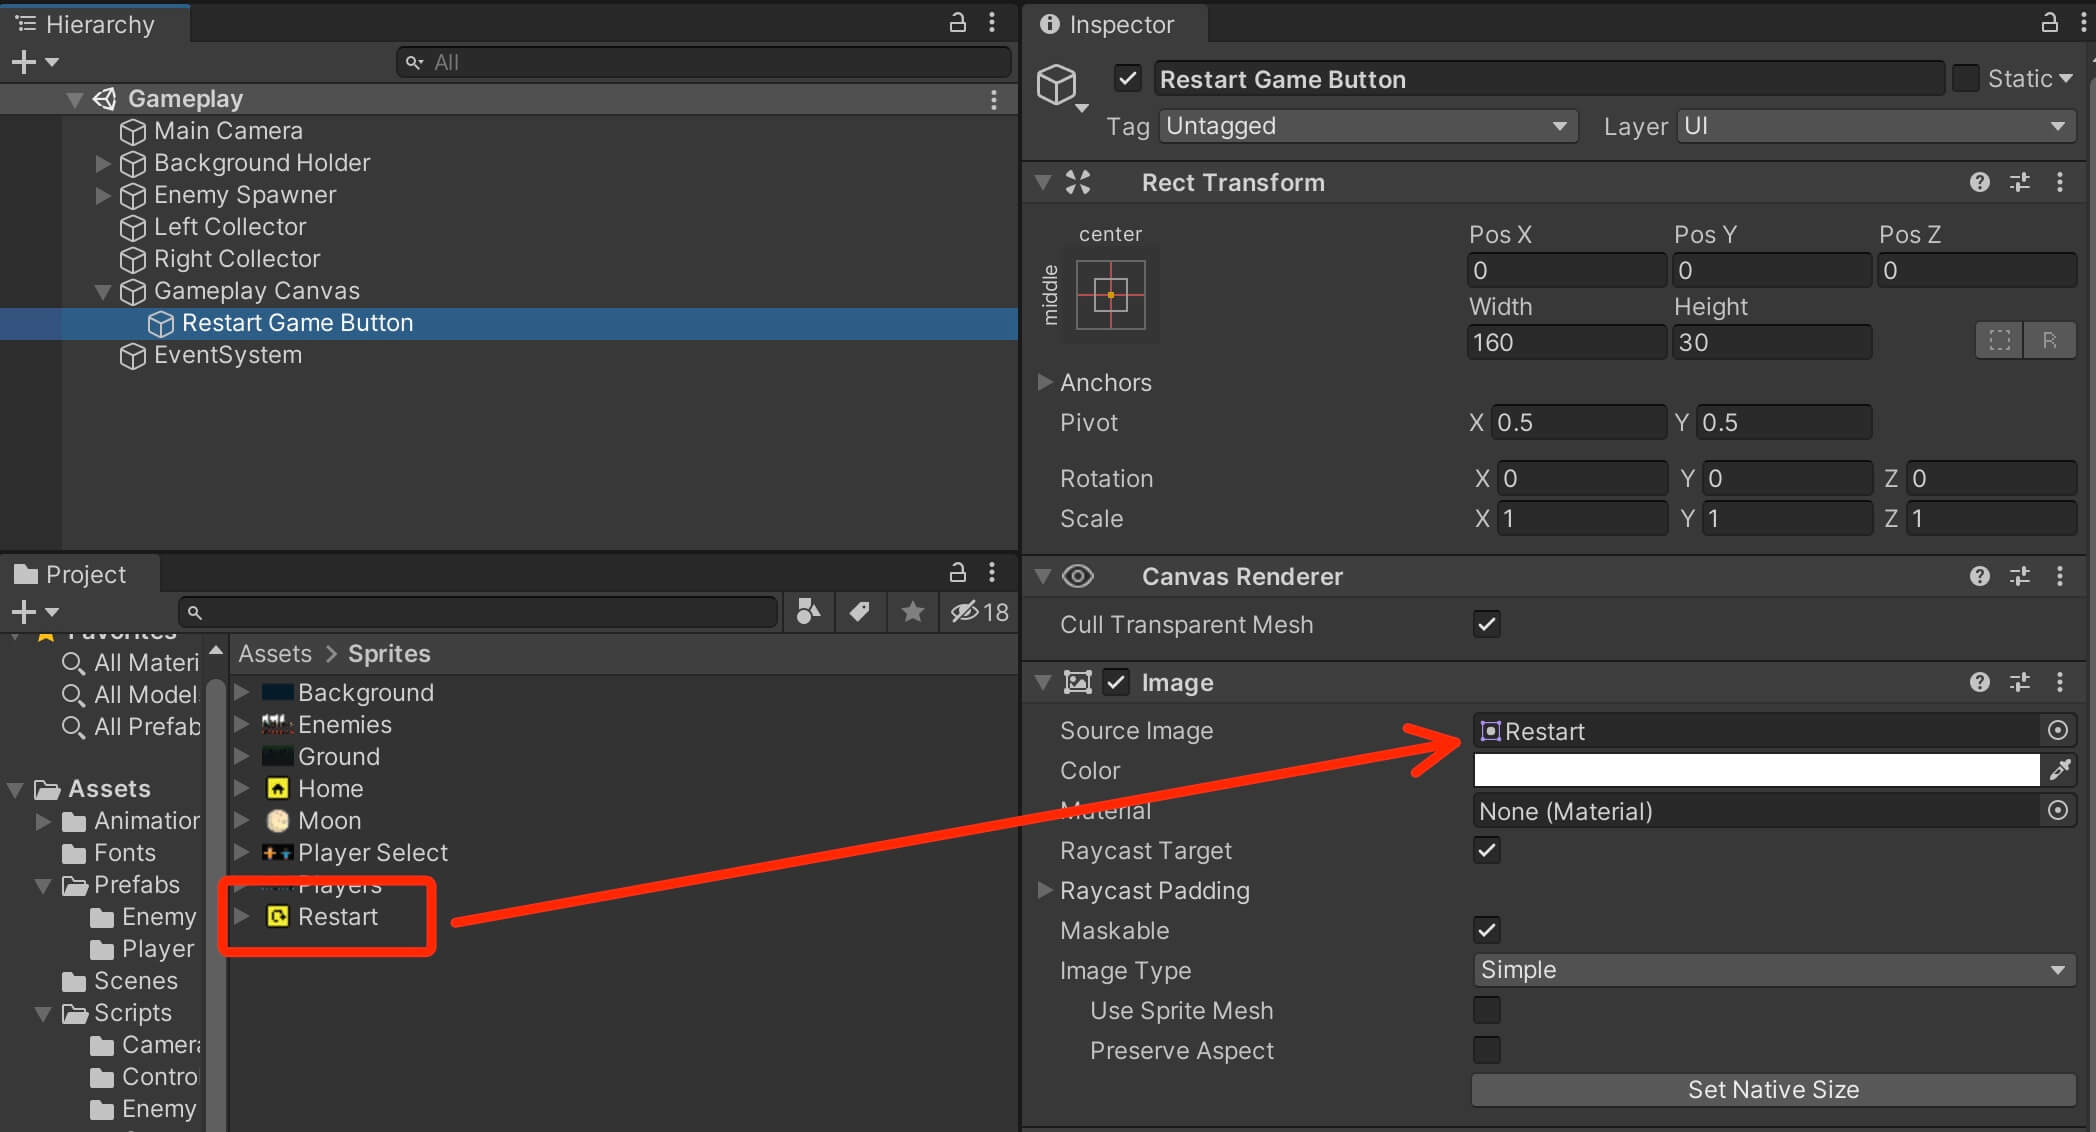
From the Assets -> Sprites folder, attach the Restart sprite to the Source Image field in the Image component for the Restart Game Button:
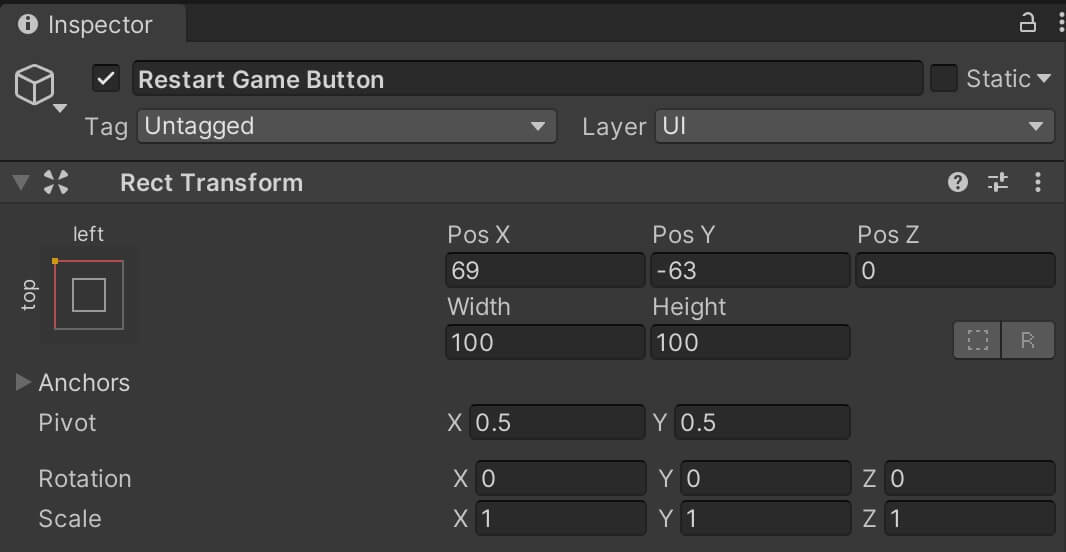
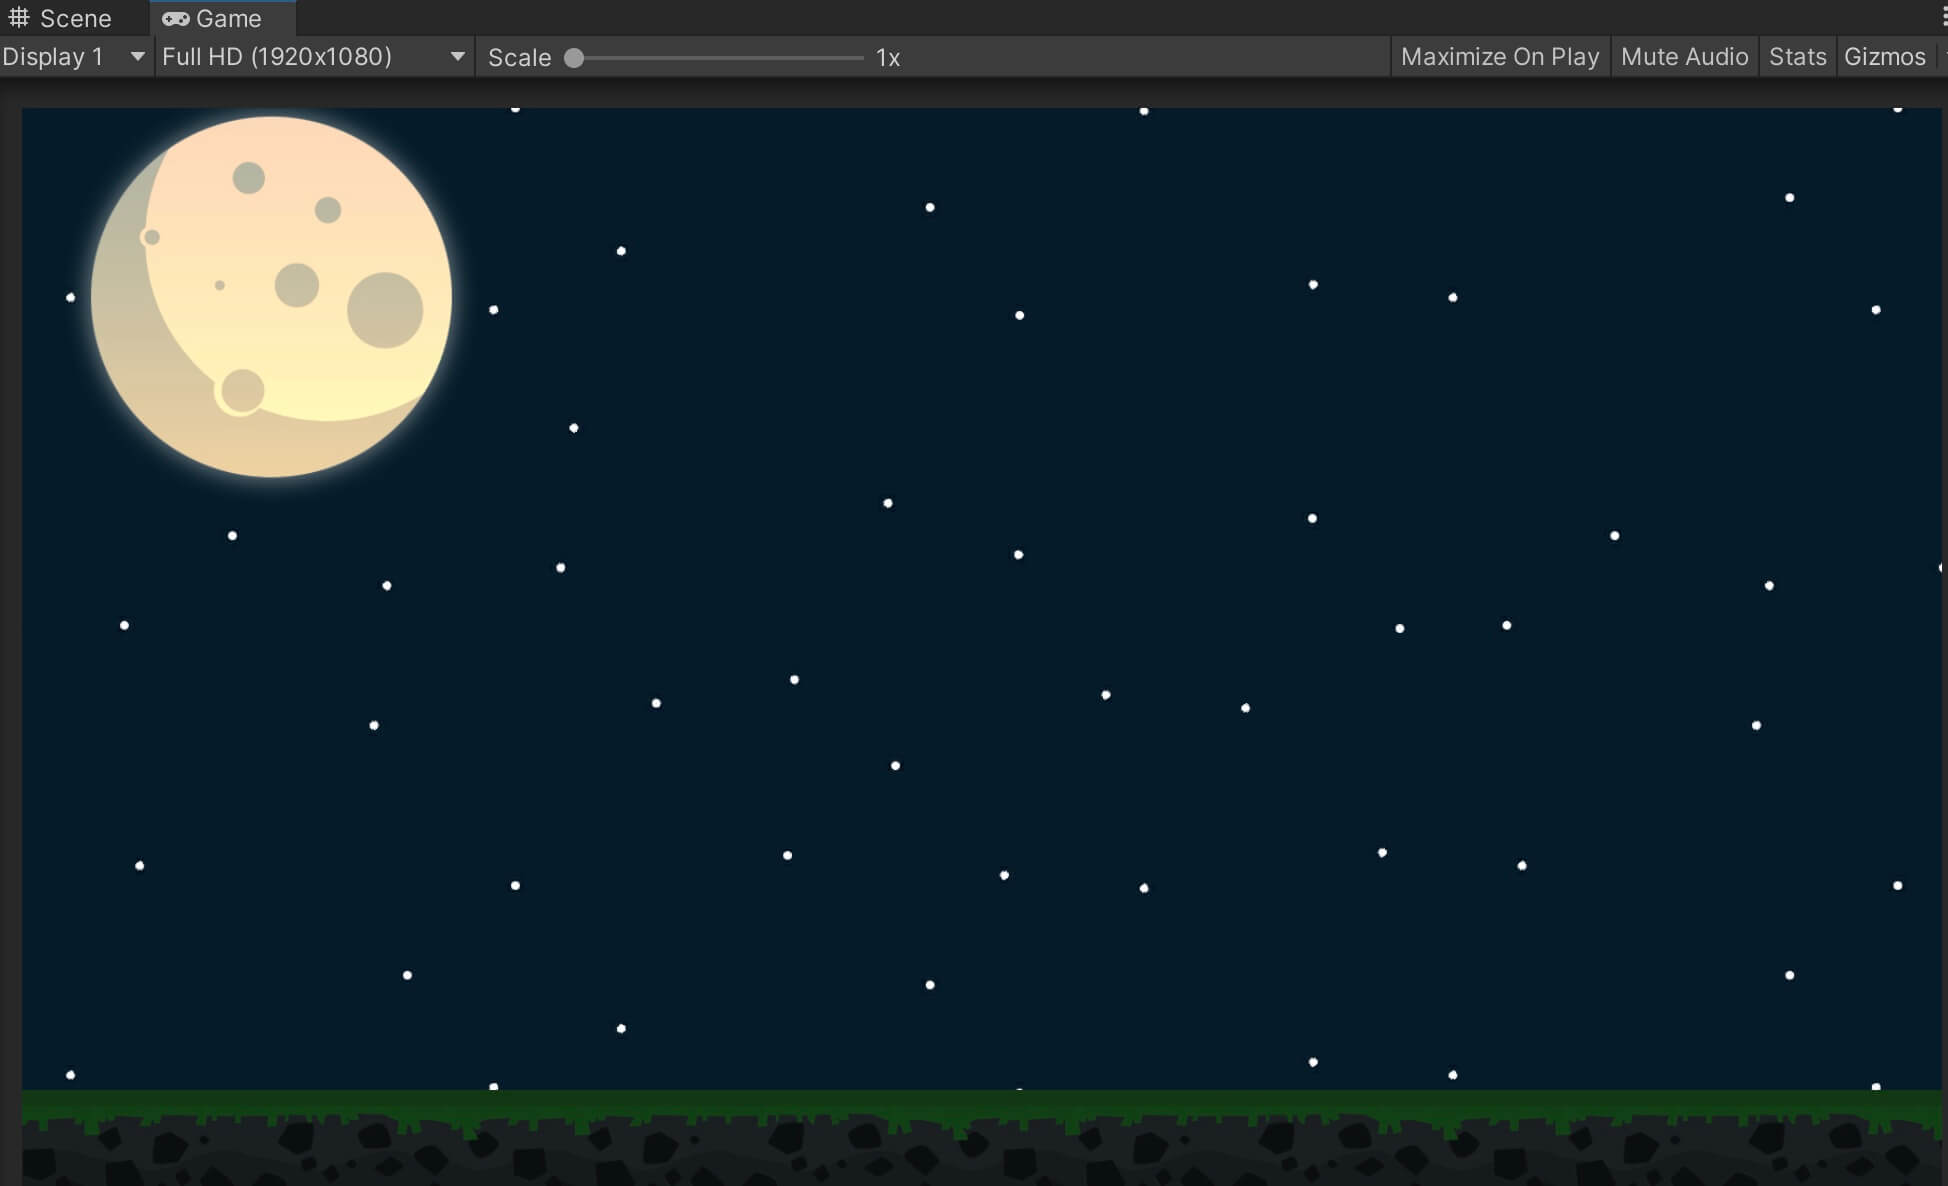
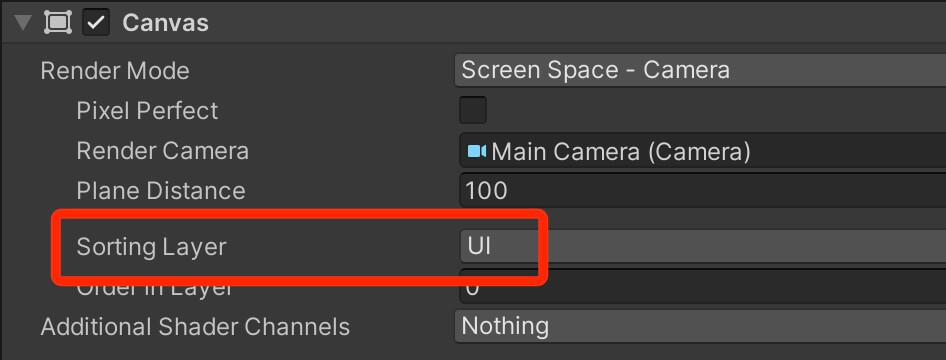
The reason for that is because the Gameplay Canvas is set on the Default Sorting Layer:
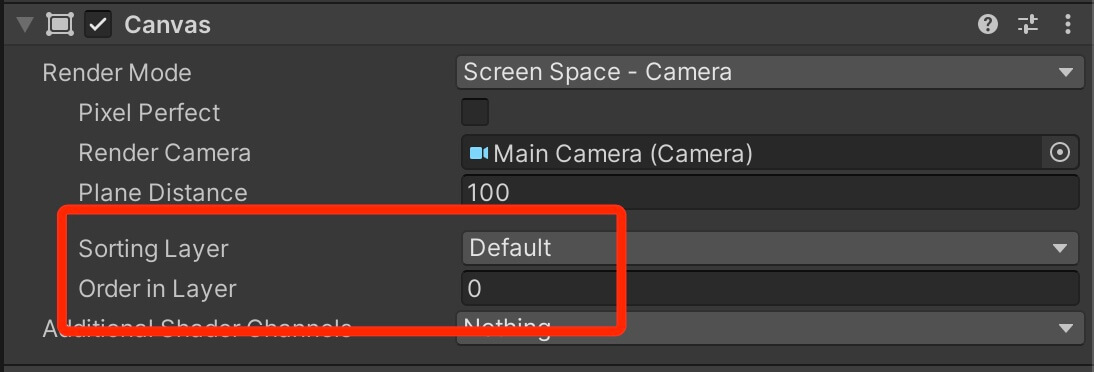
When we first introduced the Canvas object we mentioned that it also has a Sortin Layer and the Order in Layer option and they work the same way as they do for normal sprites.
In order to make the UI elements visible we need to set them on a Sorting Layer that will be rendered on top of the Background sorting layer.
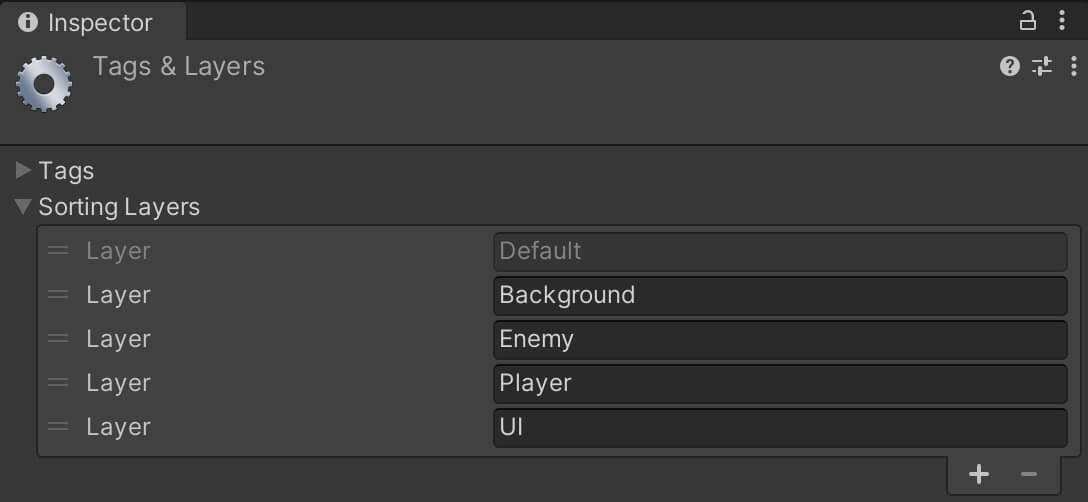
Although we can set the Canvas on any sorting layer that is higher than the Background, or even set it on the Background and use a higher Order in Layer number, I always prefer to create a separate Sorting Layer for the UI:
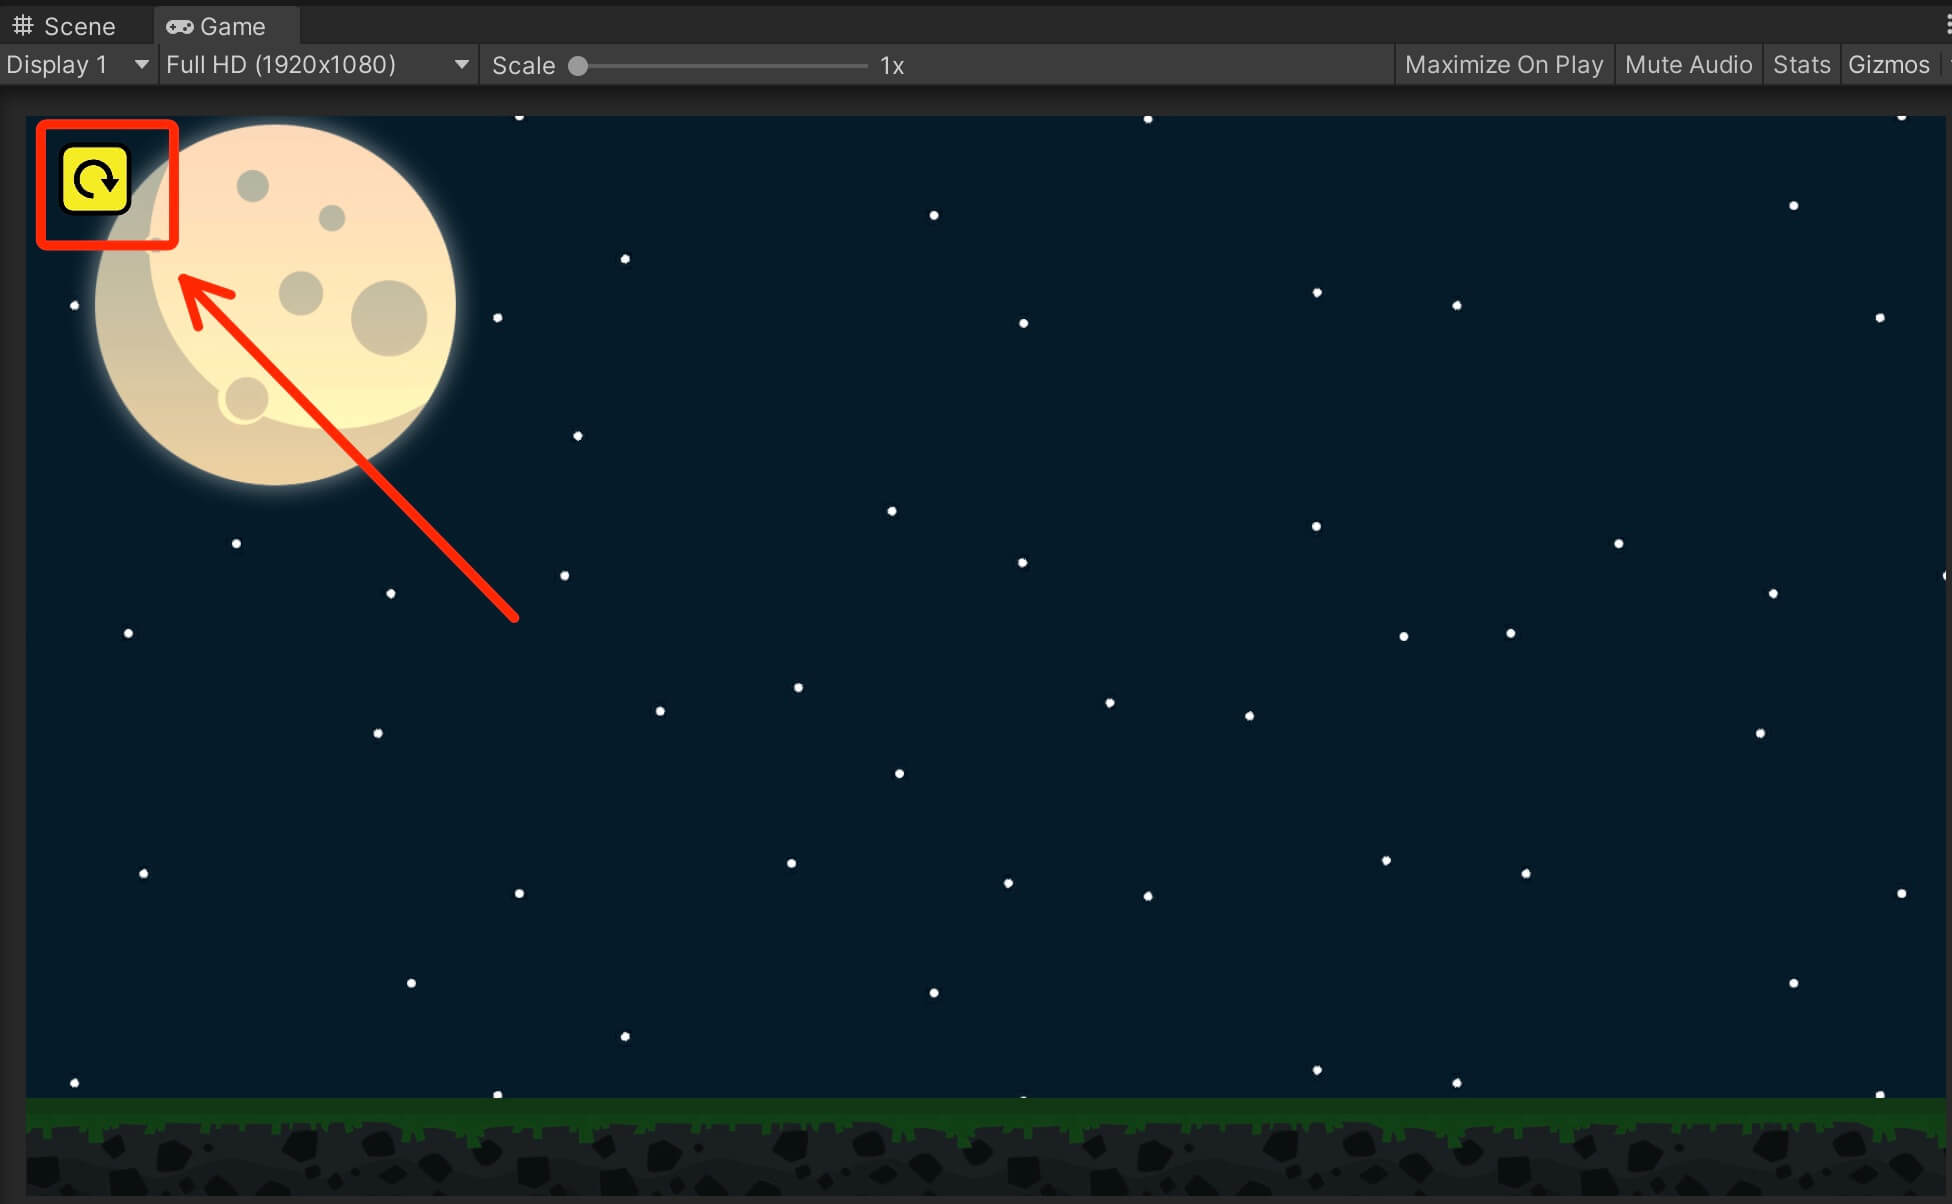
Duplicate the Restart Game Button, rename it to Home Button, move it below the Restart Game button and from the Assets -> Sprites folder, drag the Home sprite in the Source Image for the Image component of the Home Button:

Gameplay UI Script
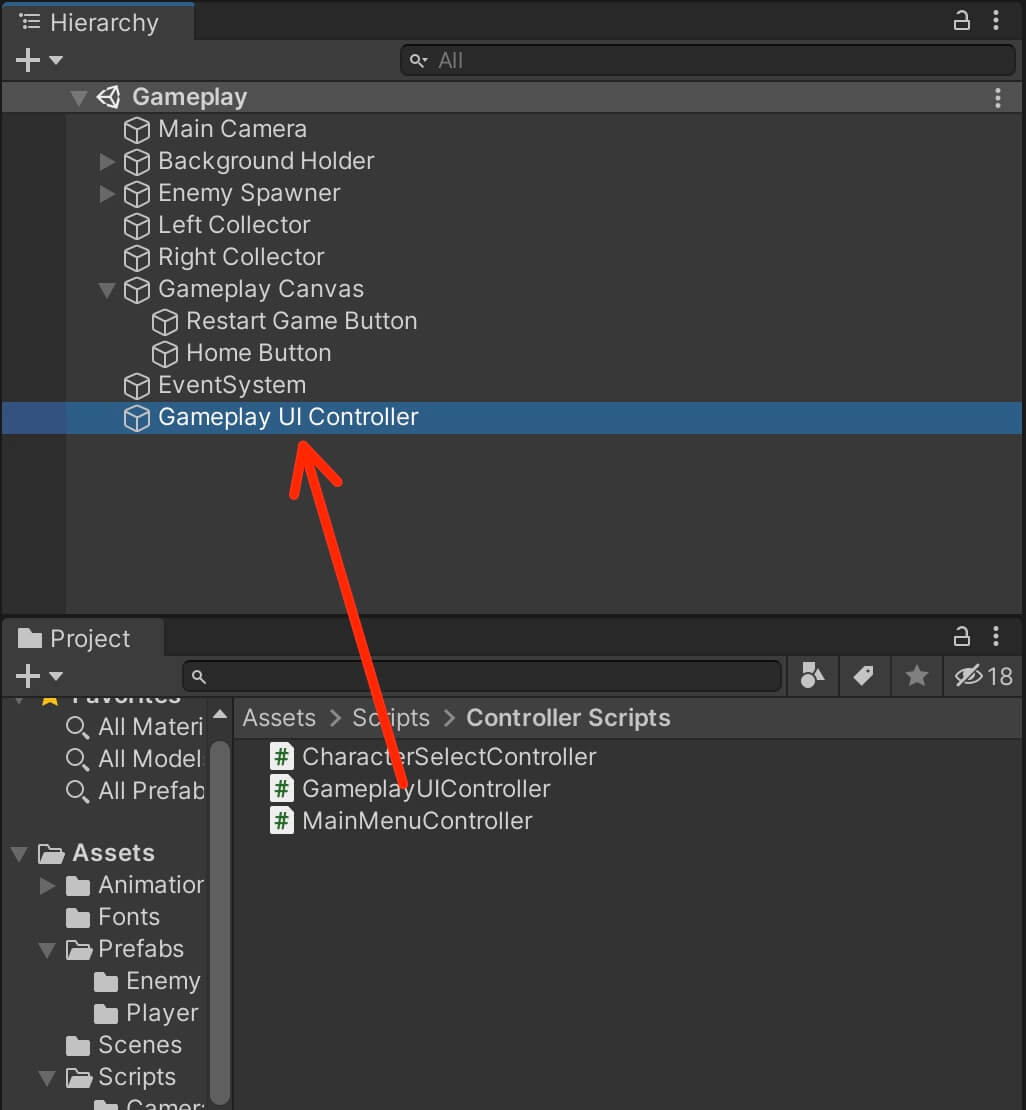
using UnityEngine.SceneManagement;
					public void RestartGame()
    {
        SceneManager.LoadScene(TagManager.GAMEPLAY_SCENE_NAME);
    }

    public void BackToMainMenu()
    {
        SceneManager.LoadScene(TagManager.MAIN_MENU_SCENE_NAME);
    }
SceneManager.LoadScene(SceneManager.GetActiveScene().name);
Adding The Level Timer In Our Game
To spice things up with our game we are going to add a timer that will count the time since the game starts and that way you will see how long can you stay alive before the enemies kill you.
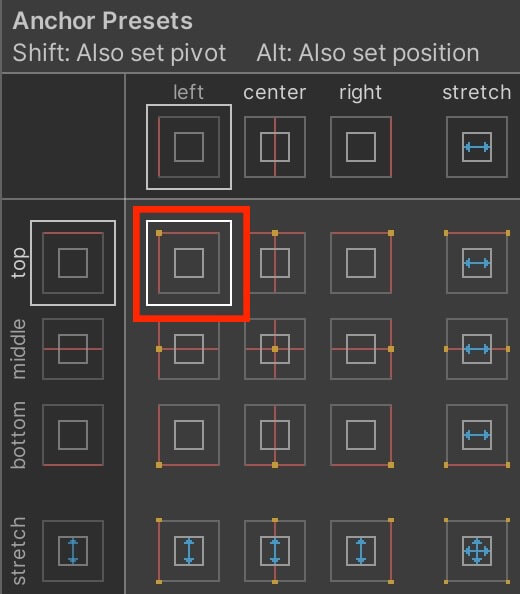
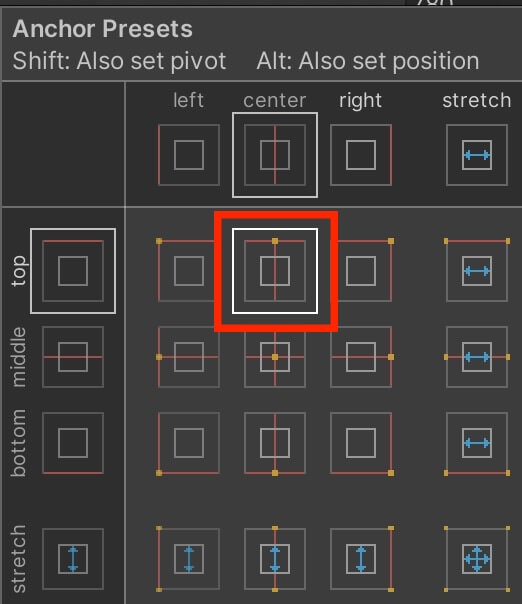
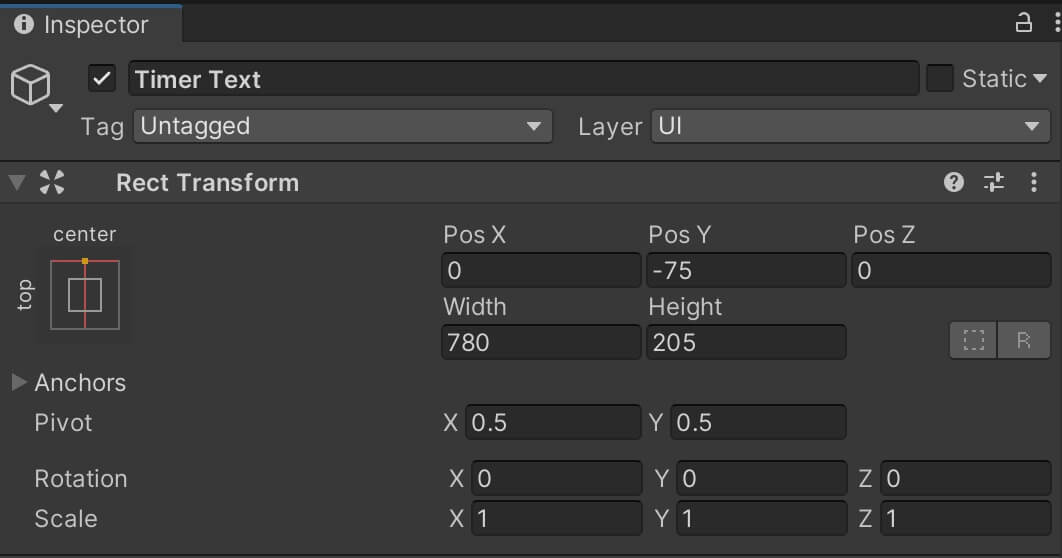
In the Gameplay scene in the Hierarchy tab, Right Click -> UI -> Text. Rename the text to Timer Text, and set it’s anchor to top middle:
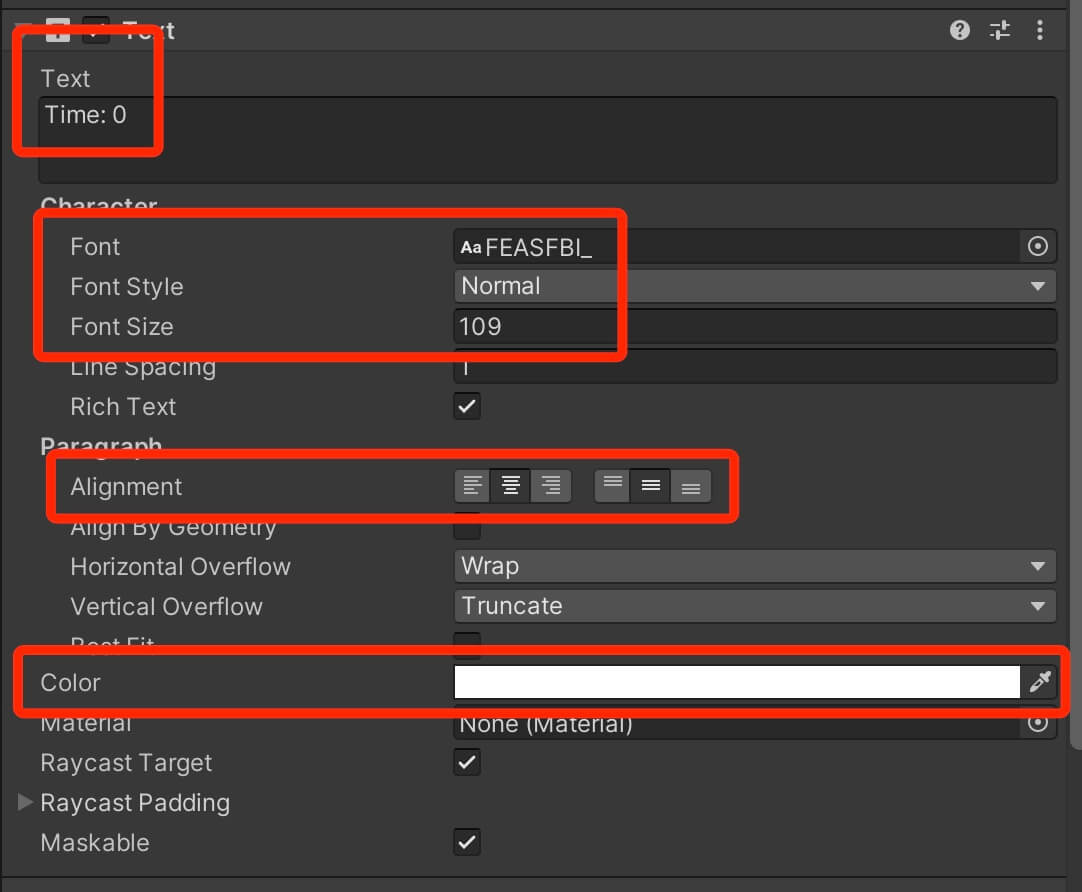
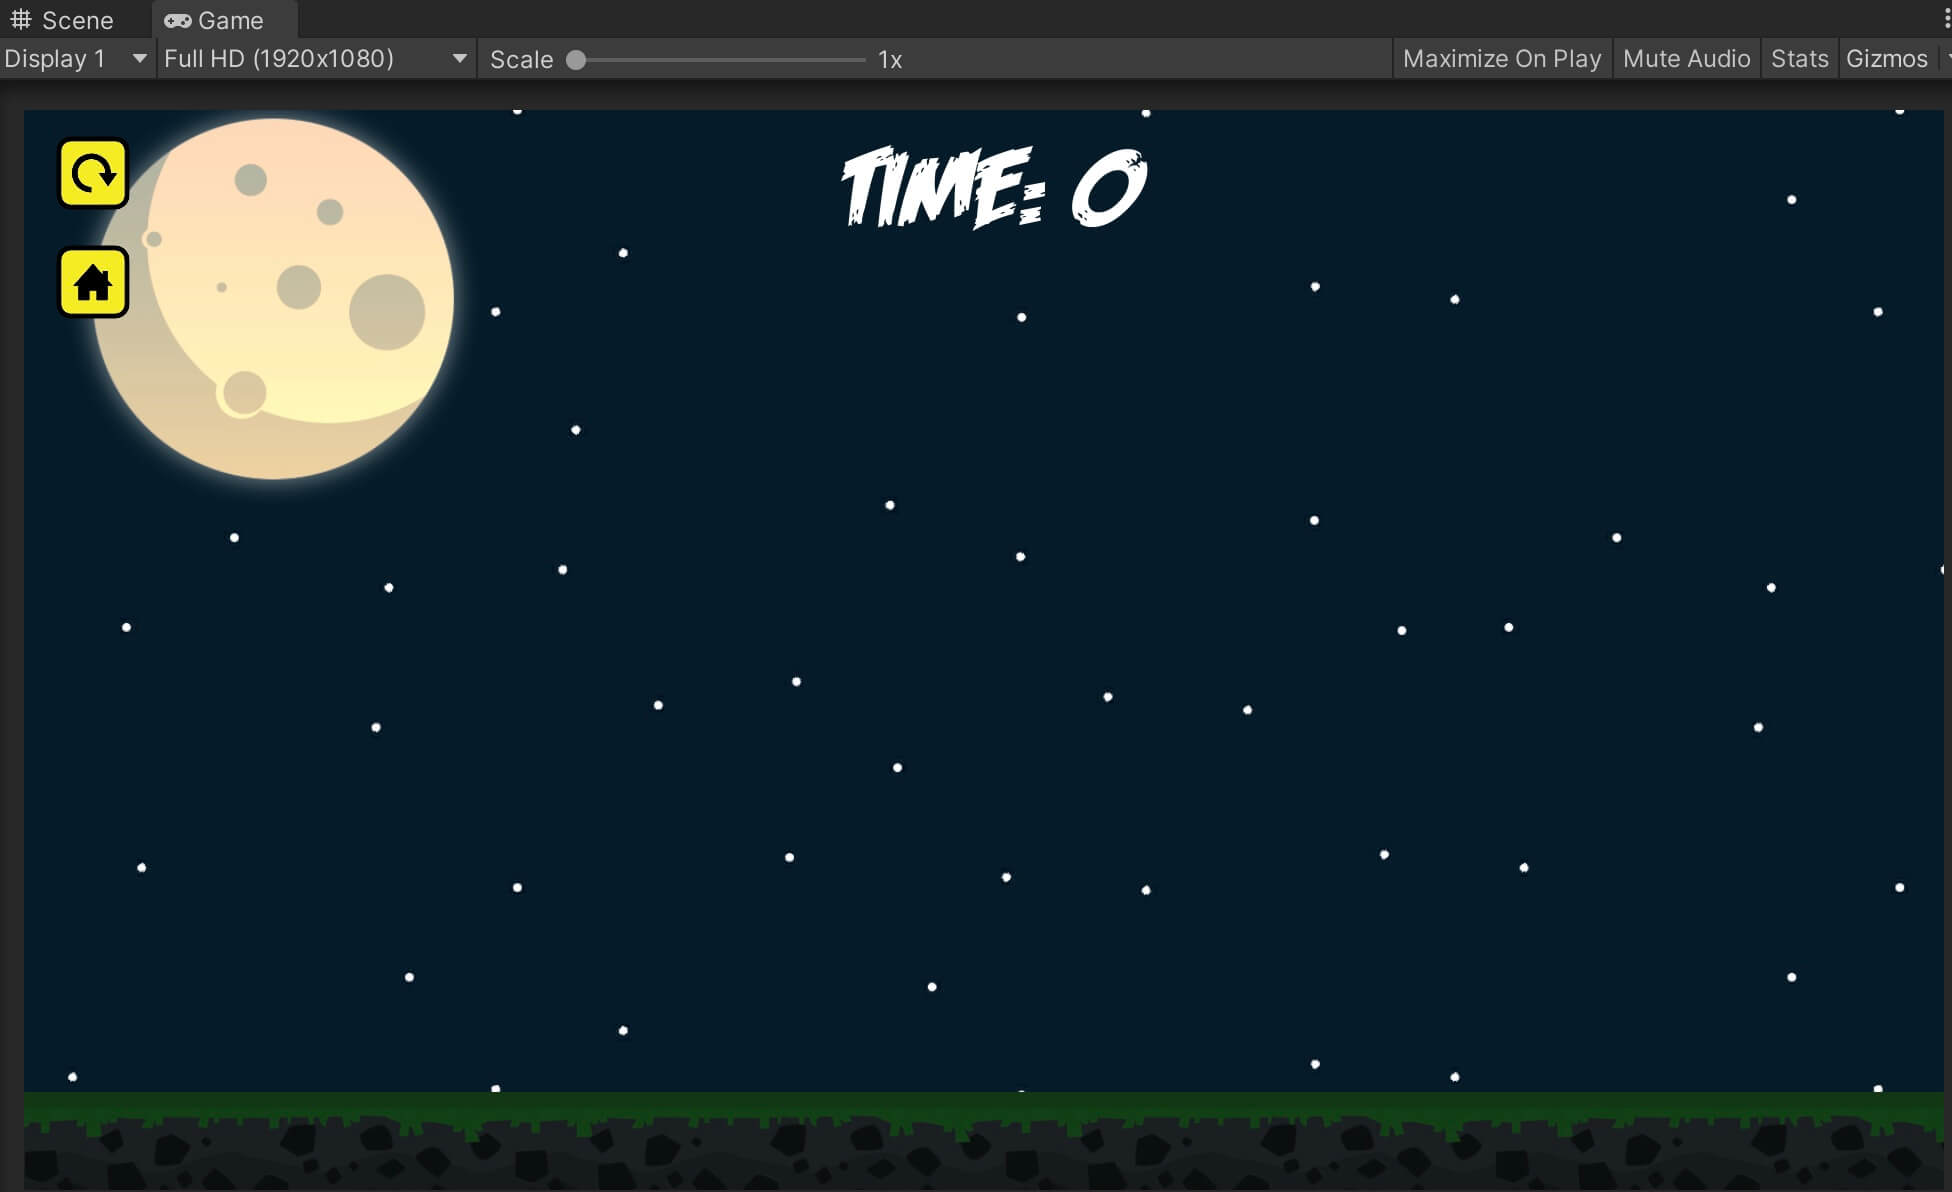
For the initial text, Font, Font Size, Alignment and Color set the following values:
using UnityEngine.UI;
    private Text timerText;

    private int timerCount;
Now we need to get a reference to the Timer Text, and again, in programming there are multiple ways how we can solve a problem.
This is one way how we can do it:
					private void Start()
    {
        // finds a game object by the given NAME in the scene
        timerText = GameObject.Find("Timer Text").GetComponent<Text>();

        // finds a game object by the given TAG in the scene
        timerText = GameObject.FindWithTag("Timer Text").GetComponent<Text>();
    }
Both of these functions do the same thing, except one finds a game object in the scene by its name, and the other by its tag, and then it gets a reference to the Text component of the game object.
If you want to use one of these ways, then make sure that you define the name, or the tag, depending on which one you use, of the game object in the TagManager.
I would always prefer to use tag over name, because as far as I know, it is more efficient, even though it would not make an impact on your game if you use the name to get a reference to the game object.
Another way is using SerializeField:
					[SerializeField]
    private Text timerText;

					void CountTime()
    {
        timerCount++;
        timerText.text = "Time: " + timerCount;
    }
First we increase the value of timerCount by 1, which is what ++ does. Then we call the text property of the timerText variable and pass a string concatenated with our timerCount value.
Since we are displaying seconds, we can use the InvokeRepeating function to call the CountTime function every second and display the current time to the user.
In the Start function add the following lines of code:
					private void Start()
    {
        InvokeRepeating("CountTime", 1f, 1f);
    }
The InvokeRepeating function will call the function by the name that we pass as a string repeatedly.
The first time it will call it after waiting for the value of the first parameter in seconds, then it will call the function repeatedly after waiting for the value of the second parameter.
In our case, the InvokeRepeating will call the CounTime function first time after 1 second, then it will call it repeatedly after every 1 second.
Let’s run the game and see the outcome:
Stopping The Timer Count After Player Dies
The level timer is working but when the player dies it continues to
count time which is not what we want so we need to stop the timer count
when the enemies kill the player.
As always there are multiple ways how we can achieve this. One of the
ways is to get a reference to the player character game object in the
GameplayUIController and test if the player dies, then we can use
CancelInvoke to stop calling the CountTime function.
On the other hand, we can get a reference to the GameplayUIController
in the Player script, and when the player dies we can call a function
that we would define in the GameplayUIController script that will use
CancelInvoke to stop the CountTime function.
We are going to take a different approach and use the time scale to stop the time.
In the Player script, in the OnCollisionEnter2D and OnTriggerEnter2D, when we test if the player object collides with one of the enemies, before we destroy the player game object, we can call the time scale to stop the time:
					private void OnCollisionEnter2D(Collision2D collision)
    {

        // detecting collision with the ground
        if (collision.gameObject.CompareTag(TagManager.GROUND_TAG))
            isGrounded = true;

        // detecting collision with the enemies
        if (collision.gameObject.CompareTag(TagManager.ENEMY_TAG))
        {
            Time.timeScale = 0f;
            Destroy(gameObject);
        }

    }

    private void OnTriggerEnter2D(Collider2D collision)
    {
        if (collision.CompareTag(TagManager.ENEMY_TAG))
        {
            Time.timeScale = 0f;
            Destroy(gameObject);
        }
    }
					public void RestartGame()
    {
        Time.timeScale = 1f;
        SceneManager.LoadScene(TagManager.GAMEPLAY_SCENE_NAME);
    }

    public void BackToMainMenu()
    {
        Time.timeScale = 1f;
        SceneManager.LoadScene(TagManager.MAIN_MENU_SCENE_NAME);
    }
We need to set the time scale back to 1 even in the Home Button because if the user returns back to the main menu after the player has died, and he selects a character to play the game, it will be frozen again because the time scale is still at 0.
The important lesson here is that every time you set the time scale to 0, you need to set it back to 1 when you want to continue playing your game, so make sure that you remember that.
And with this our game is finished. Congratulations for making it till the end and sticking with me while we created this cool game.


Comments are closed.