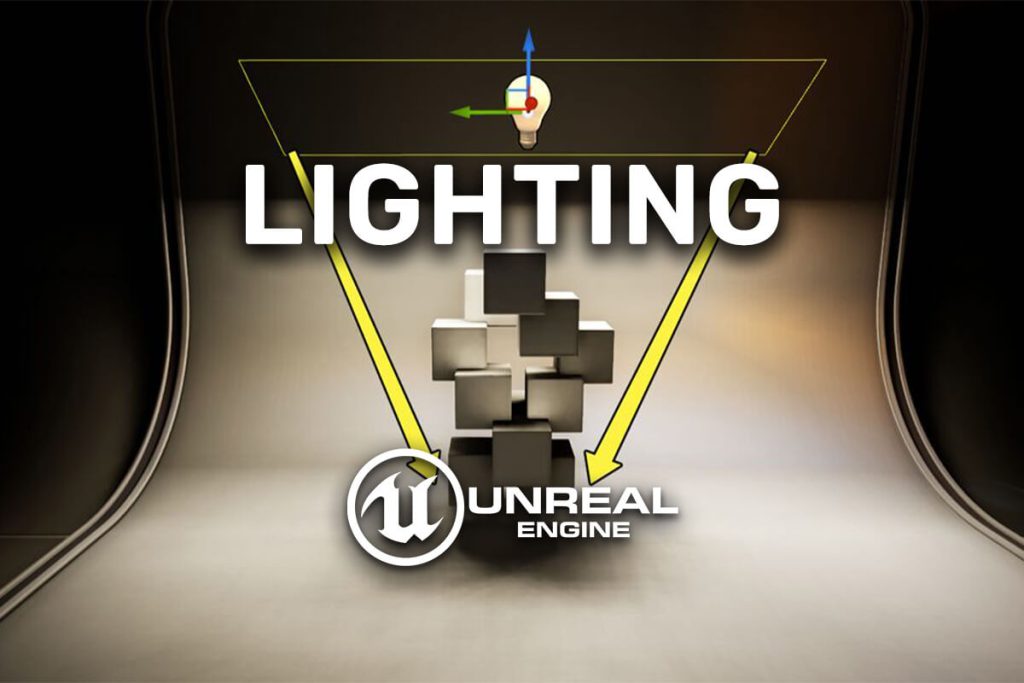
Lights are one of the most important part of any game. With lights you can create a different athmosphere and make your games look stunning.
Unreal Engine has the most advanced lighting system out of all game engines. Here are just a few examples of what you can do with Unreal Engine’s light system:


In this post we’re going to go over the light system, explain how to use it along with different types of light we can use and we will implement all that a game scene which will allow you to become a master light expert.
For the example assets we’ll use City of Brass: Environments which you can download for free on the Unreal Engine marketplace:

When you download City of Brass: Environment, open the Demo_Palace scene located in City_of_Brass_Environment -> Maps folder as we’ll use that scene for our examples.
Before we begin one note. This tutorial is meant for beginners as well as experts in Unreal Engine.
However, if you’re a complete beginner who never created a single game in Unreal Engine before, we recommend you start with our Parasite Platformer tutorial first, then come back and finish this one. You can check out the Parasite Platformer tutorial by clicking the link below:
Types Of Light In Unreal Engine
The light actors are located in the Place Actors -> Lights tab:

As you can see we have different types of lights at our disposal.
The Directional light will cast light in the direction it’s facing. The Directional light acts like a replicated sun, and it doesn’t matter where you place it in the wolrd it will provide the same amount of light to everything depending on its rotation and the settings we give it.
Next we have the Point light. The Point light is dependent on its location – meaning it will cast light at the location where we place it using the settings we give it. Point lights are good for things like flames, street lights, and similar fx.
Moving forward we have Spot light. Spot light casts light in a cone. Of course, we can change the settings for the cone which we’ll see later. Spot light can be used for lamps, ceiling lights, and similar effects.
The Rect light casts lights in a recangular shape with a defined width and height. We can use Rect lights to cast lights from rectangular shapes like TVs, monitors, and similar objects.
And lastly we have the Sky light. The Sky light is not meant to be a light source in terms of providing light at a specific area of the game. Instead, Sky light will provide light in the whole scene.
When we add a Sky light in the scene it will take information from the entire scene and it will try to better calculate where lights should be bouncing the colors they reflect off of other objects.
Now that we introduced the lights we have at our disposal, let us take a look at every light one by one and see their effects and settings we can change to have better lighting in our games.
Directional Light
Before we start talking about Directional light, let us add it in our game. To see the impact Directional light has in the game, this is how the game scene looks like before we add Directional light:

This is how it looks like when we drag the Direcitonal light in the scene:

As we already mentioned, the Directional light casts light in the direction it’s facing. This means that the location of the Directional light is not important, bcause no matter where we place it, it will cast the same light in the direction its facing.
To prove this, here’s the current location of the direction light:

And this is how the light currently behaves in the game:

Now let’s change the location of the directiona light:

We’ll notice that the light didn’t change in our scene at all:
But if we change the rotation which will change where the Directional light is pointing then, we’ll see a change of light in our scene:


Hence the name Directional light meaning it will cast light in the direction it’s facing.
When you select the Directional light in the World Outline tab, inside the Details tab you can change it’s settings which will affect the light’s color, intensity(strenght of light), should it cast shadows or not, and other options:

We’re not going to edit all these settings one by one and preview them here as it will make the post longer than it needs to be. So just play with those settings and see the changes in the game scene and that way you’ll learn exactly what every option is doing.
Specifically, the most important ones are intensity which will determine if the light is strong or not, the color, and cast shadows as these are the ones you’ll use the most in your games.
Another cool thing we can do with Directional light is we can select the Sky Sphere in the Outliner tab:

The Sky Sphere represents the clouds in the game:

After we selected the Sky Sphere, inside the Details tab for the Directional Light Actor option select our Directional light:

This means we’ll have a more realistic sky based on where the light is facing.
Before we move on to the next light actor, let us quickly explain one really nice feature Directional light has.
Inside the Details tab for the Light settings we have the Source Angle option. This option determines the angle by witch the Direcitonal light is casted and it affects how the shadows of other objects look like when the Directional light is shining on them:


From the examples above you see the difference how the shadow is more soft when we increase the value of the Source Angle option to 5.
Point Light
Point light acts like a light bulb and it shines light in similar manner like a light bulb:

Opposite to Directional light, the location where we place the Point light will affect where the Point light is casting.
There are also options we can change to change the impact of the Point light:

The Source Radious will determine the radius in which the Point light can cast light. The Source Lenght will determine up to where the light can reach within the Radius.
You can also change the color of the Point light, determine if it casts shadows and so on.
Again, we encourage you to play with the settings and see the impact the changes you make have on the Point light.
Spot Light
Spot light will cast light inside a cone:

In the Details tab under Light options you can change the size of the cone, as well as the intensity of the light and the radious where the light will shine. Of course, same as with other lights, you can change the color as well:

To see all these options in action, just play around with them and it will give a better understanding how Spot light works. But in essence, you can think of it like the light on performance stages that shines only on the people who are performing on the stage.
Rect Light
As we already mentioned, Rect light will cast light in a rect angular form using the Source Width and Height we specify in the settings:

You can change the values of Source Width and Height in the Details tab under Light settings along with all other options:

Shadows
Shadows are one of the most important parts of lights and that’s what makes our lights look realistic in the game.
We saw that for every light we introduced so far we have Cast Shadows option the Light settings inside the Details tab:

This option controls whether the light source will create shadows or not. And in normal circumstances for any game we create we want this option turned on.
There are also options that allow us to create either hard or soft shadows. One of those options is the Source Angle for the Directional light.
This is how the shadows look like when the Source Angle value is at 0:

And this is how the shadows look like when we set the Source Angle value to 5:

Another way how we can affect if the light will create soft or hard shadows is by changing the size of the light source. Because the larger your light source is relative to the subject, the softer your shadows will be.
For the Directional light we have the Source Angle options to change the appearence of the shadows. For Spot and Point light we can change their radius, and for the Rect light we can change its Source Width and Height.
Here’s an example using Point light. This is how the shadows look like when the Radius is at 0:

And this is how the shadows look like when we set the Radius to a higher value:

The yellow gizmos you see around the light represents the radius size of the light. You can also see how softer the shadows are now with the larger light source coming out of the Point light.
This is the most important part about lighting you need to understand. Understanding how to create soft shadows and when the shadows should be soft is the most essential part when it comes to taking the lights in your game to the next level.
Movable And Static Lights
The Mobility option inside the Transform property will affect how the lights are rendered in the scene.
By default, the lights are set on Stationary. This is how Directional light is casting shadows when it’s set on Stationary and the Source Angle property is set to 5:

Now let’s change the Mobility option to Static:

And lastly, let’s set the Mobility to Movable:

As you can see there’s not a large difference between Static and Movable except for some minor light details which can be seen near the top wall with the yellow start icon.
So what does Static, Stationary, and Movable even mean?
Well, Unreal Engine has 2 different lighting methods: baked (static) lighting and dynamic lighting.
Baked lighting is a method where we “bake” our light in the scene – meaning we set up the lights in the scene, then we bake them in the scene and that means they will stay as is in the position we set them and they will not change.
Dynamic lights on the other hand change with the environment. What ever happens in the game scene dynamic lights will reflect that change and act accordingly.
This means if someting goes in front of a dynamic light during gameplay like a character, it will create the shadow of that character dynamically. But if a character passes in front of baked light it will not display his shadow at all.
Static and Stationary Movable options are for baked lights, and Movable is for dynamic lights. And we saw the behavior of the light for all 3 options.
One thing to note is, when we set the lights to Movable we indicate to Unreal Engine that the light will move which means every time it moves Unreal will re-calculate the light so that it shines correctly.
This can affect performance of your game depending on how many lights you have and how heavy your scene is.
If your lights are set to static, then no new re-calculations of the light source will be done in your game. So keep these two things in mind when creating lights in your game.
Interior Lighting
Now we’re going to put to use everything we learned about lights so far and use them in real-world examples to show how you can use them in your own projects.
We’re going to start with an interior light scene using the palace from the City of Brass Environment pack. If you didn’t download those assets which are free btw, make sure to download them now. There’s a guide at the top of the article that will show you how.
Alternatively you can use any environment where you can place lights. So if you have your own 3D models you can follow along using them, too.
Moving forward. Since the setup from the City of Brass Environment pack has lights in the game already, we turned them off and now we have a dark game level.
One handy tip when working with dark scenes is inside the Viewport tab go to Lit -> Unlit:

Here’s how the scene looks like when we use the Unlit lighting option:

This allows us to see all elements in the scene even if we don’t have lights and everything is dark.
Next, inside the search bar for the Content folder we’re going to filter for lamp, and position it on the wall in the scene:

Now, we’re going to take a Point light, and position it in the middle of the lamp:

To see the light in effect we need to change the view mode from Unlit to Lit again. This is how the point light looks like:

Of course, we can play with the settings of the light to make it shine brither, have more reach, or even change its color:

We can just duplicate the lamp model along with the point light we added to create a cool interior lighting scene:

Post Process Volume
In the previous example we created a basic interior lighting scene by arranging lights in a dark room. This goes to show that you can create cool scenes just by adding a few light actors and tweaking their settings.
But if we want to create a more realistic light scene it’s not enough to just add light actors and change their settings. For that we need help from two more actors called Post Process and Exponential Height Fog.
For this example we’re going to use a new environment pack called Soul: Cave:

This is a free environment pack from Epic Games which you can download from the marketplace.
When you download the environment, you’ll find it under SoulCave in your Content browser. Now open the map called LV_Soul_Cave:

We deleted all scene elements except for the meshes, particles, and lights:

So you can delete all other actors from the scene and leave the ones you see in the picture above.
We’ll leave the lights as they are since they’re already configured. You can open the Lighting folder in the Outliner tab and inspect every individual light actor to see its settings.
But in essence, we covered all the settings you need to know to create the same effect just by arranging the lights in the scene and adjusting those settings.
Now, we’re going to add more depth and feel to the lights by adding Post Processor.
From the Place Actors tab, seearch for Post Processor and add it in the scene:

So what is Post Process?
Post Process is basically what creates the realistic look of the environment inside Unreal Engine. But to allow it to do that we need to change its Unboun settings.
Select the Post Process in the Outliner, then in the Details tab in the search type unbound and check the checkbox for Infinite Extent:

This is going to allow Post Process to affect the whole world and not only the part located within the bounds of the Post Process.
Now we can control all the lights in the game from the Post Process. But to do that, we need to enable the Exposure settings:

The exposure settings will allow us to control the intensity of the light in the scene. To see that in action we can just set the Exposure Compensation value to 15:

The higher the number we enter, the greater the light intesity will be. That’s why the scene was so bright when we set the value of Exposure Compensation to 15.
Now if we change the Metering Mode to manual we’ll see a different scene:

Even though the Exposure Compensation remained at 15, when we changed the Metering Mode to Manual our scene looked way better.
Essentially the Exposure settings will determine the exposure of the actors in the scene. This is best demonstrated in open world scenes where we have actors that are far away. You can play with the different exposure settings and see the outcome.
Of course the Exposure is not the only option becase we have many other options inside the Post Process:

For example, if we enable the Bloom option, and set the Intensity to 8, this is how our scene will look like:

If we edit the Lens Flare and Temperature settings we get this result:

And here’s what happens when we play with the Film settings:

Essentially, there are multiple settings we can change for the Post Process. Of course, we’re not going to use all settings every time. This will depend on the scene and which effect you want to achieve. But we just demonstrated a few effects and their outcomes in the current scene we have.
We advice you to play with the settings, change their values, mix different settings together and see the outcome. Because at the end of the day, creating great lighting in Unreal will mostly depend on your feeling and your understanding how lights work in the real world.
Exponential Height Fog
Another important component when creating great lighting and over all atmosphere in Unreal Engine is the Exponential Height Fog.
In the Place Actors tab search for exponential height fog and add it in the scene:

When we add the Exponential Height Fog in the scene we’ll not see any difference. But as soon as we enable the Volumetric Fog option we’ll see the change in the scene:

Now we can play with other options to change the fog effect in the scene. For example, if we change the Fog Density value the fog will look more dense in the scene:

We can change the Albedo color and make our scene look like there’s a virus spread in the air:

Again, same as with Post Processor, there are multiple settings we encourage you to play with and see their effect in the scene as that is the best way to learn.
Because as we said already, creating a realistic scene will mostly depend on your feeling of how that scene would look like in the real world.
Creating a Stunning Cave Scene
Now we’re going to use everyting we learned so far and create a stunning cave scene.
We’ll use the same cave scene but we did remove some actors that are inside the scene. Here are the three folders we left in the scene along with the actors inside those folders:

You can delete all other folders and actors in those folders from the scene.
Next, we’ll add a Post Process Volume in the scene, and set the following settings:


Now we’ll add the Exponential Height Fog in the scene and set the following settings:

And lastly, in the Outliner tab search for the Sun actor:

This is the Directional light actor which was already in the scene. Change the following settings for the Sun actor:

This is how our scene looked like before the changes we made:

And this is how it looks like now after the changes we made:

As you can see, with just a few settings we made we good a more in-depth look of the cave.
We encourage you to experiment more with the current scene by changing values in the Post Process Volume, Exponential Height Fog as well as all the lights in the scene.
There are other lights in the scene that were already placed there that add to the look of the scene. We didnt’ dive into their settings so that we don’t make this post very long, but in essence just check out the settings and how they are set up.
You’ll find that’s everything we covered about every individual light so far so you can play with the settings to change the look of the scene.
Where To Go From Here
Everything we covered in this post are the fundamentals of lighting in Unreal Engine. The more you experiment with all the options we showed the better you’ll be at creating stunning light athmospheres.
For more Unreal Engine blog posts you can click the link below:
Comments are closed.