If you ever tried to learn how to code you probably stumbled upon the different opinions about whether programming is hard and if an average person can learn it.
I am going to tell you straight away, programming is not hard and every person who is willing to put the effort and dedication to make it happen, can learn how to code.
You don’t need to be a math genius or a physics expert to learn how to code, and no, you don’t need to know how to create complex algorithms to be a programmer.
Now that we have that out of the way, since we are going to use C# in combination with Unity we need to download the engine because the examples that we are going to use are going to be demonstrated in the engine directly. So, without further a do, let’s proceed with the first step – download Unity.
Downloading Unity Game Engine
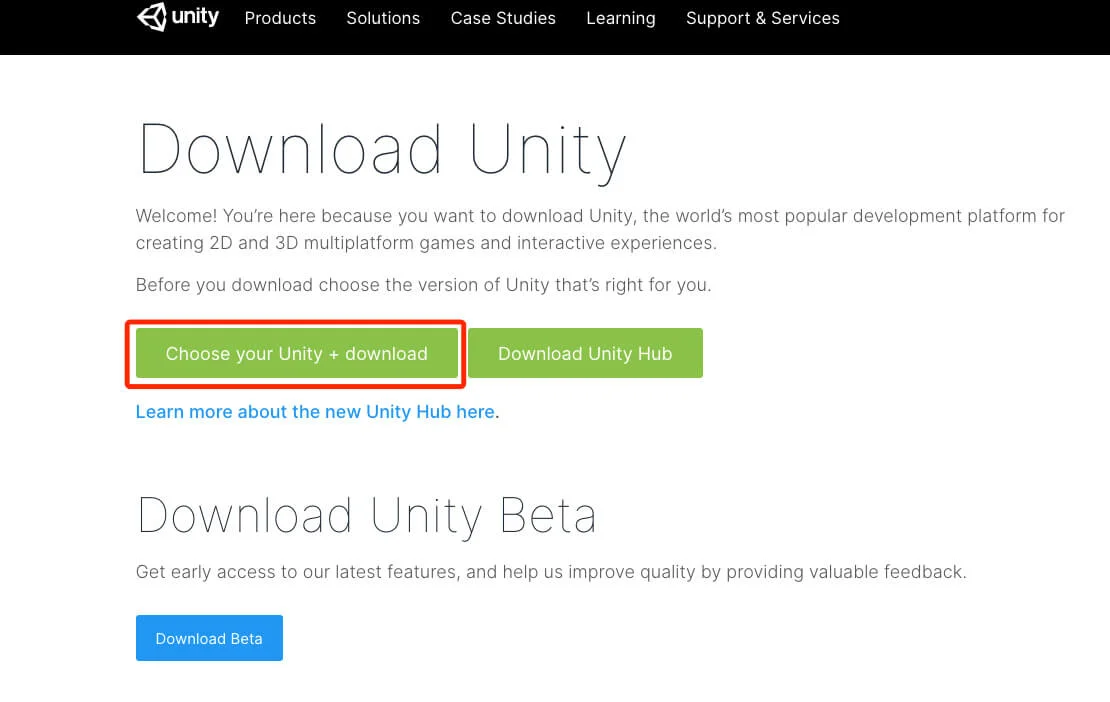
If you are not completely new to Unity game engine, you can skip this part as we are going to download and install the engine, but if this is your first time having any contacts with the engine then head over to https://unity3d.com/get-unity/download
From there, click on the “Choose your Unity + download” button:
On the next page you are going to click on the “Individual” tab and create an account before you download Unity. Click the “Get Started” button under “Personal” plan to download Unity personal:
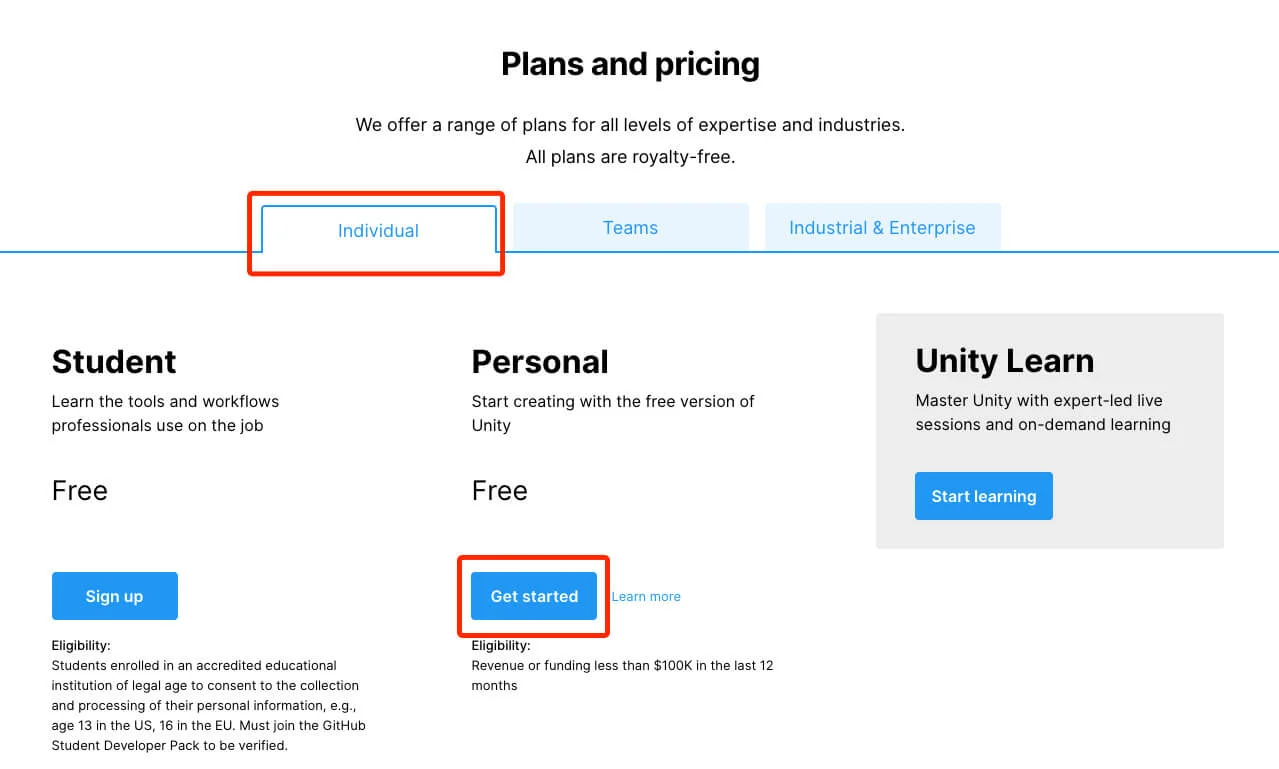
I am not going to go into different plans that you can choose from Unity, some of them are paid some of them are free, but what’s important to know is that we can use Unity for FREE if we are earning less than $100k in annual gross revenues no matter what job we do or for what we use Unity.
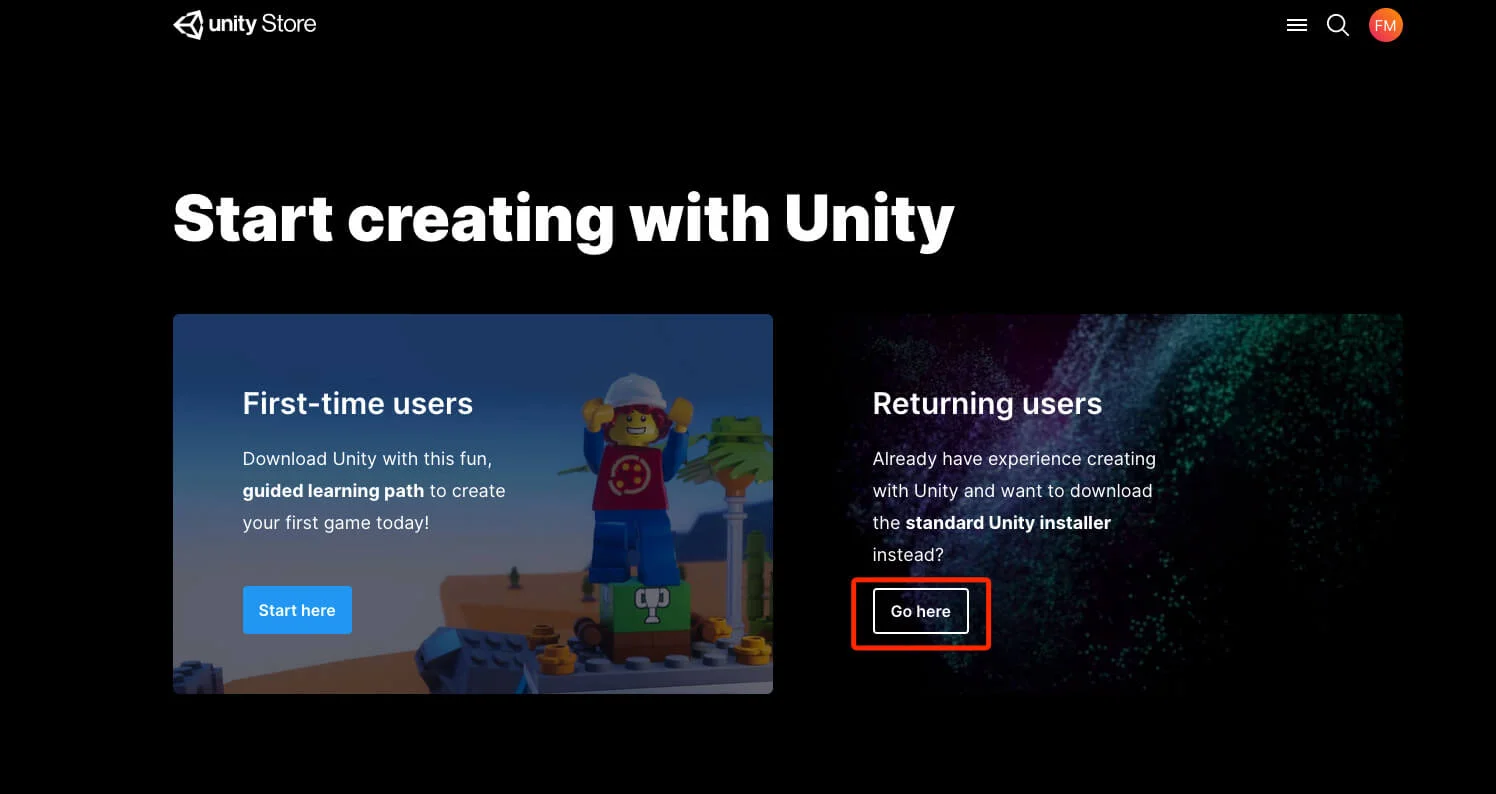
Another thing to note is that Unity is changing their web pages all the time so they might look different from the previous time you visited their website. You just need to navigate to the download page in order to download Unity which is what we want. So on the next page click on the “Go Here” button:
Agree to the terms(as no one reads them anyway) and proceed to download Unity Hub:
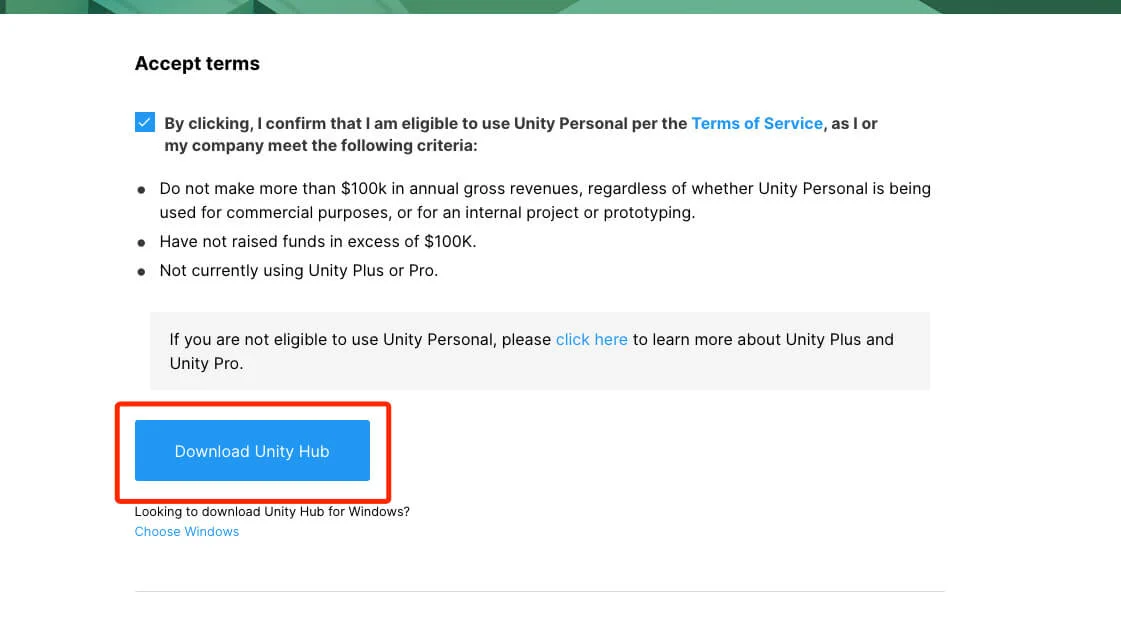
When the file is downloaded, proceed to install it like any other program that you would install on your computer.
Unity Hub
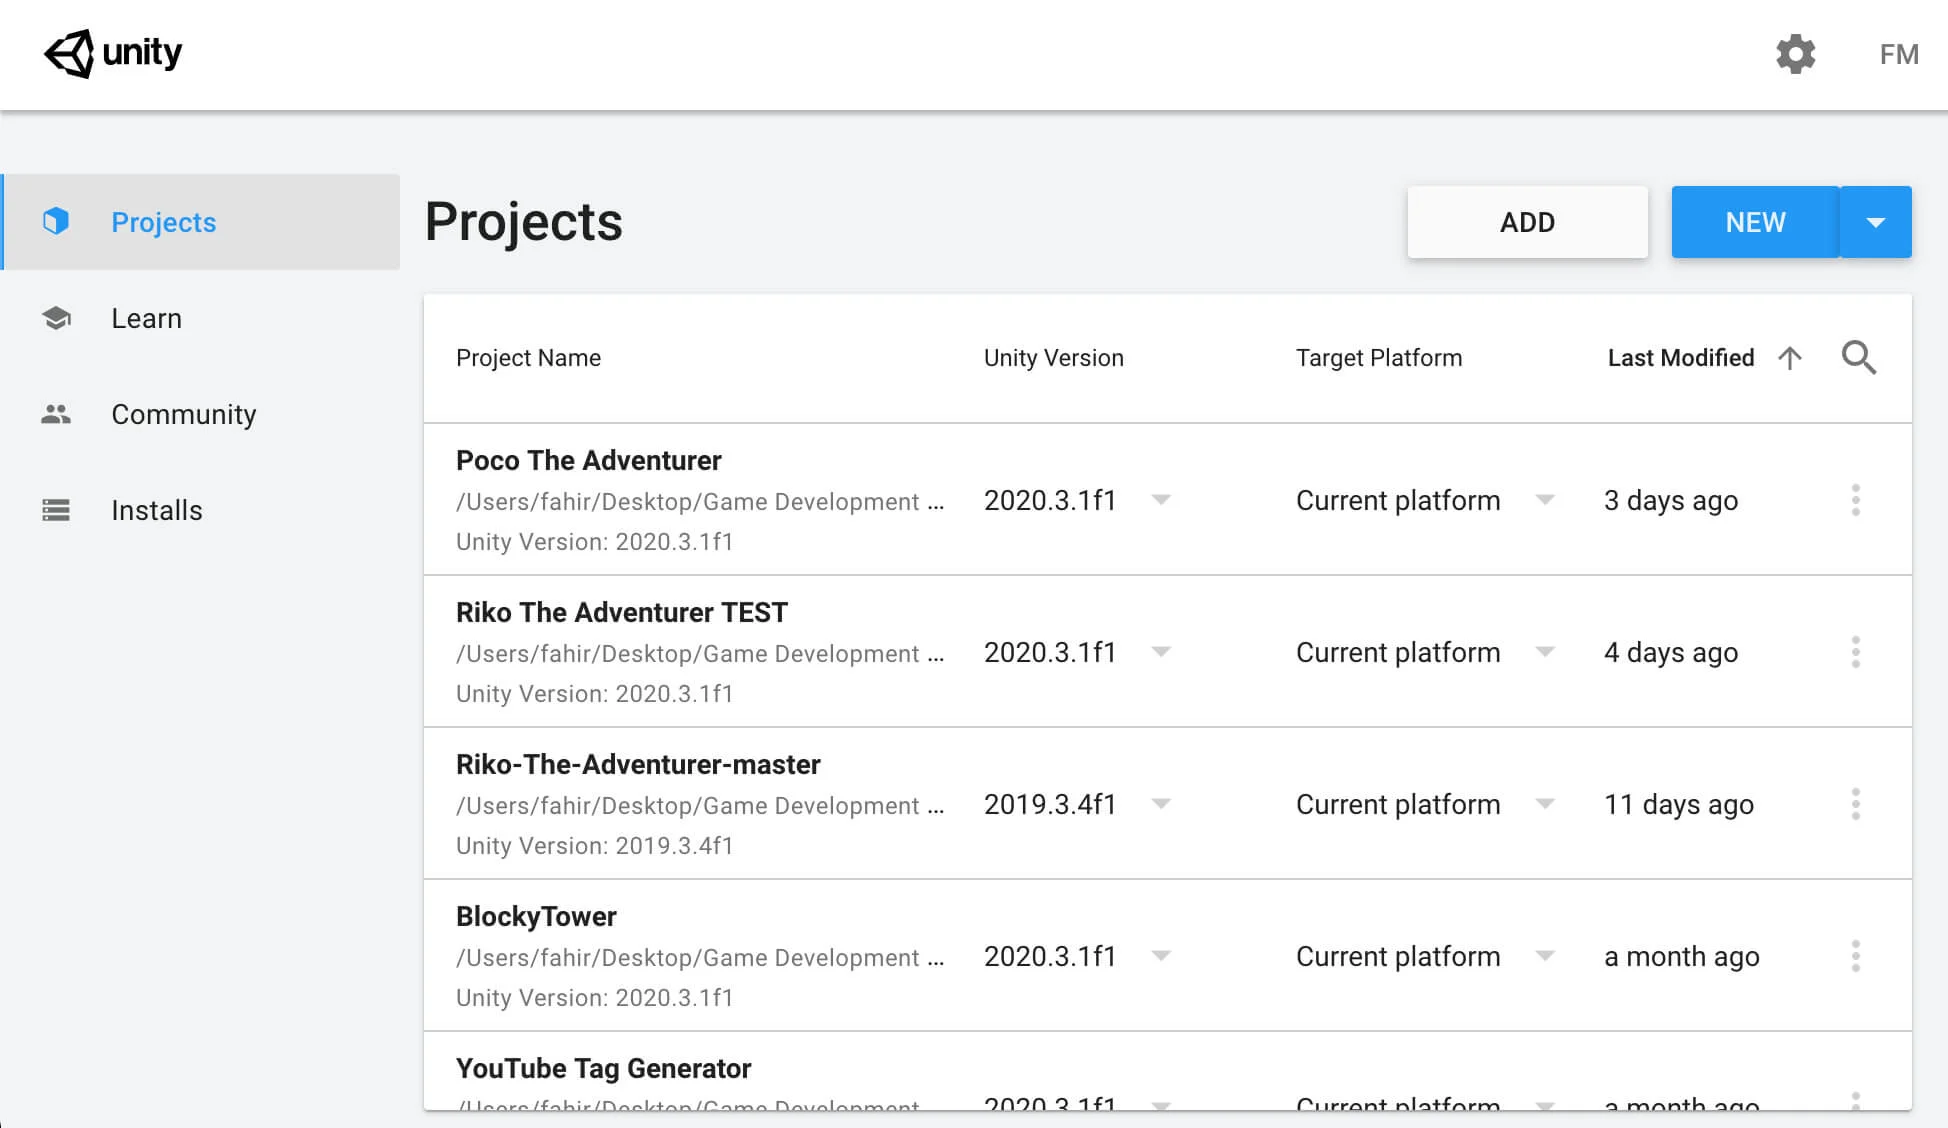
Unity hub is used as a manager for all your Unity projects and versions that you’ve installed:
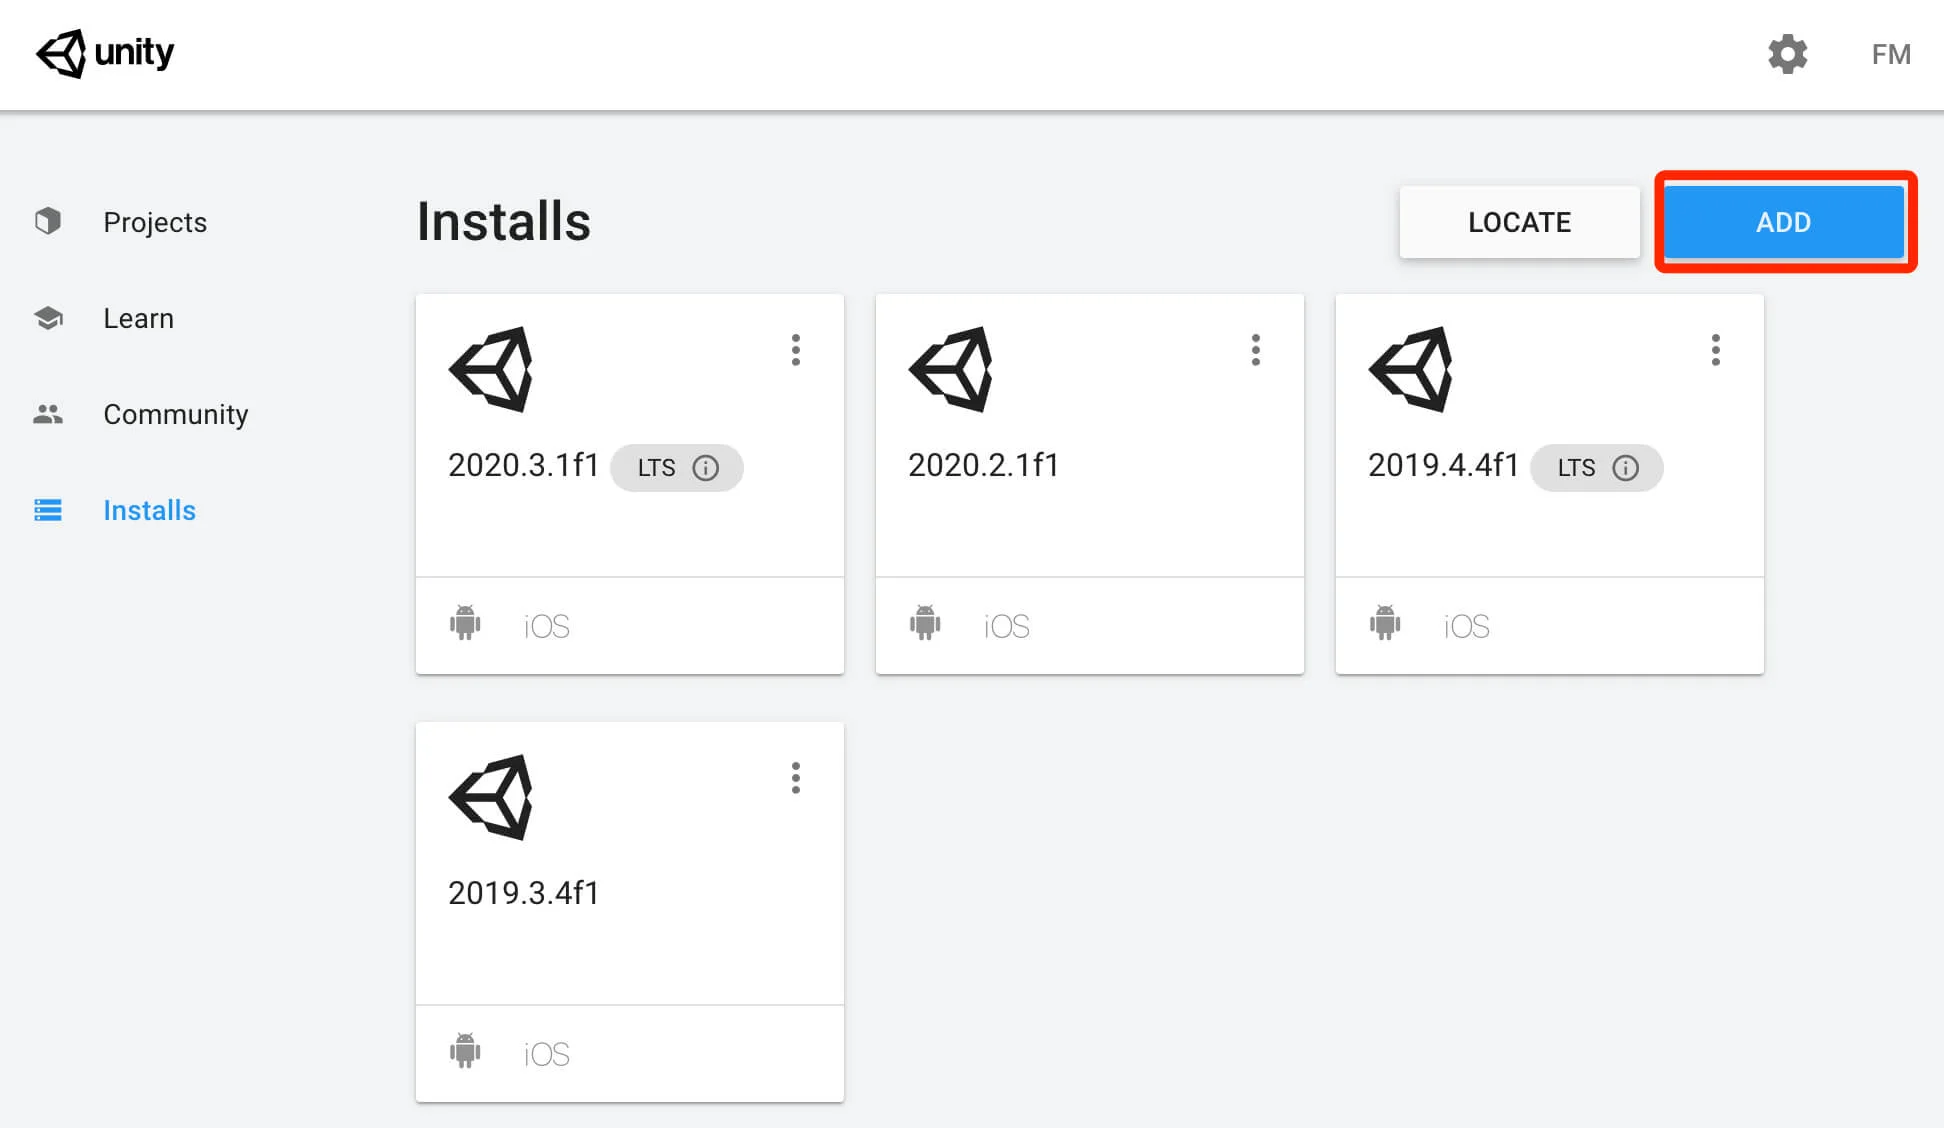
You can also download new Unity versions directly from Unity hub without the need to go on their website. From the “Installs” tab in Unity hub click on the “ADD” button to download a new Unity version:
I recommend that you download the latest LTM version of Unity. LTM stands for long term support and it provides a stable foundation for projects that are in development or about to ship.
You can, of course, always download later versions of Unity by clicking on the “Download Archive” link within the newly opened tab:
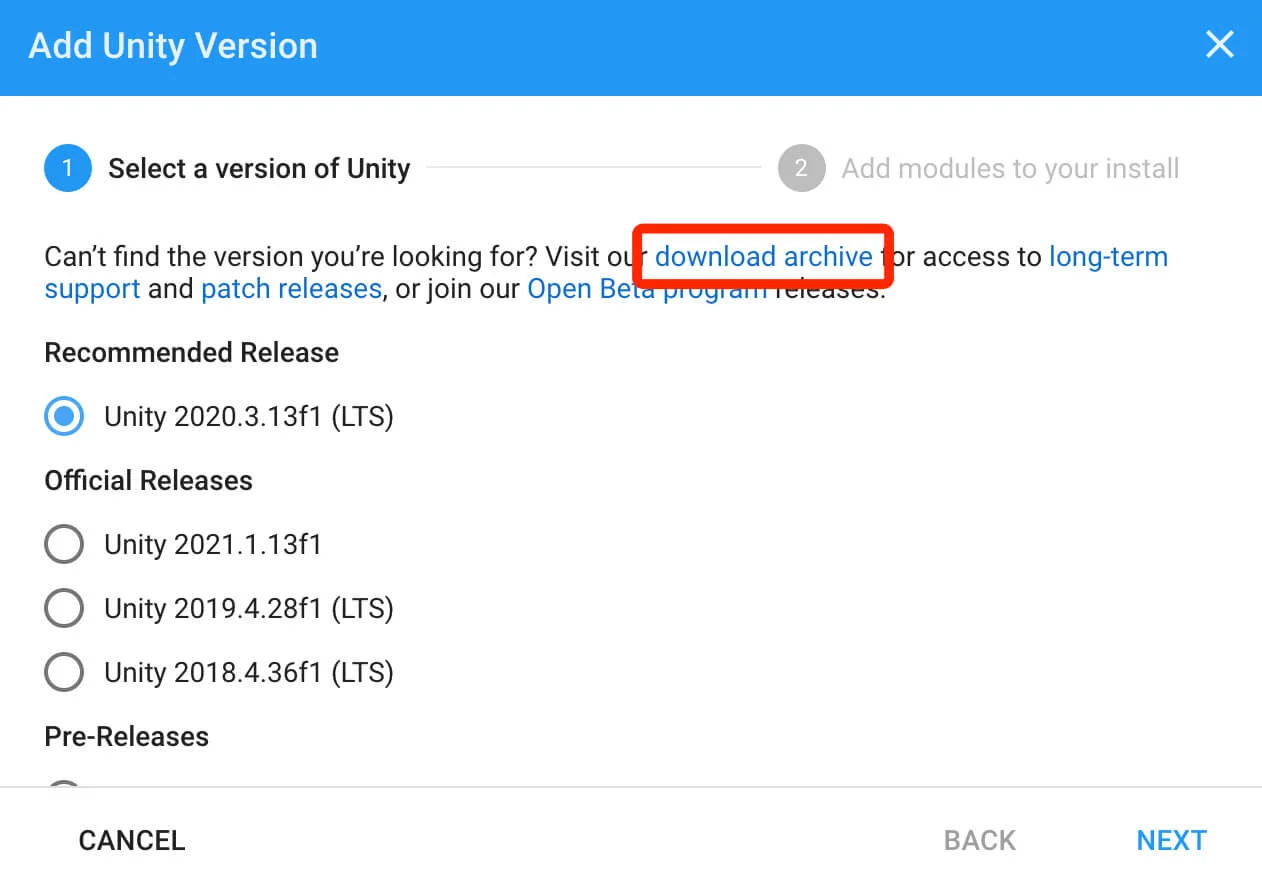
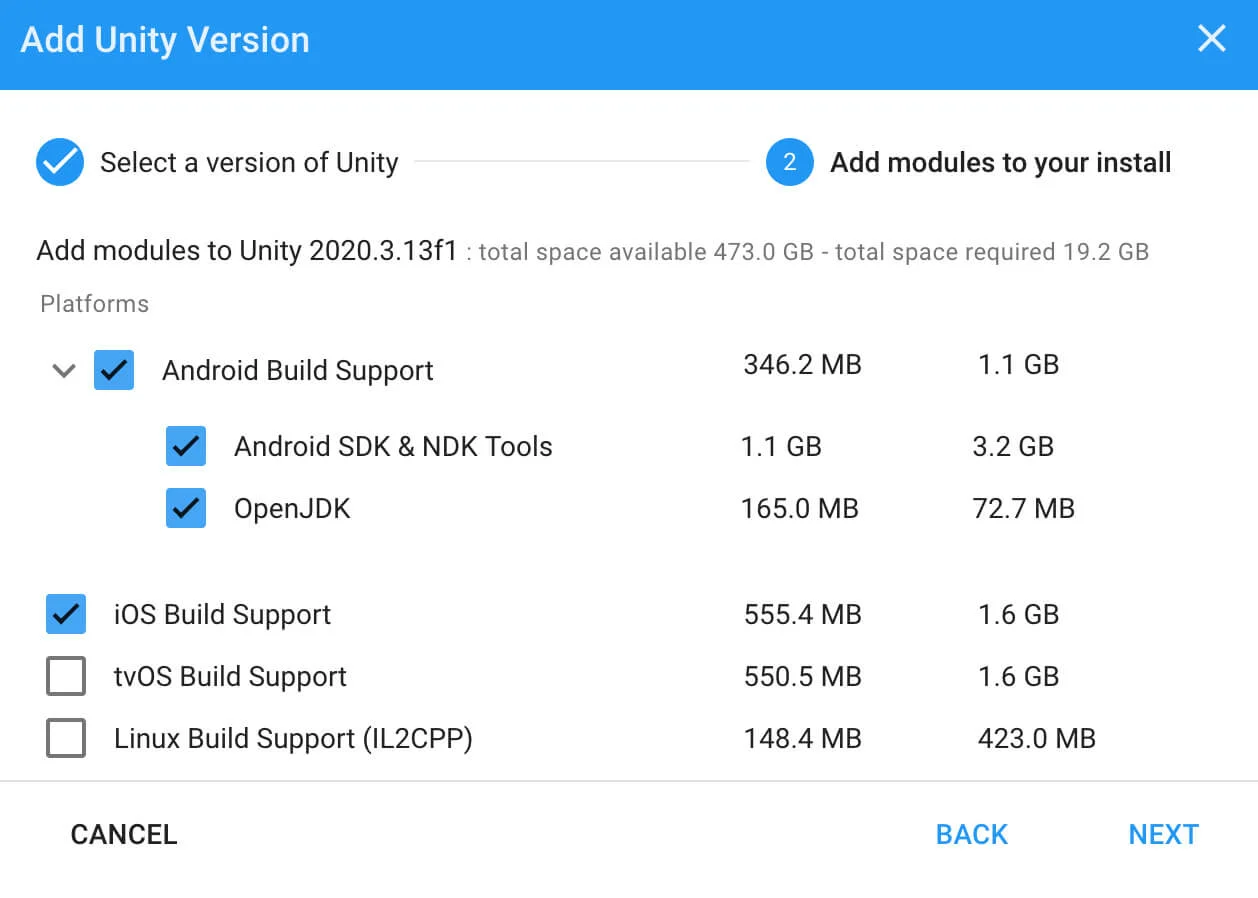
From the new tab, just click on the “Next” button and on the next tab select the modules you want to download with Unity.
These modules represent support files for platforms where you plan to ship your game. So for example, if you are developing a mobile game then check the checkbox for Android and iOS built support tools:
From there, just click on the “Next” button until the download starts and wait until it finishes downloading.
Creating A New Unity Project
Now that we downloaded Unity we can create a new project under the “Projects” tab and clicking on the “New” button:
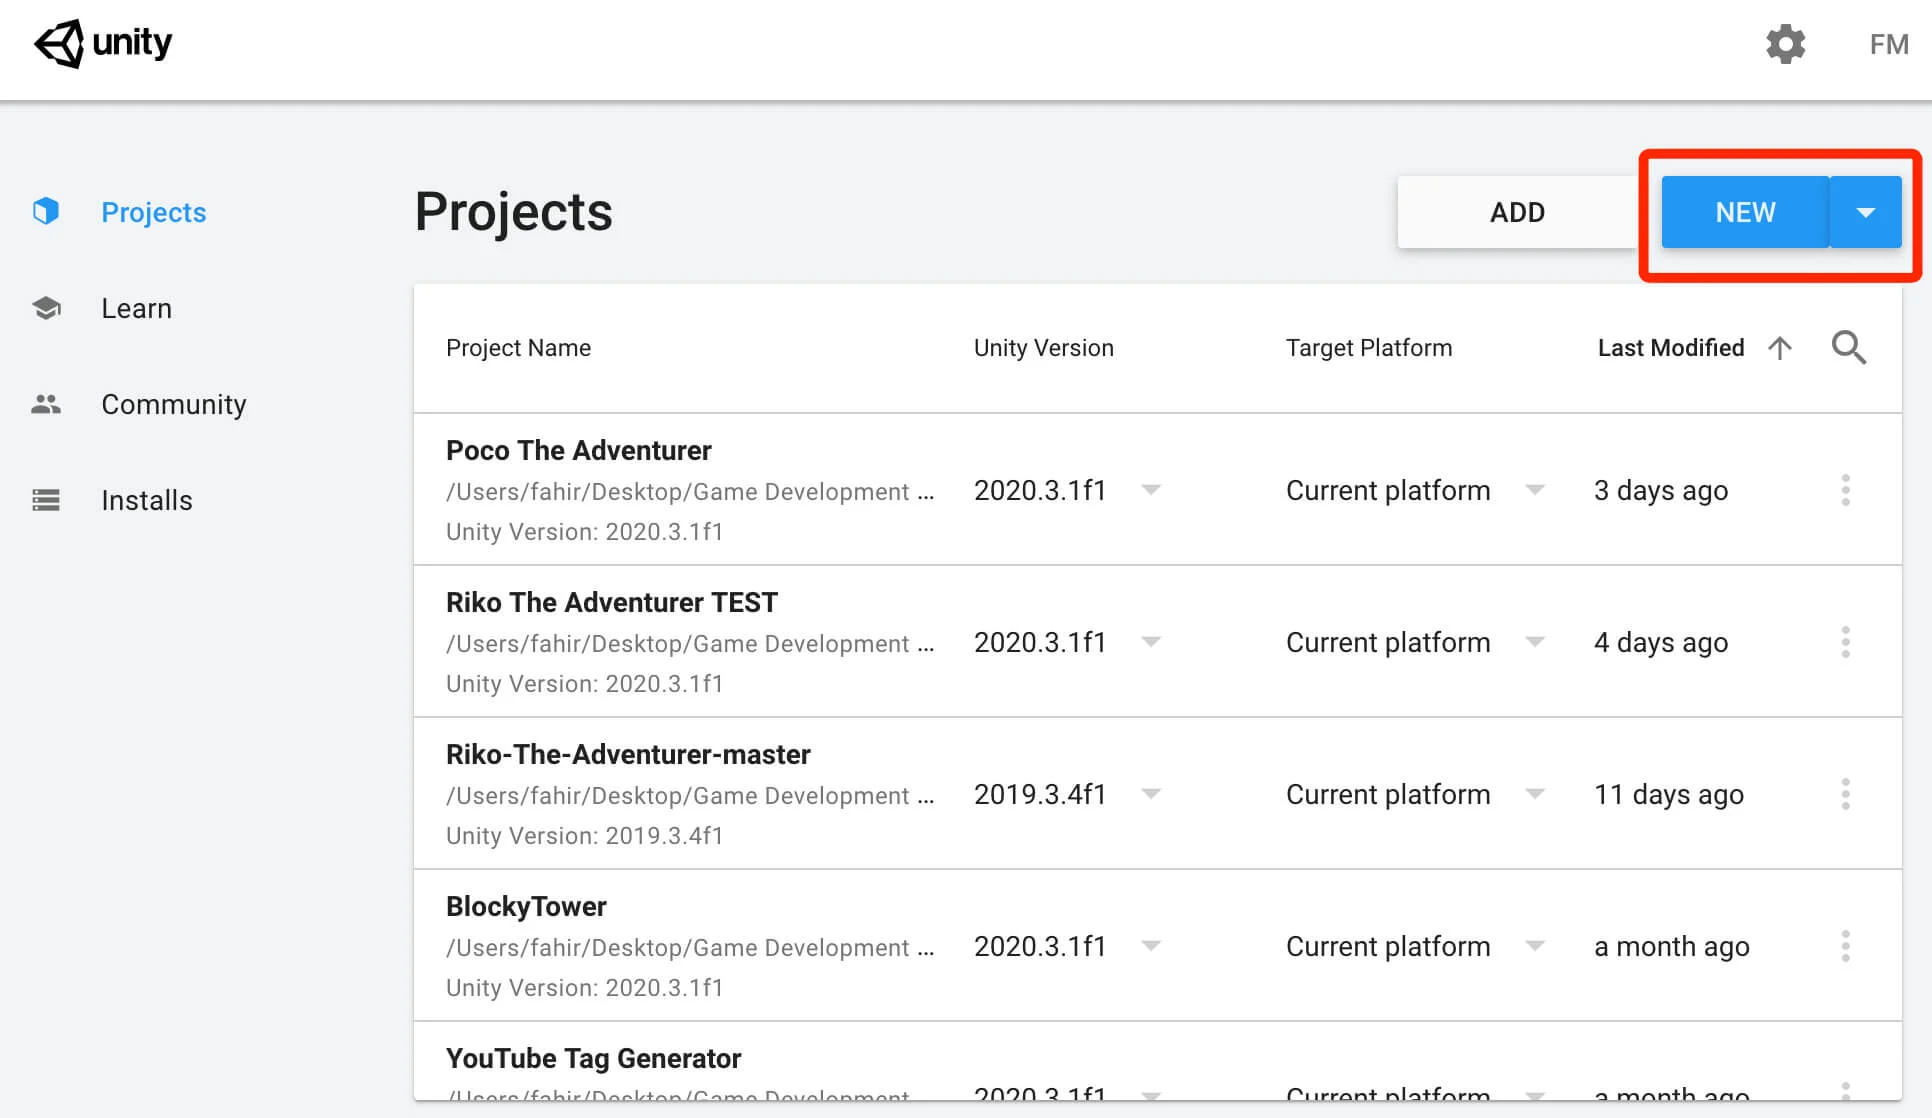
This will prompt you to create a new project with your desired Unity version(if you have more versions installed). To select with which version specifically a new project will be created click on the down arrow button next to the “New” button in the projects tab:
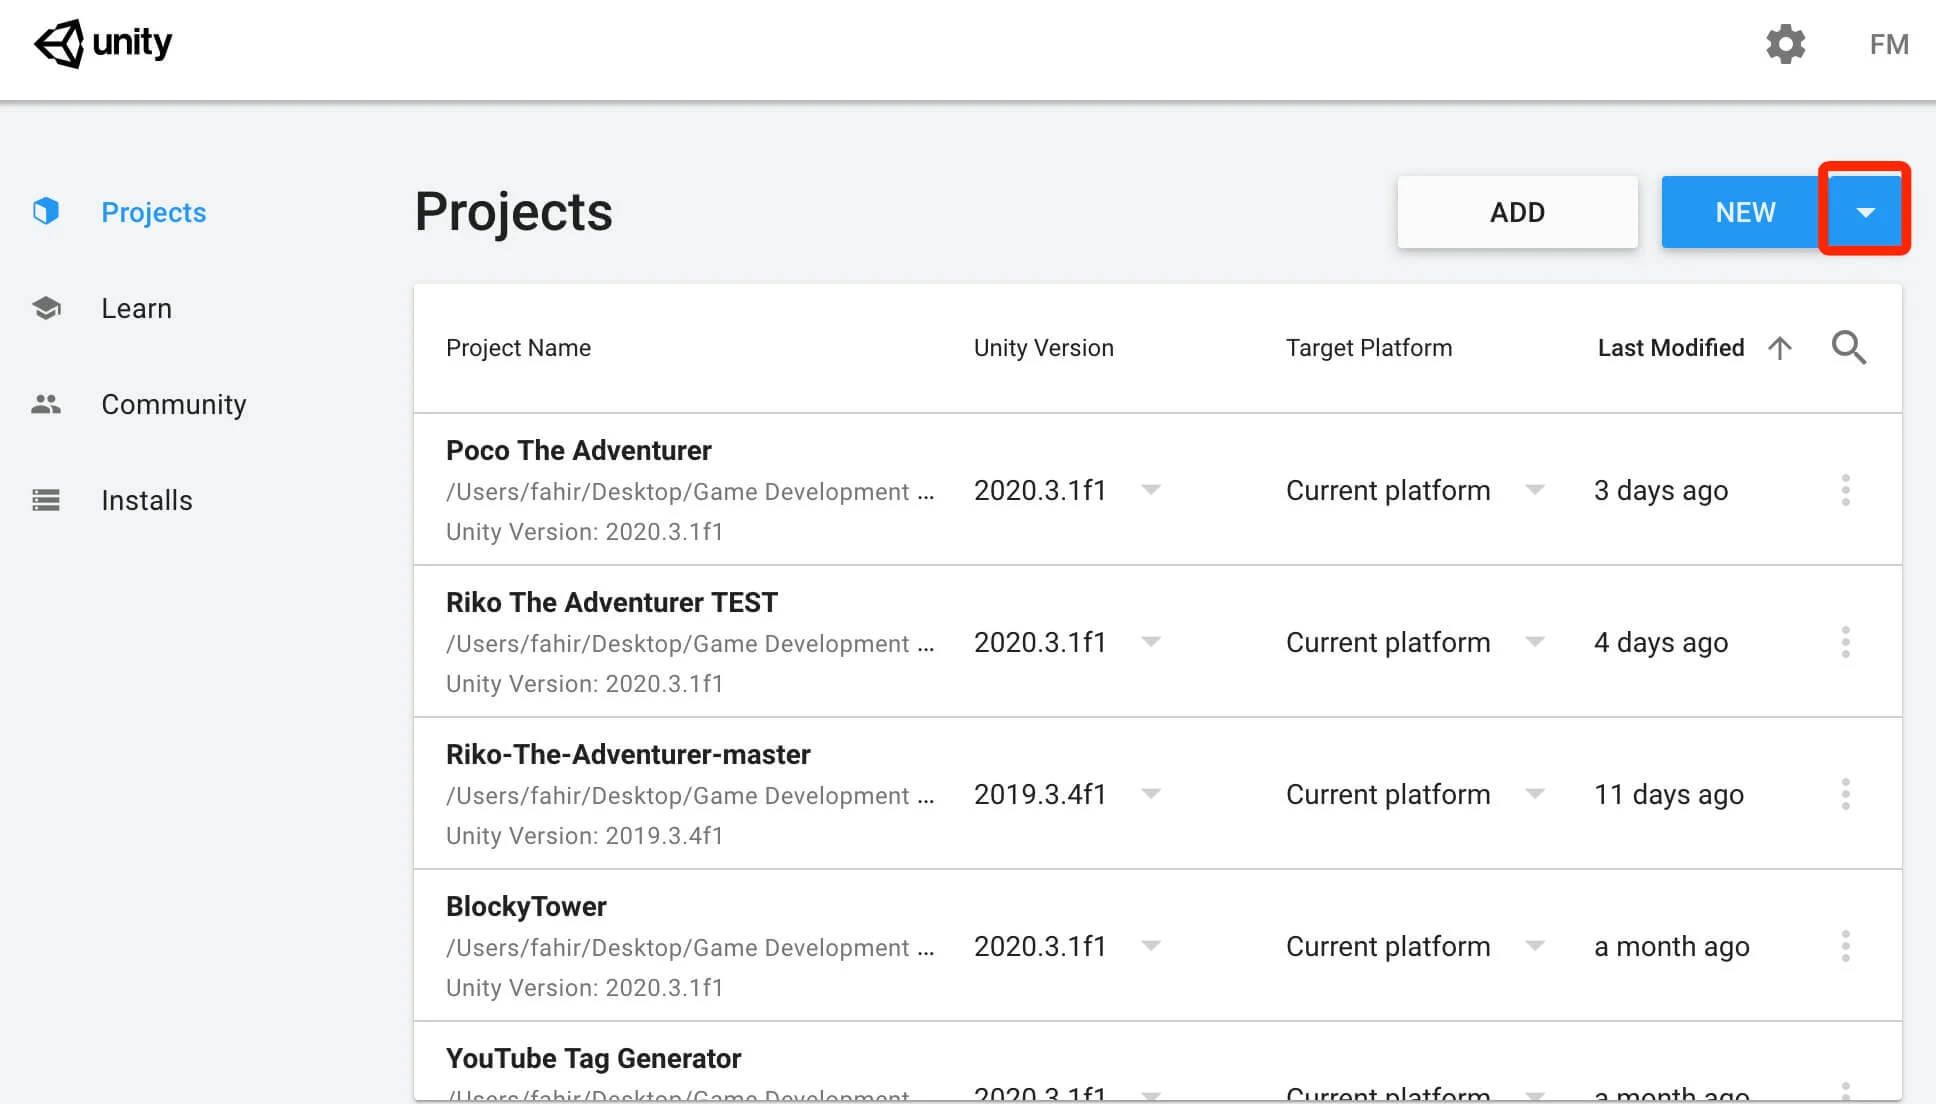
From there you can select any Unity version that you have installed and create a new project with that version.
In the new project tab, give your project a name, path where you will save the project on your local machine and select if it’s a 2D or a 3D project:
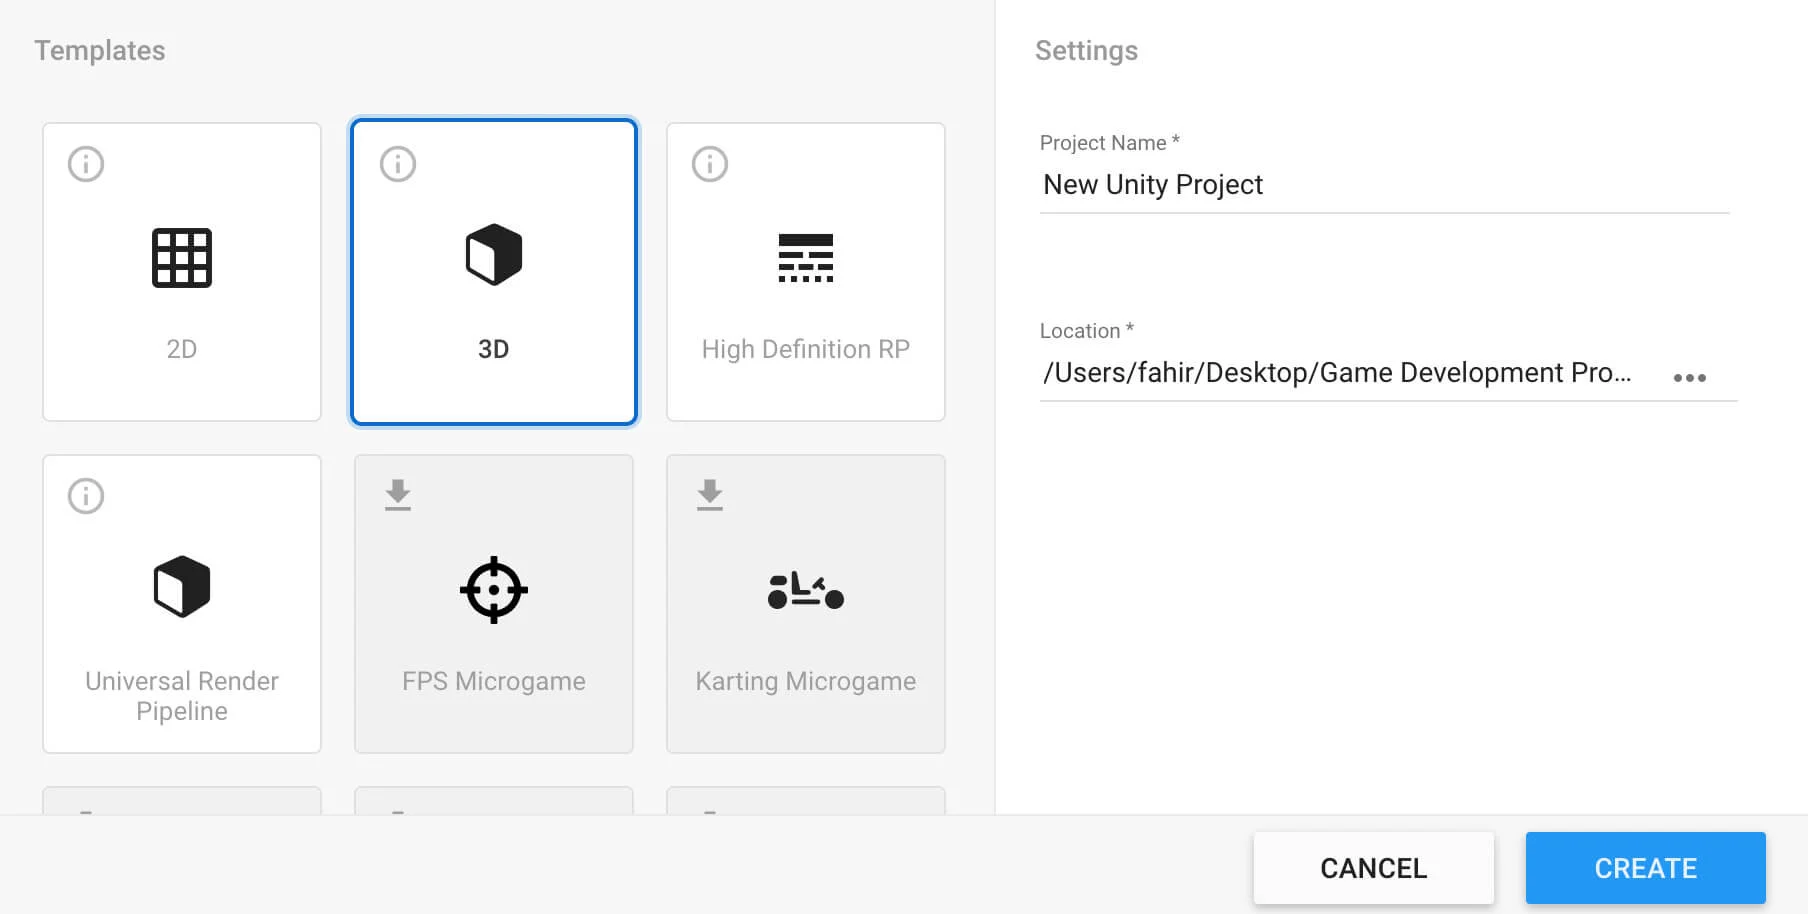
For the sake of our example we are going to create a 2D project and give it a name “Programming with C#” and then click on the “Create” button to create the project.
Finally we are in the editor itself, and this is how the default layout of the tab windows looks like:
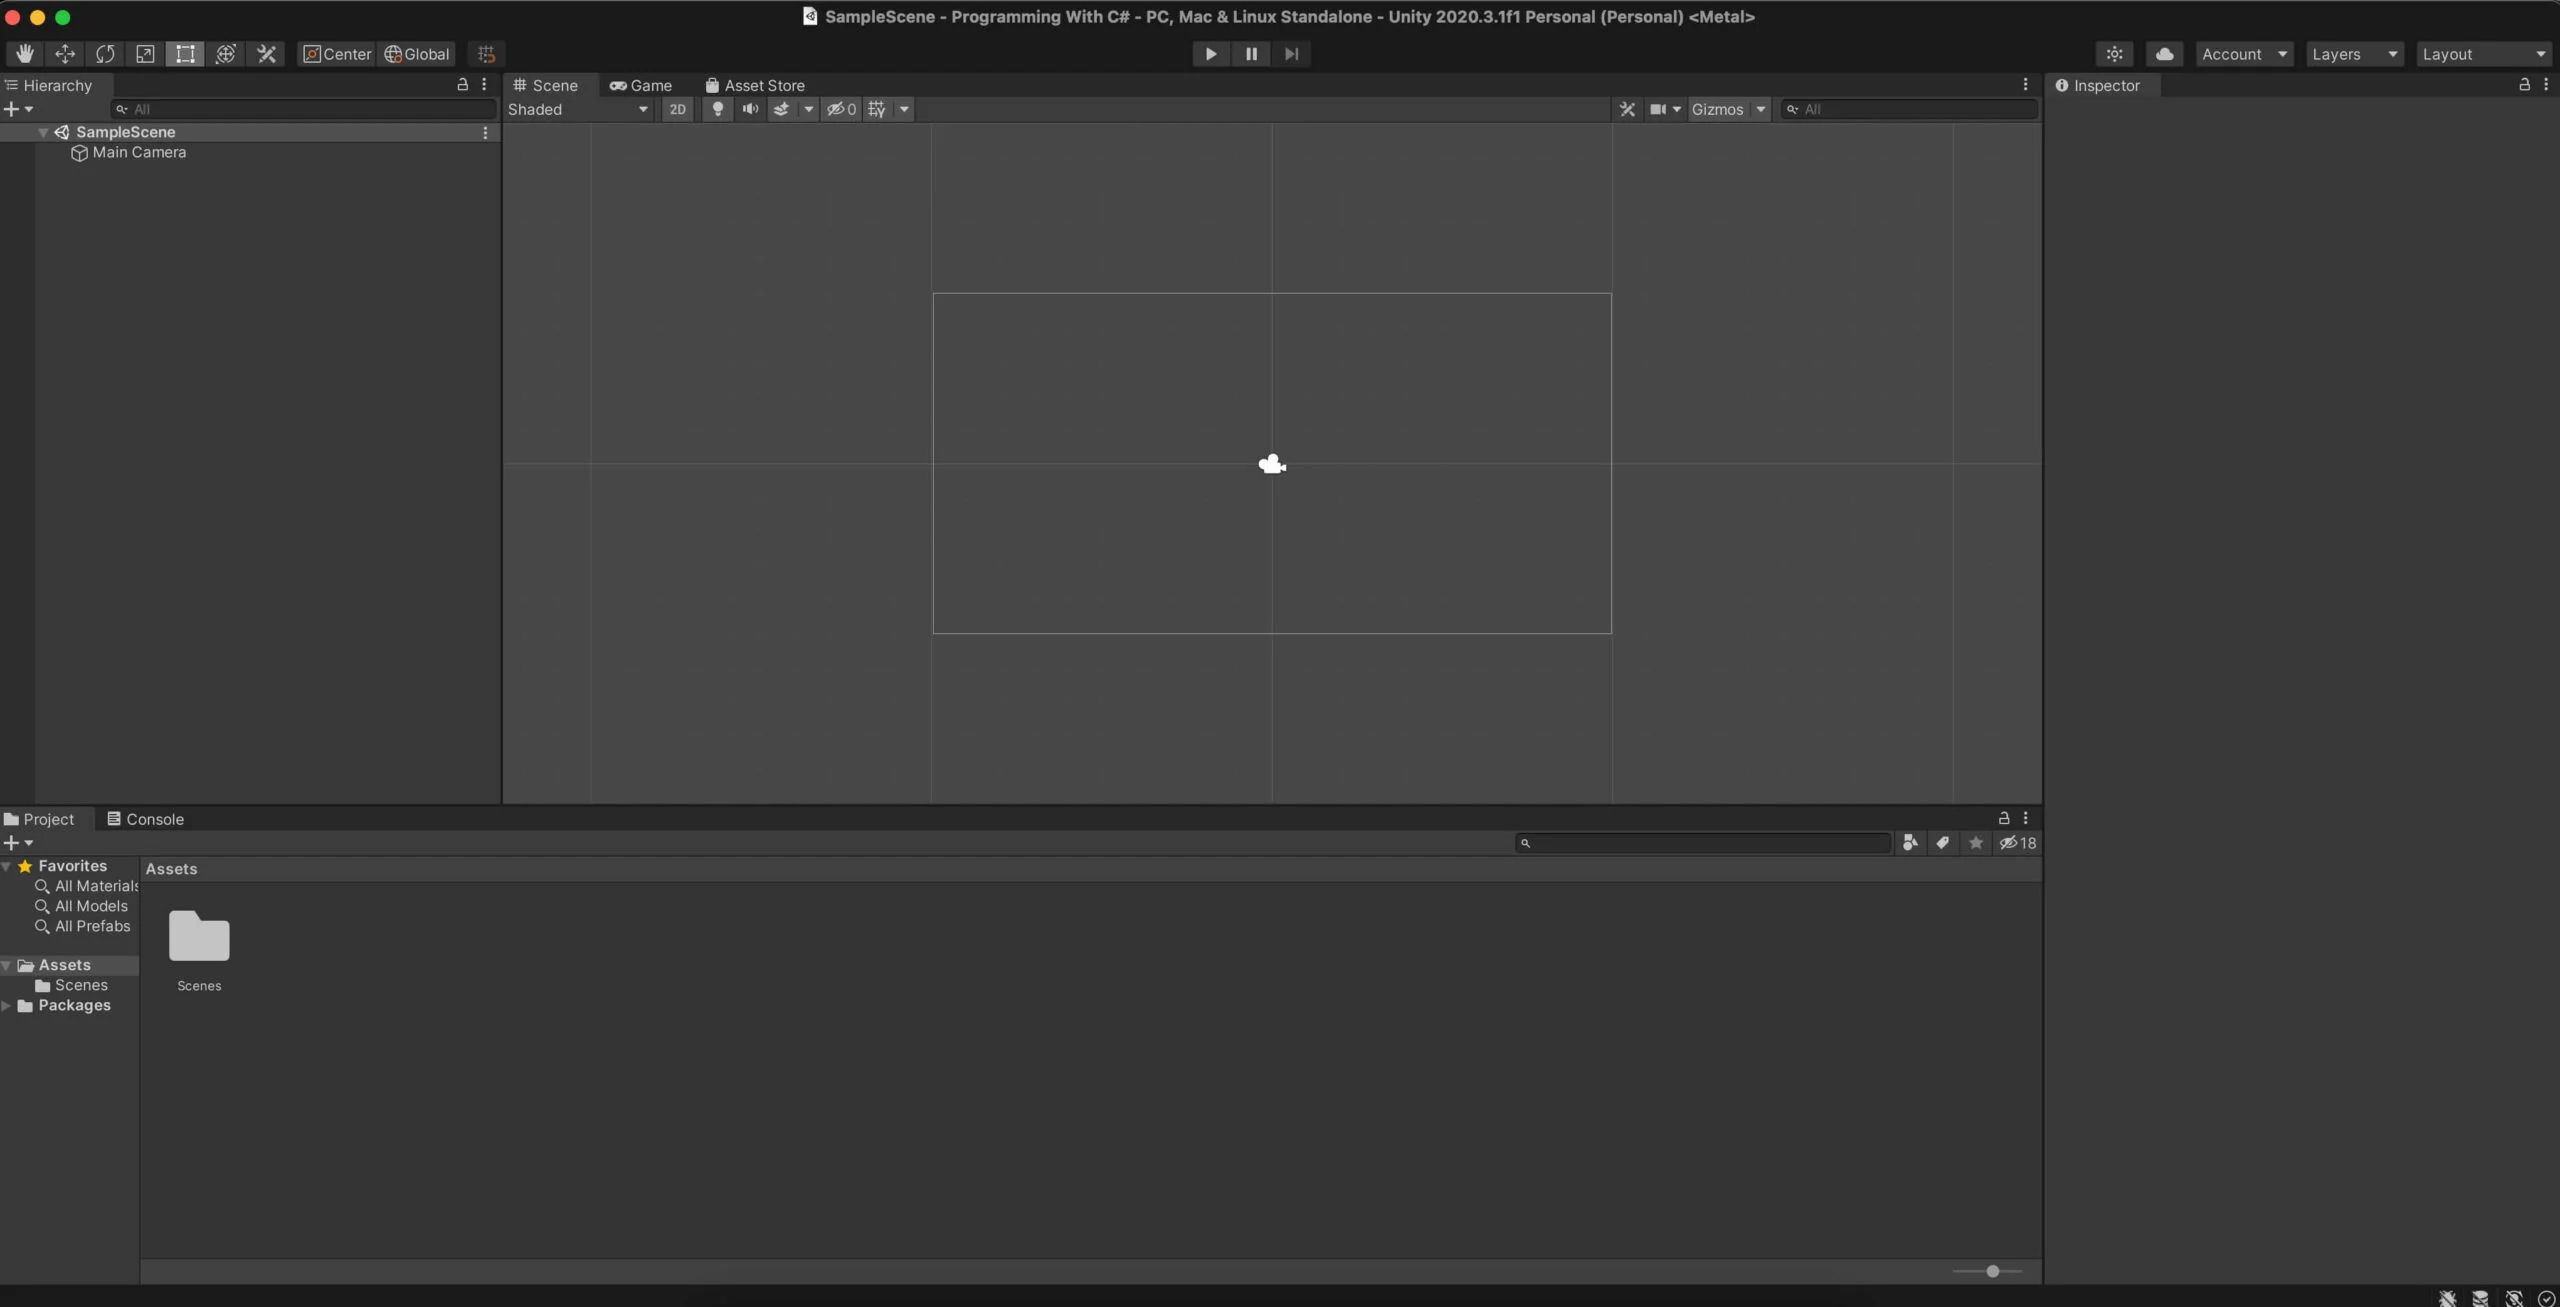
Rearranging Tabs In The Editor
As with any software you can drag and rearrange all the tabs however you want. Just click on the tab name and hold it with your left mouse button and dock it anywhere in the editor. This is my preferred layout setup for Unity:
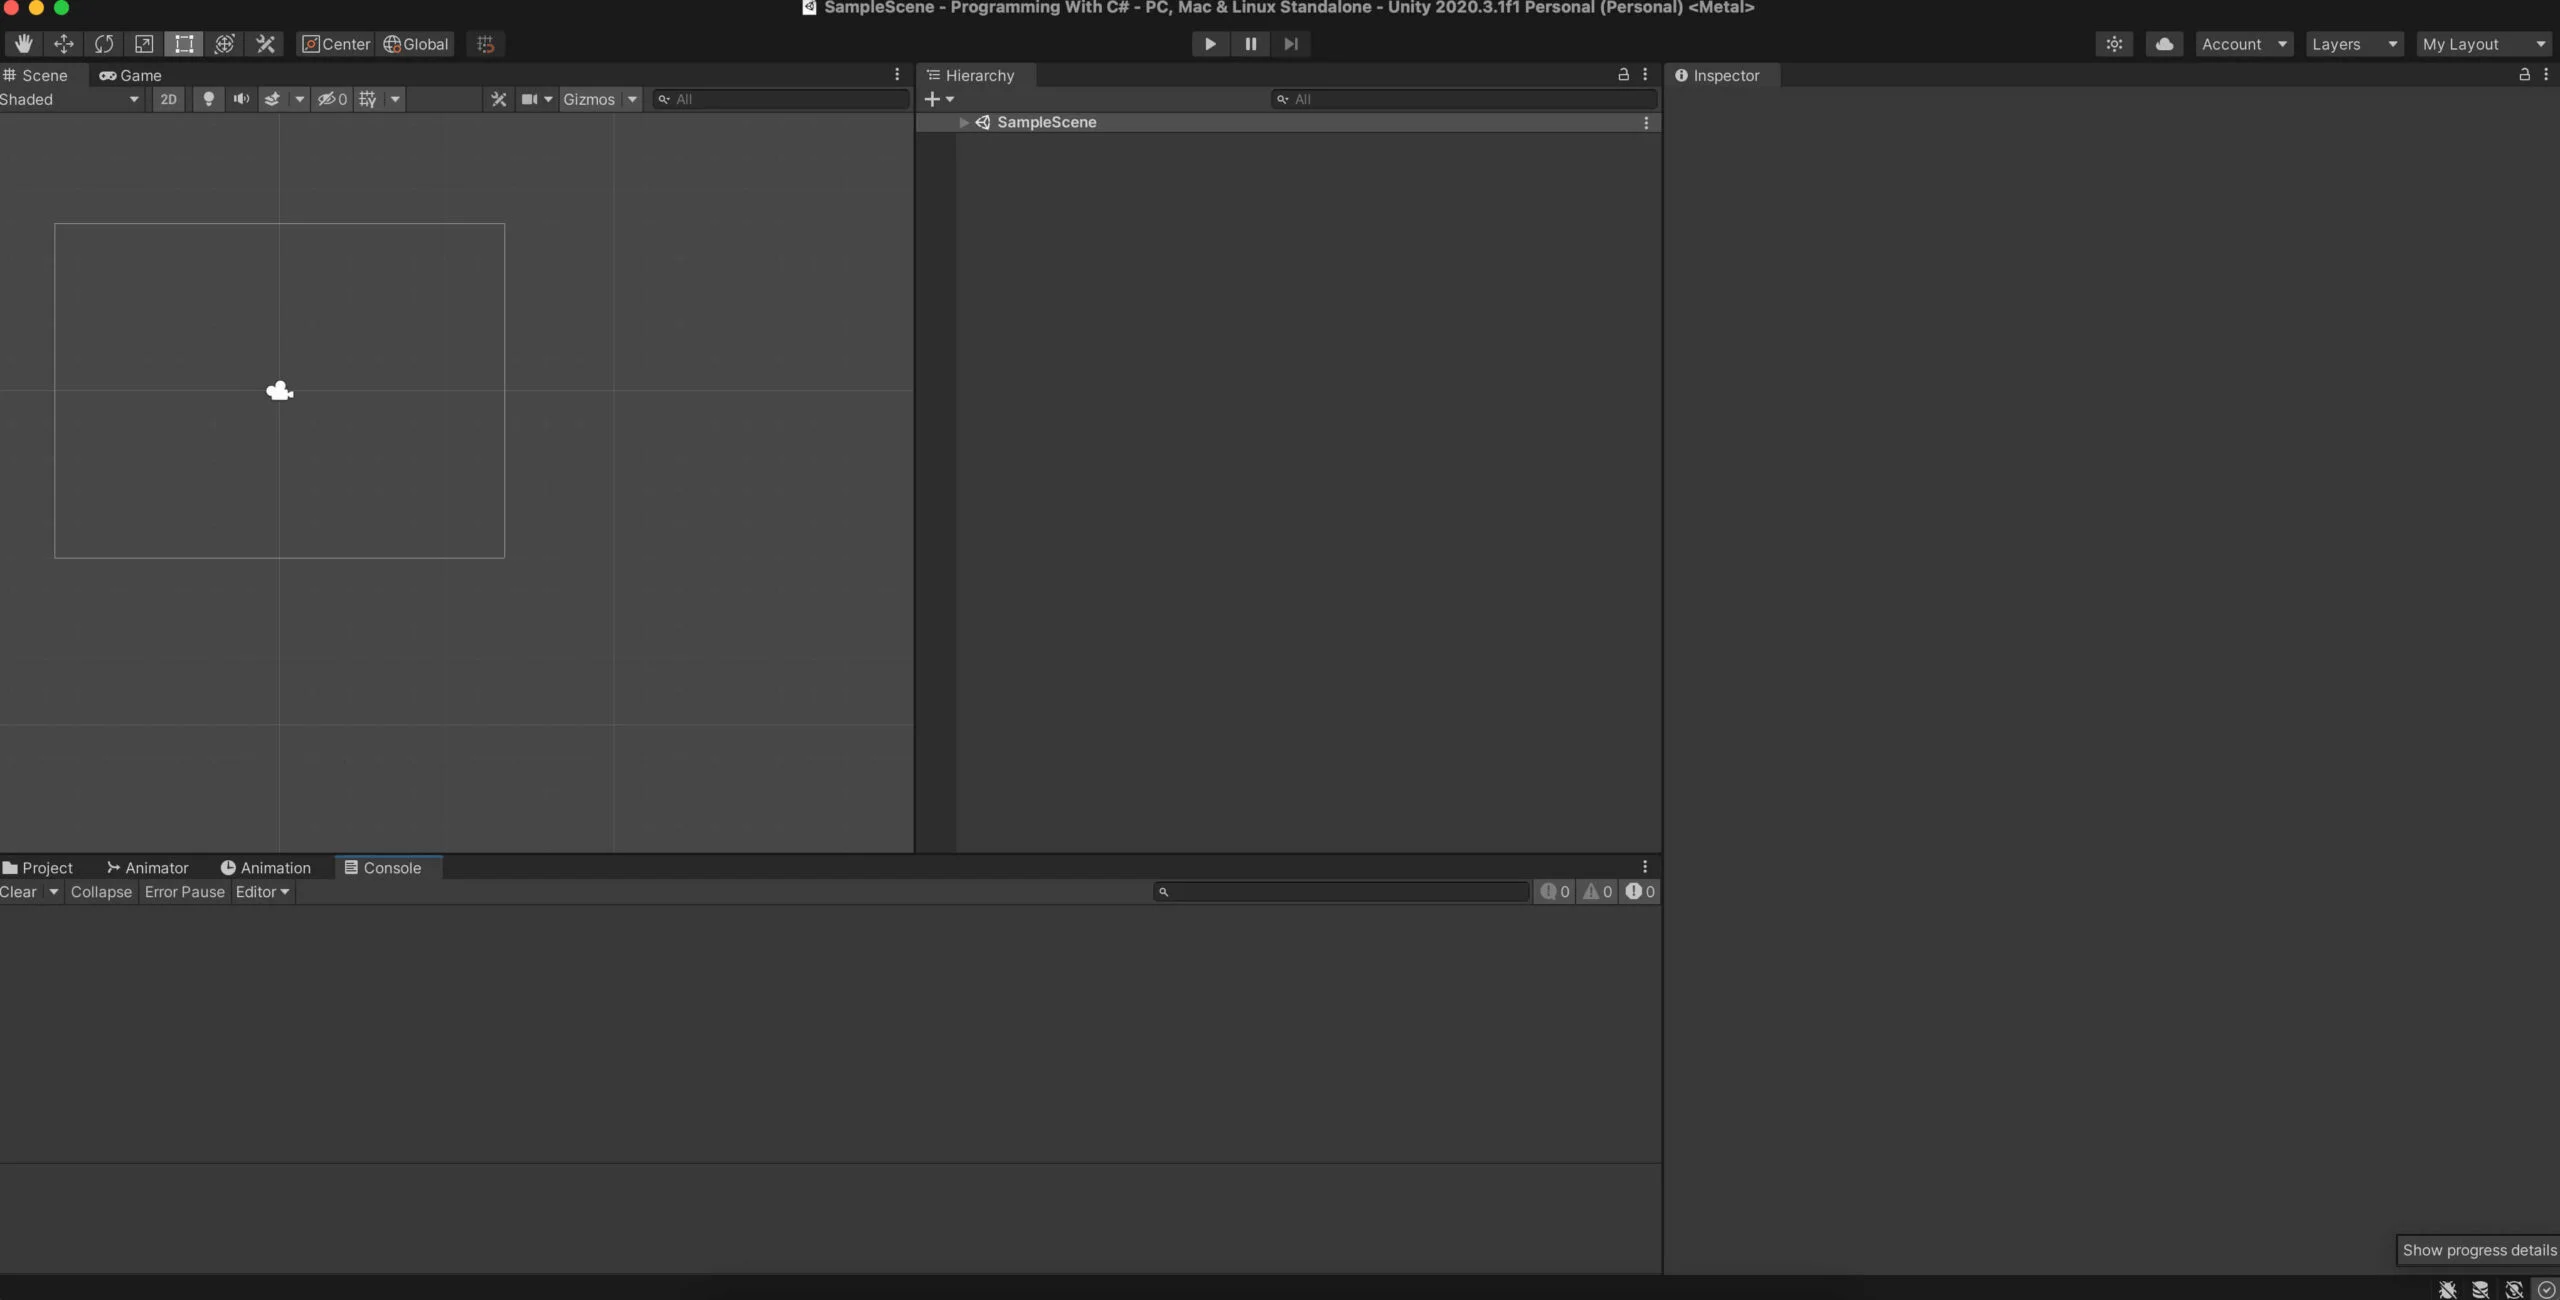
You can save your preferred layout by clicking on the “Default” drop down list at the top right corner in your editor:
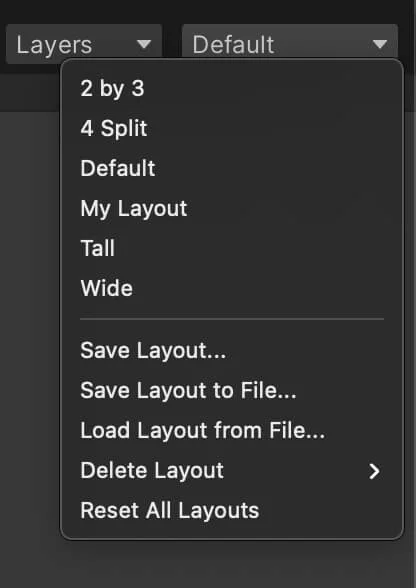
From there click on the “Save Layout…” button and give your layout a name and from now on you can always click on the same button and select your layout when you create a new project in Unity.
Exploring Tabs In Unity Engine
Scene Tab
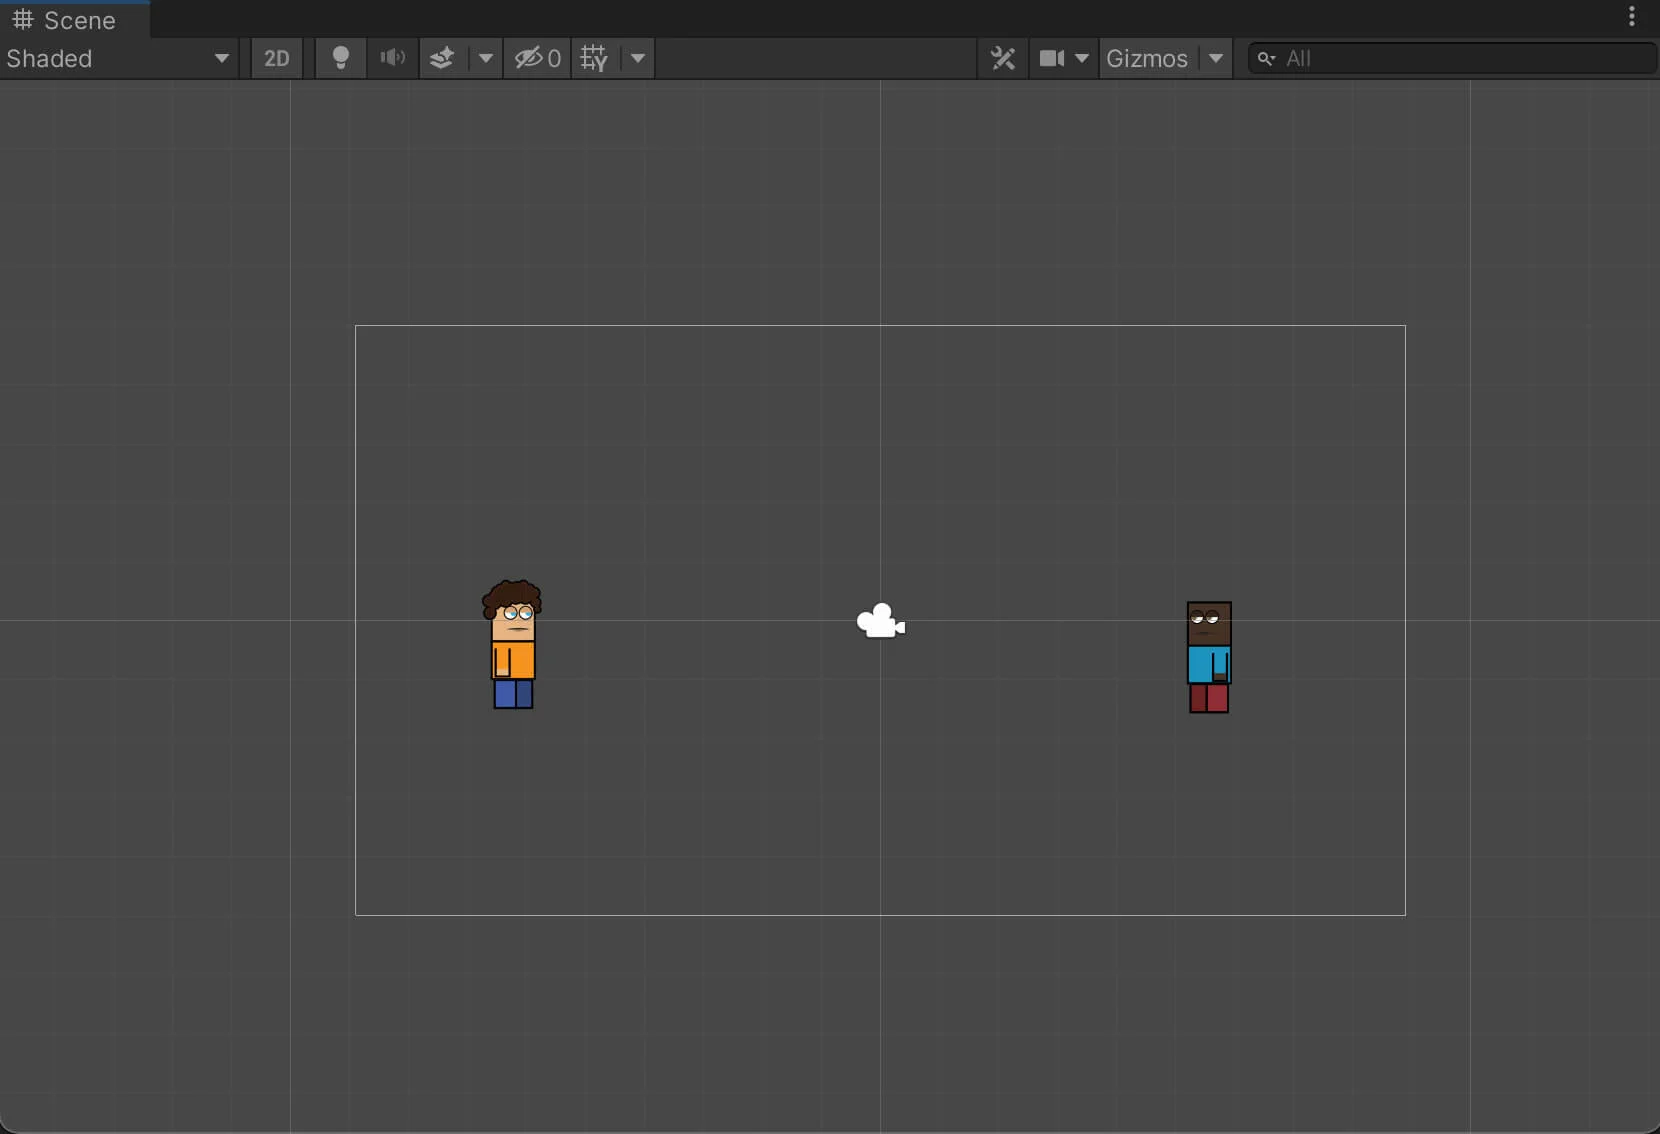
In the Scene tab you will see all visible objects, called game objects, that are forming your game. This includes all the sprites that you import in your game such as players, enemies, backgrounds, and so on:
Game Tab
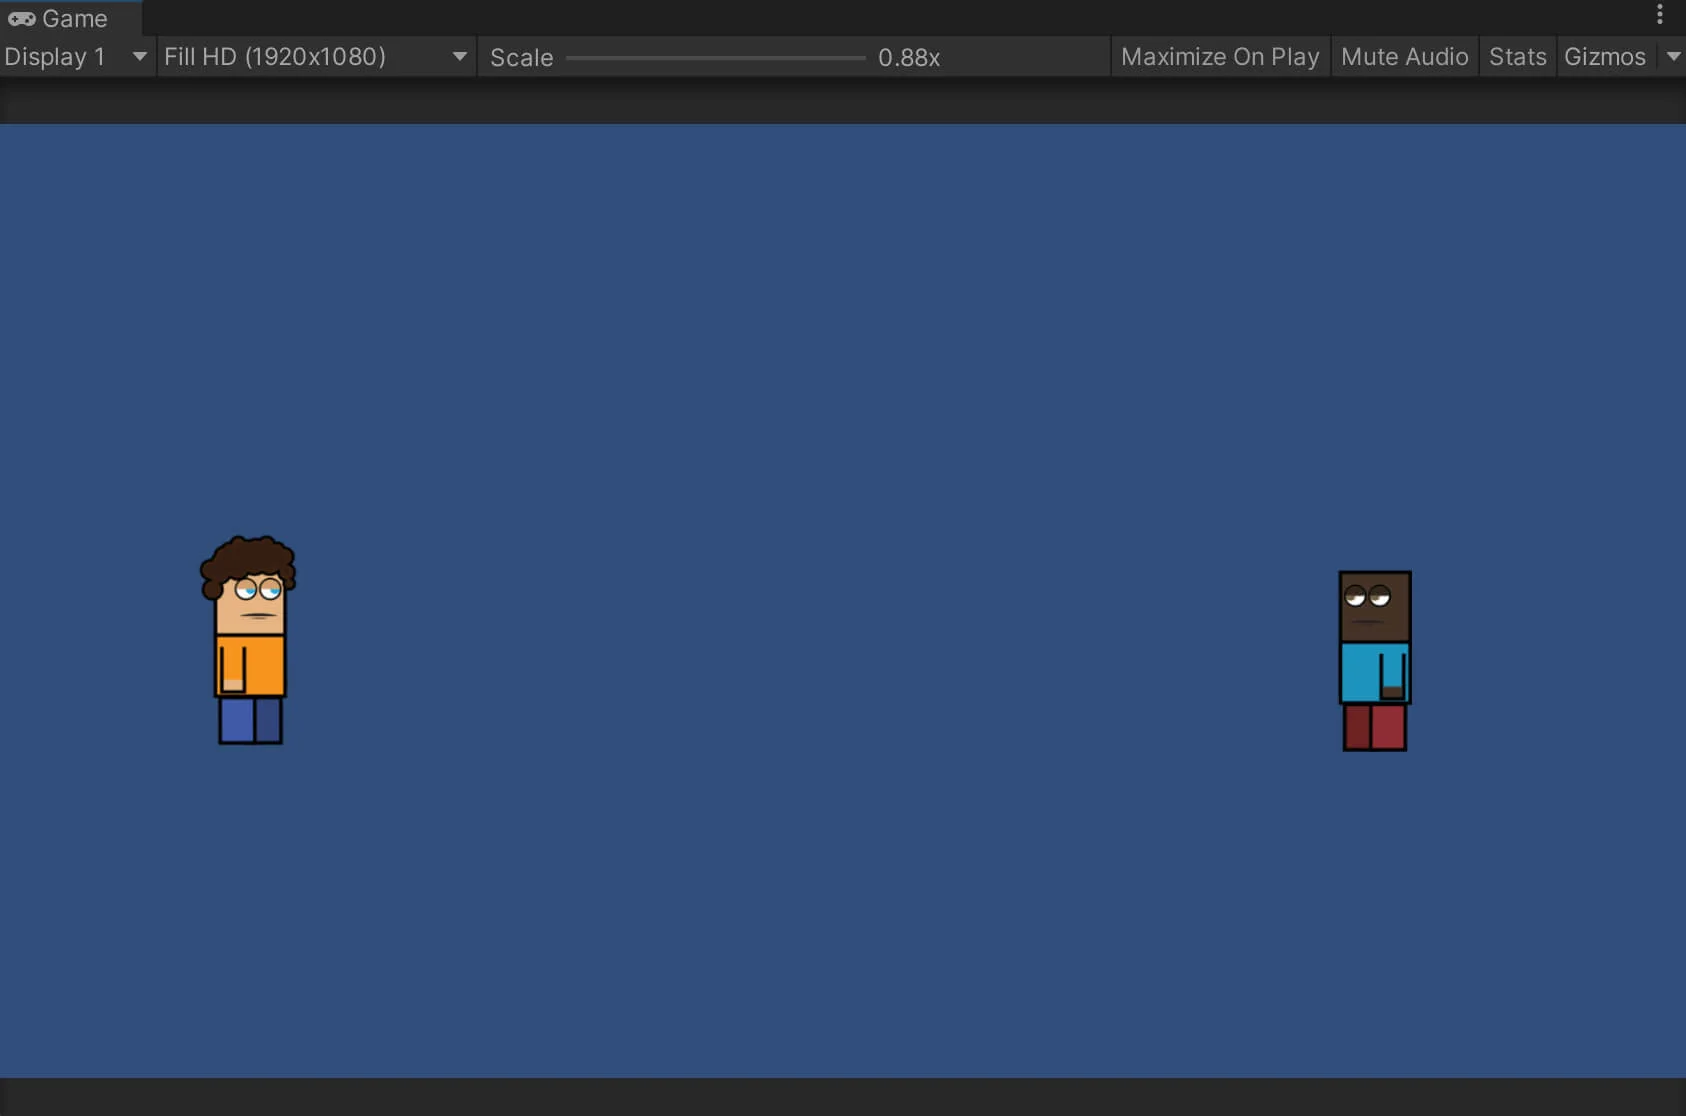
The Game tab represents how your game will look like on different screen sizes, e.g. how the game will look like when it’s exported for your desired platform:
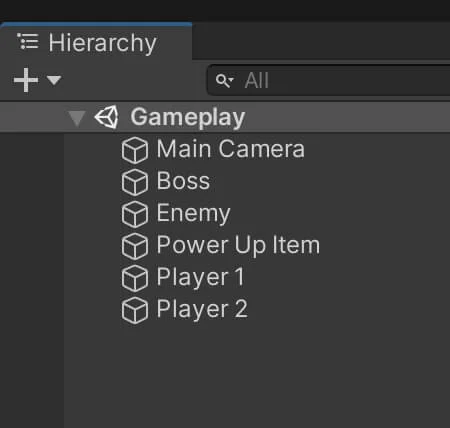
Hierarchy Tab
In the Hierarchy tab you will see all game objects that are placed in the current scene:
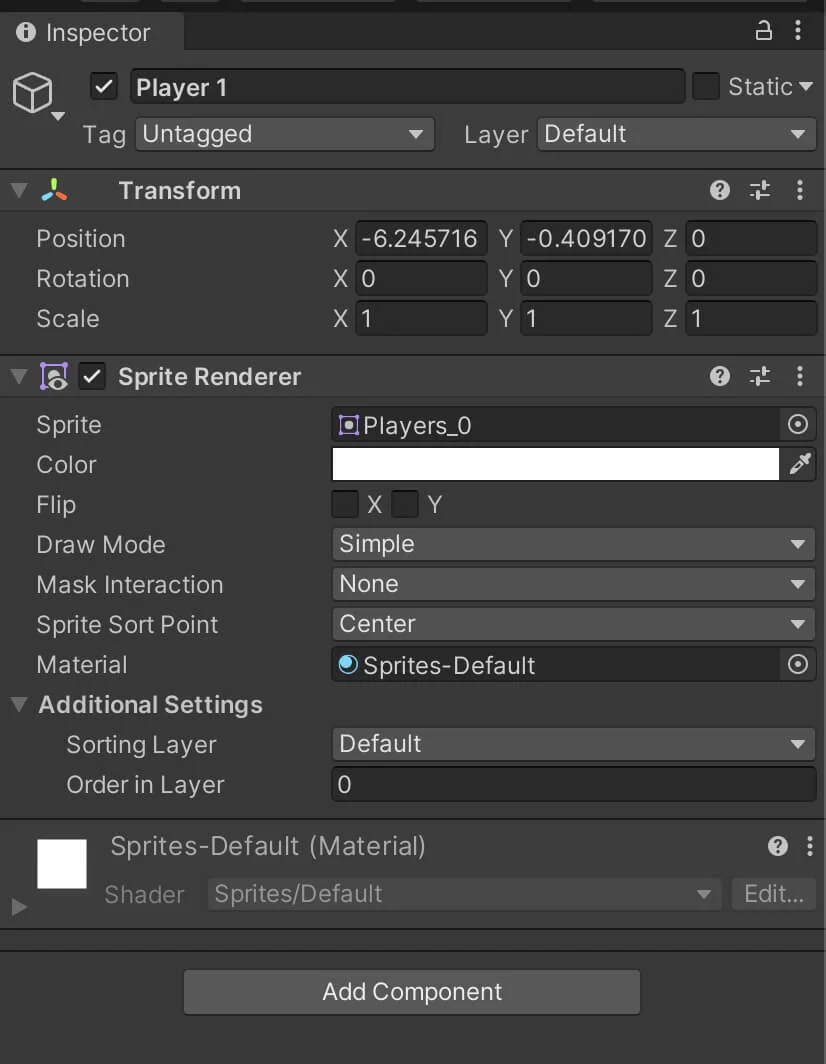
Inspector Tab
When you click on any game object in the Hierarchy tab, you will see all it’s properties and components that are attached on that game object in the Inspector tab:
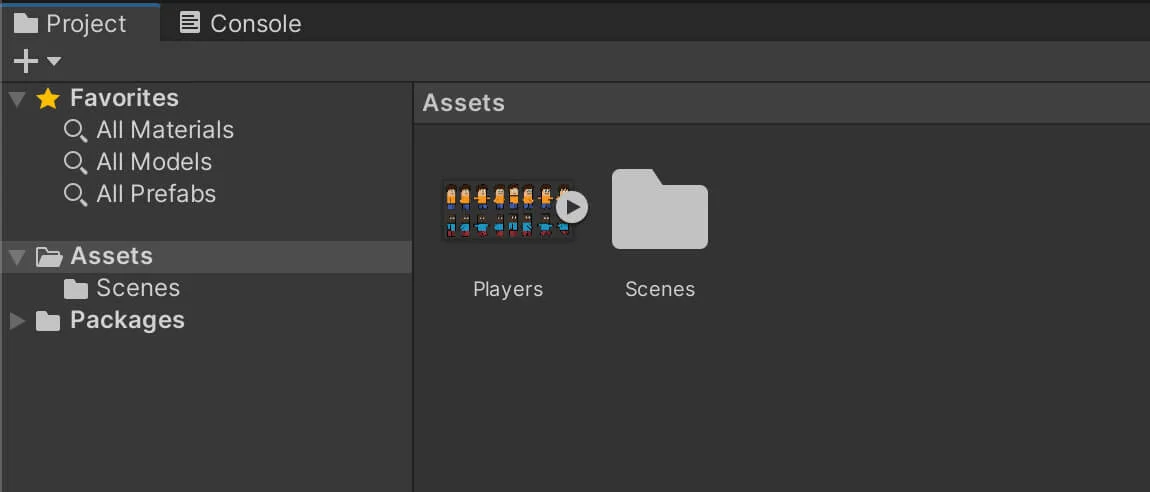
Project Tab
The Project tab will shows the file hierarchy of our project. In the Project tab we import all of our assets such as images, fonts, audio files and so on. We can also create folders to better organize our project:
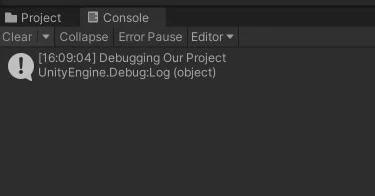
Console Tab
In the Console tab is used for output and debugging purposes. We can write lines of code that will will print to the Console and we can use that to debug our project. Also, any potential error that we make in our project will be displayed in the Console tab:
There are plenty other tabs in the editor but these are the main ones that we will use in every project, and they are enough for us to get us started using the engine.
Later down the road when we start creating our projects, we will use other tabs when we need them and introduce their functionality.
Where To Go From Here
In this lecture you learned about Unity engine and its basic layout. Now we can move forward and start learning how to code in C#.
To continue your learning journey you can take a look at our Introduction To Variables Lecture which is the next lecture in this tutorial series.

Comments are closed.