So far all the variable examples we used are single variables. With this I don’t mean they are single because other variables don’t want to date them, but what I mean is they represent a single value.
Often in programming you want to have multiple values stores in a single variable so that you can access those values whenever you need them.
This is the purpose of arrays.
How To Create An Array?
You can create an array the same way you create a normal variable by giving it a type, name and potential value, but you also add [] after the variable type. For example:
int[] damagePoints = new int[10];
How Do We Initialize An Array?
So far the arrays we declare only have set the number elements that can fit into this array, but the values of all the elements are not set e.g. Unity will use the default values which in this case is 0.
damagePoints[3] = 20;
Debug.Log("There are total " + damagePoints.Length + " elements in this array");
After you run the game, this is what you will see in the Console:

This is how we determine how many elements this array has by using the length property.
And since I already mentioned that the first element in the array is at index 0, then you can always access the last element by using the array’s length property and subtract 1 from it.
It’s really important to note that if you try to access an index that doesn’t exist in that array then you will get the so called index out of range exception printed in the console.
Since our damagePoints array has 10 elements, if we type the following:
damagePoints[10] = 22;
If you run the game this is what you will see in the Console:

This is the reason why it’s important to know that the first element is at index 0, and the last is at length – 1, because if you try to use a number that is greater than or equal to the length of the array you will get the error that you see in the image above.
This error will stop your game from working and it will make it unplayable, so be careful when access elements by their indexes.
There is also another way how we can initialize an array which goes like this:
int[] damagePoints = {1, 5, 64, 12, 44};
A Better Way To Initialize Arrays
As you can see initializing an array of 10 elements is a lot of work, that’s 10 lines of code, imagine if we have an array that has 100 elements, our fingers would be vaporized 😀
Lucky for us there is a much better way to initialize and work with arrays than what we’ve seen so far.
If you’ve been a good student, which I doubt you were because we all cheat in school… what? Is that only me?
Anyways, in the lecture about loops I said that loops are used to process arrays, and these two go hand in hand.
Let’s initialize our damagePoints array using a loop:
					int[] damagePoints = new int[10];

for(int i = 0; i < damagePoints.Length; i++)
{
    damagePoints[i] = 10;
}
If you take a look at the structure of this for loop, you will see that we use the iterator i to access all elements in the array, we set it’s initial value at 0, which the index of the first element in the array, and the condition for the loop is i < damagePoints.Length which means we will process all the elements in the array without getting the index out of range exception.
We already know that the value of i will increment after every loop iteration, and when it gets to the point where i is no longer less than the length of the array then the loop will stop.
In this example the length of the array is 10, when i gets to the value of 10 then the loop will stop and we will not even try to access the element that is on the 10th index, because we know that the last element in the array is always at the length – 1 of the array, so the last value of i before the loop stops, will be 9, and that is the index of the last element in that array.
You can verify this by using another loop to print all the values we just created:
					for (int i = 0; i < damagePoints.Length; i++)
{
    Debug.Log("The value at " + i + " index is: " + damagePoints[i]);
}
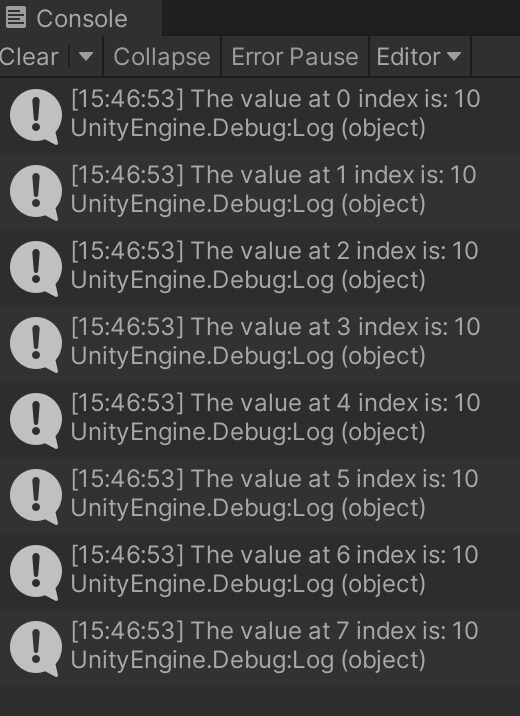
When you run the game you will see this printed in the Console:

					for(int i = 0; i < damagePoints.Length; i++)
{
    damagePoints[i] = Random.Range(1, 100);
}

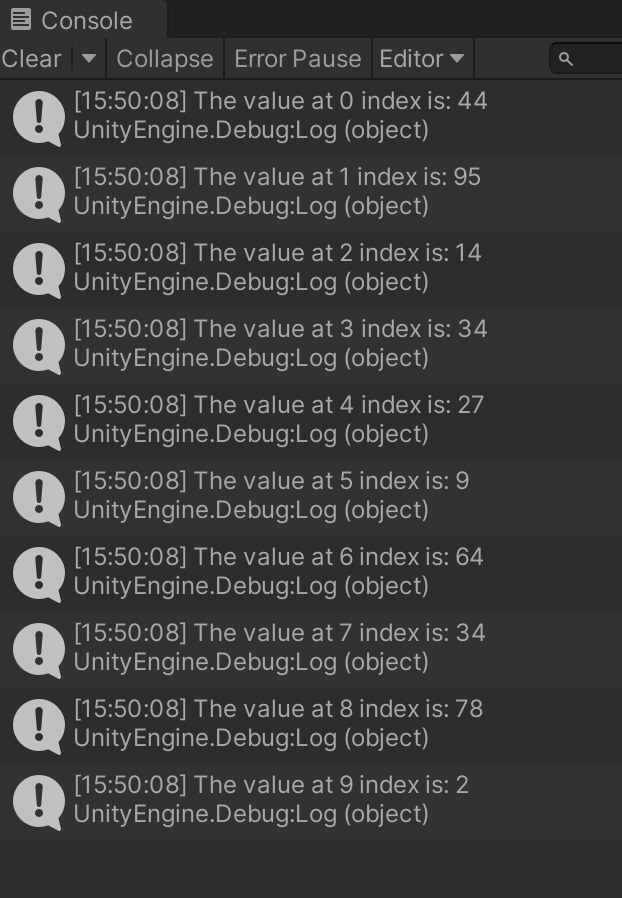
Of course, since the values are randomized, every time you stop your game and run it, you will see different numbers printed for different elements in the array because the chances of the same numbers being printed twice are very small.
You see how everything is clicking together like a puzzle every time we introduce new and new concepts.
In the beginning we only had variables, then we performed math operations on them, then we grouped them into functions, now we are creating arrays of variables and processing them with loops.
The same way we will understand more and more as we progress in our journey.
When it comes to arrays and how we can use them in a basic way this will be enough for this lecture, later down the road we will see multiple examples how we will use arrays to store enemies, bullets that we will shoot, collectable items that the player will be able to pick up and much more.
Where To Go From Here
In this lecture you learned how to use arrays to store multiple values in a single variable.
To continue your learning journey you can take a look at our Classes And Objects Lecture which is the next lecture in this tutorial series.


Comments are closed.