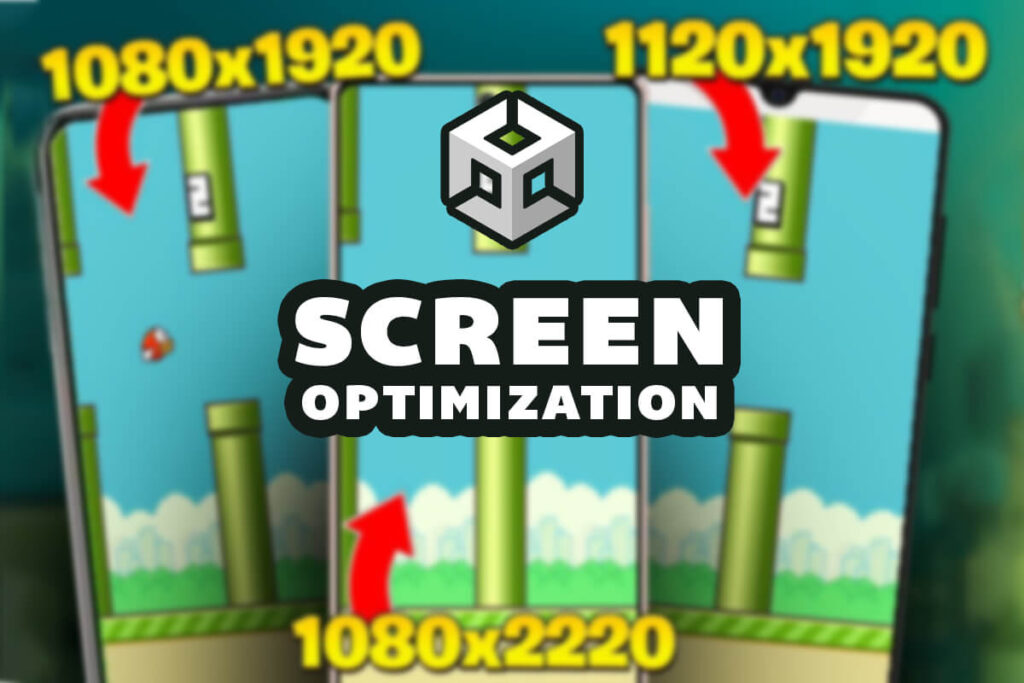
When creating a mobile game, the biggest challenge is to make your game look the same on all screen sizes. And there are different ways how to handle this issue.
In this post we are going to take a look at two scripts that will enable you to create games that support multiple screen sizes.
Download Assets And Complete Project For This Tutorial
Important Information Before We Start
One of the labels for this tutorial is beginner, however this is not a tutorial for complete beginners.
While you don’t have to be a professional C# coder, I expect you to know your way around C# so that you can edit the scripts to your own needs.
How To Fix Gaps On Different Screen Sizes
One HUGE problem when it comes to mobile game development is the gap between the empty space and the assets that you place in your game. In most cases this an issue with the game background and the empty space.
Let’s take a look at this scene for example:

As you can see, this is a screenshot from the Game tab and the reference resolution used for this scene is full HD e.g. 1920×1080.
From the image above we can see that nothing is wrong with the set up, everything is in its place where it is supposed to be. But, this a preview from the Unity editor, let’s take a look at how the game looks like on real devices.
This is a preview how the game looks like on iPhone 6 Plus which has a resolution of 1920×1080:


As you can see, our game looks the same in Unity editor and on the devices above. The issue here is that we only tested the game on devices that have a resolution of 1920×1080 or below, let us take a look at how our game looks on devices with a higher resolution.
This is how the game looks like on iPhone 11 Pro which has a resolution of 2436×1125:

Right away, you will notice that on the left and right side of the phone there are gaps. The background is not long enough to fill those gaps and that is why you see empty space or the blue color of Unity’s camera.
Moving forward, this is how the game looks like on Huawei Mate 20 Pro which has a resolution of 3120×1440:


Scaling The Background To Fit All Screen Sizes
As I already said in the beginning of this post, when creating a mobile game the most difficult task is to make your game look the same on all screen sizes.
					using UnityEngine;

public class ScaleToFitScreen : MonoBehaviour
{
    private SpriteRenderer sr;

    private void Start()
    {
        sr = GetComponent<SpriteRenderer>();

        // world height is always camera's orthographicSize * 2
        float worldScreenHeight = Camera.main.orthographicSize * 2;

        // world width is calculated by diving world height with screen heigh
        // then multiplying it with screen width
        float worldScreenWidth = worldScreenHeight / Screen.height * Screen.width;

        // to scale the game object we divide the world screen width with the
        // size x of the sprite, and we divide the world screen height with the
        // size y of the sprite
        transform.localScale = new Vector3(
            worldScreenWidth / sr.sprite.bounds.size.x,
            worldScreenHeight / sr.sprite.bounds.size.y, 1);
    }

} // class


As expected, the gaps we had prior are now gone. But, we now have a different issue.
Where Are My Game Objects?
To illustrate the issue that we have now, I am going to redesign the game using 3040×1440 as the reference resolution.
When I say redesign the game, I mean I am going to arrange the game elements in the game using the resolution mentioned above as the reference resolution.
This is how the game looks like now in the Game tab preview:


But what will happen if we run the game on a device that has a lower resolution, let’s say iPhone 6 Plus which has 1920×1080 resolution?
Well, let’s test it out and see the outcome:

Now you will notice that the game elements on the sides are cutout. You can see one game element partially on the left side and on the right side you can hardly see what is left from the other game element:

This is why you can’t just design your game using a reference resolution and leave it as is, because as soon as your game is played on a higher or lower resolution than the one you designed your game for, some of the game elements will be cut out from the screen, and sometimes there will be empty gaps on the sides of the screen as we saw in the examples so far.
So what is the solution?
Anchoring Game Objects On The Screen
As you can assume, the same way we solved the background gap problem, we are going to solve the anchoring problem of our game elements, and that is using a script, specifically using two scripts.
The first script is called CameraViewportHandler:
					using UnityEngine;

[ExecuteInEditMode]
[RequireComponent(typeof(Camera))]
public class CameraViewportHandler : MonoBehaviour
{
    public enum Constraint { Landscape, Portrait }

    #region FIELDS
    public Color wireColor = Color.white;
    public float UnitsSize = 1; // size of your scene in unity units
    public Constraint constraint = Constraint.Portrait;
    public static CameraViewportHandler Instance;
    public new Camera camera;

    public bool executeInUpdate;

    private float _width;
    private float _height;
    //*** bottom screen
    private Vector3 _bl;
    private Vector3 _bc;
    private Vector3 _br;
    //*** middle screen
    private Vector3 _ml;
    private Vector3 _mc;
    private Vector3 _mr;
    //*** top screen
    private Vector3 _tl;
    private Vector3 _tc;
    private Vector3 _tr;
    #endregion

    #region PROPERTIES
    public float Width
    {
        get
        {
            return _width;
        }
    }
    public float Height
    {
        get
        {
            return _height;
        }
    }

    // helper points:
    public Vector3 BottomLeft
    {
        get
        {
            return _bl;
        }
    }
    public Vector3 BottomCenter
    {
        get
        {
            return _bc;
        }
    }
    public Vector3 BottomRight
    {
        get
        {
            return _br;
        }
    }
    public Vector3 MiddleLeft
    {
        get
        {
            return _ml;
        }
    }
    public Vector3 MiddleCenter
    {
        get
        {
            return _mc;
        }
    }
    public Vector3 MiddleRight
    {
        get
        {
            return _mr;
        }
    }
    public Vector3 TopLeft
    {
        get
        {
            return _tl;
        }
    }
    public Vector3 TopCenter
    {
        get
        {
            return _tc;
        }
    }
    public Vector3 TopRight
    {
        get
        {
            return _tr;
        }
    }
    #endregion

    #region METHODS
    private void Awake()
    {
        camera = GetComponent<Camera>();
        Instance = this;
        ComputeResolution();
    }

    private void ComputeResolution()
    {
        float leftX, rightX, topY, bottomY;

        if (constraint == Constraint.Landscape)
        {
            camera.orthographicSize = 1f / camera.aspect * UnitsSize / 2f;
        }
        else
        {
            camera.orthographicSize = UnitsSize / 2f;
        }

        _height = 2f * camera.orthographicSize;
        _width = _height * camera.aspect;

        float cameraX, cameraY;
        cameraX = camera.transform.position.x;
        cameraY = camera.transform.position.y;

        leftX = cameraX - _width / 2;
        rightX = cameraX + _width / 2;
        topY = cameraY + _height / 2;
        bottomY = cameraY - _height / 2;

        //*** bottom
        _bl = new Vector3(leftX, bottomY, 0);
        _bc = new Vector3(cameraX, bottomY, 0);
        _br = new Vector3(rightX, bottomY, 0);
        //*** middle
        _ml = new Vector3(leftX, cameraY, 0);
        _mc = new Vector3(cameraX, cameraY, 0);
        _mr = new Vector3(rightX, cameraY, 0);
        //*** top
        _tl = new Vector3(leftX, topY, 0);
        _tc = new Vector3(cameraX, topY, 0);
        _tr = new Vector3(rightX, topY, 0);
    }

    private void Update()
    {
#if UNITY_EDITOR

        if (executeInUpdate)
            ComputeResolution();

#endif
    }

    void OnDrawGizmos()
    {
        Gizmos.color = wireColor;

        Matrix4x4 temp = Gizmos.matrix;
        Gizmos.matrix = Matrix4x4.TRS(transform.position, transform.rotation, Vector3.one);
        if (camera.orthographic)
        {
            float spread = camera.farClipPlane - camera.nearClipPlane;
            float center = (camera.farClipPlane + camera.nearClipPlane) * 0.5f;
            Gizmos.DrawWireCube(new Vector3(0, 0, center), new Vector3(camera.orthographicSize * 2 * camera.aspect, camera.orthographicSize * 2, spread));
        }
        else
        {
            Gizmos.DrawFrustum(Vector3.zero, camera.fieldOfView, camera.farClipPlane, camera.nearClipPlane, camera.aspect);
        }
        Gizmos.matrix = temp;
    }
    #endregion

} // class

The Units Size will vary based on your game, so make sure to check different values starting with the range between 10 and 20.
You can check the Execute In Update checkbox to make the script execute in Update while you are in Unity editor to see the changes you make right away, but you will see the real result when you run the game.
If I were to test the game on iPhone 6 Plus again we will see the same outcome:
The reason for that is because the CameraViewportHandler will make sure that the camera’s Orthographic Size is in order no matter on which screen size we play the game, but we need to use another script in combination with CameraViewportHandler that will position our game objects on the screen correctly.
That script is called AnchorGameObject:
					using UnityEngine;
using System.Collections;

[ExecuteInEditMode]
public class AnchorGameObject : MonoBehaviour
{
    public enum AnchorType
    {
        BottomLeft,
        BottomCenter,
        BottomRight,
        MiddleLeft,
        MiddleCenter,
        MiddleRight,
        TopLeft,
        TopCenter,
        TopRight,
    };

    public bool executeInUpdate;

    public AnchorType anchorType;
    public Vector3 anchorOffset;

    IEnumerator updateAnchorRoutine; //Coroutine handle so we don't start it if it's already running

    // Use this for initialization
    void Start()
    {
        updateAnchorRoutine = UpdateAnchorAsync();
        StartCoroutine(updateAnchorRoutine);
    }

    /// <summary>
    /// Coroutine to update the anchor only once CameraFit.Instance is not null.
    /// </summary>
    IEnumerator UpdateAnchorAsync()
    {

        uint cameraWaitCycles = 0;

        while (CameraViewportHandler.Instance == null)
        {
            ++cameraWaitCycles;
            yield return new WaitForEndOfFrame();
        }

        if (cameraWaitCycles > 0)
        {
            print(string.Format("CameraAnchor found CameraFit instance after waiting {0} frame(s). " +
                "You might want to check that CameraFit has an earlie execution order.", cameraWaitCycles));
        }

        UpdateAnchor();
        updateAnchorRoutine = null;

    }

    void UpdateAnchor()
    {
        switch (anchorType)
        {
            case AnchorType.BottomLeft:
                SetAnchor(CameraViewportHandler.Instance.BottomLeft);
                break;
            case AnchorType.BottomCenter:
                SetAnchor(CameraViewportHandler.Instance.BottomCenter);
                break;
            case AnchorType.BottomRight:
                SetAnchor(CameraViewportHandler.Instance.BottomRight);
                break;
            case AnchorType.MiddleLeft:
                SetAnchor(CameraViewportHandler.Instance.MiddleLeft);
                break;
            case AnchorType.MiddleCenter:
                SetAnchor(CameraViewportHandler.Instance.MiddleCenter);
                break;
            case AnchorType.MiddleRight:
                SetAnchor(CameraViewportHandler.Instance.MiddleRight);
                break;
            case AnchorType.TopLeft:
                SetAnchor(CameraViewportHandler.Instance.TopLeft);
                break;
            case AnchorType.TopCenter:
                SetAnchor(CameraViewportHandler.Instance.TopCenter);
                break;
            case AnchorType.TopRight:
                SetAnchor(CameraViewportHandler.Instance.TopRight);
                break;
        }
    }

    void SetAnchor(Vector3 anchor)
    {
        Vector3 newPos = anchor + anchorOffset;
        if (!transform.position.Equals(newPos))
        {
            transform.position = newPos;
        }
    }

#if UNITY_EDITOR
    // Update is called once per frame
    void Update()
    {
        if (updateAnchorRoutine == null && executeInUpdate)
        {
            updateAnchorRoutine = UpdateAnchorAsync();
            StartCoroutine(updateAnchorRoutine);
        }
    }
#endif
}
The way AnchorGameObject script works is it uses AnchorType declared on lines 7-18 along with CameraViewportHandler’s variables on lines 59-91 to set the anchor e.g. the center origin of the game object.
Then you can use the anchorOffset variable declared on line 23 to determine the offset of the particular game object with respect to its anchor e.g. center origin.
The AnchorGameObject script should be attached on the game object you want to position or anchor on the screen.
One thing to keep in mind, when using this combination with these 3 scripts, you need to design your game using one reference resolution as a base resolution that you will use to anchor your game objects.
I am going to use the same resolution Samsung Galaxy 10+ has which is 3040×1440 as a reference resolution.
First, I am going to attach the script on Altar 1 game object that is on the right side and use the following settings for the AnchorGameObject script:


Now no matter on which resolution we play the game, these two game objects are going to stay in the exact same place where we just positioned them.
Before we test out our new setup, let us quickly take a look at how this same setup looked like on iPhone 6 Plus which has a resolution of 1920×1080 when we tested it without using our two scripts:

Now our two game objects are not cutout from the screen and they are clearly visible in the game.
And no matter on which resolution your game is played, when you use this combination with CameraViewportHandler and AnchorGameObject scripts, your game objects will be in the same place where you initially positioned them.
2 thoughts on “Make Your Game Look The Same On All Mobile Screen Sizes – Unity”
Hello,
On the line 130 – CameraViewportHandler class, I could not quite understand why we divide 1 with “camera.aspect * UnitsSize / 2f”. What is 1 here? Are we using it to have a ratio?
My objects are going to move rapid fast and when I played it was shaking a lot